How to Build and Plant a Raised Garden Bed
A raised garden bed is the project I recommend to almost every new gardener, because it fixes so many problems at once — poor native soil, bad drainage, back-breaking bending, and weeds creeping in from the lawn. Build one good bed and you’ve created a productive little plot you control completely. This guide walks you all the way through: planning the size and spot, building the frame, filling it right, and planting it so it actually thrives.
As an Amazon Associate, Backyard Superstar earns from qualifying purchases at no extra cost to you.
Pick the Right Spot
Before you cut a single board, watch your yard. Most vegetables want at least six to eight hours of direct sun, so spend a day noticing where the light actually falls — it’s rarely where you assume. Choose a level area with decent drainage, somewhere you’ll walk past often (out of sight really does mean out of mind with a garden), and ideally near a water source so dragging a hose isn’t a chore that makes you skip watering.
Decide on Size and Height
The classic raised bed is 4 feet by 8 feet, and that’s no accident. Four feet wide means you can reach the center comfortably from either side without stepping on — and compacting — your soil, which is the whole point. Keep beds to four feet wide at most no matter how long you make them.
Height is about your soil and your back. Eight to twelve inches suits most vegetables, while deeper beds of eighteen inches or more save a lot of bending and are perfect if you’re building over a hard surface or have mobility concerns. The taller the bed, the more soil it drinks up to fill, so weigh that against your budget.
Choose Your Materials
For the frame, naturally rot-resistant cedar is my favorite — it’s beautiful and lasts many years without chemicals, which matters when you’re growing food. Untreated pine is the budget option but will need replacing sooner, and modern pressure-treated lumber is considered safe by most authorities if you prefer it. If woodworking isn’t your thing, a cedar raised bed kit bolts together in an afternoon with no cutting at all. Metal and stone beds work beautifully too, just with different costs and looks.
Build the Frame
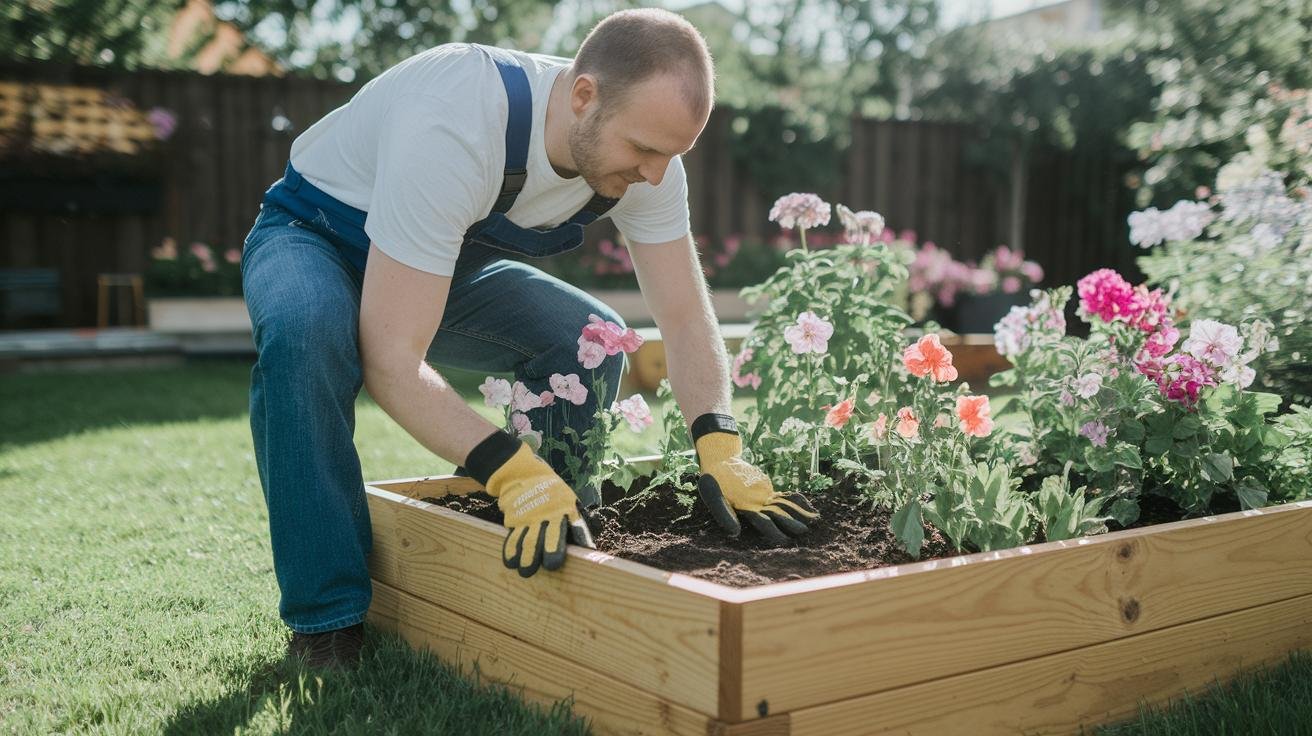
The build itself is refreshingly simple. Cut your boards to length, then join the corners — screwing into a 4×4 corner post on the inside makes a far sturdier joint than screwing the boards straight into each other. Use exterior-rated screws so they don’t rust out, check that the box is square before you finish, and for any bed longer than six feet, add a cross-support or center stake so the long sides don’t bow outward once they’re full of wet soil. Set the finished frame on level ground, and lay cardboard or hardware cloth across the bottom if you want to smother grass or keep burrowing critters out.
Fill It With Great Soil
Here’s where raised beds are won or lost: the soil. Don’t just shovel in native dirt — the advantage of a raised bed is that you get to build the perfect growing medium. A reliable blend is roughly equal parts quality topsoil, compost, and an aeration material like coarse sand or perlite. Because getting this right matters so much, I’ve put the full recipes and ratios in a dedicated guide to the best soil mix for a raised bed — it’s worth the read before you order a load of anything.
Plan the Planting Layout
With the bed built and filled, resist the urge to plant in tidy rows like a tiny farm. Raised beds reward intensive, grid-style planting that uses every inch. Put taller crops like tomatoes and trellised beans on the north side so they don’t shade everyone else, and let sprawlers tumble toward the edges. Good companions make great neighbors, too — basil tucked among tomatoes, or carrots beside onions — while a few combinations are better kept apart. Going vertical with a trellis multiplies what a 4×8 footprint can hold; cucumbers and pole beans are happy to climb.
What to Plant, Season by Season
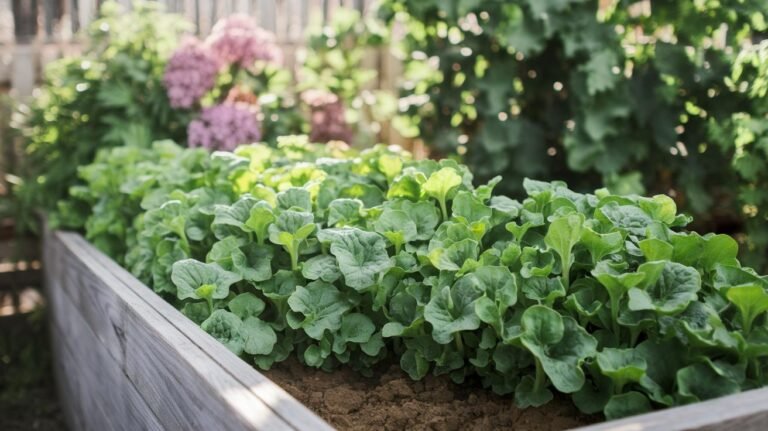
The beauty of a raised bed is that it warms up earlier in spring and drains faster after rain, stretching your season at both ends. In the cool of spring and fall, lean on leafy greens, lettuce, spinach, peas, radishes, and brassicas like broccoli and kale. When the soil warms for summer, switch to tomatoes, peppers, beans, squash, and cucumbers. As one crop finishes, replant the gap immediately — that succession planting is how a small bed keeps producing right through the year. For a deeper dive on one summer star, see my guide to planting tomatoes in raised beds.
Keep It Going
A raised bed is low-maintenance, not no-maintenance. Mulch the surface to lock in moisture and block weeds, water deeply and consistently (raised beds dry out faster than ground soil), and feed the soil rather than the plants — a yearly top-up of compost keeps it alive. In the off-season, sowing a cover crop protects and enriches the bed so it’s ready to go again come spring.
Frequently Asked Questions
How deep should a raised garden bed be?
Eight to twelve inches works for most vegetables; go eighteen inches or more for root crops, poor drainage, or to save your back.
What’s the best wood for a raised bed?
Cedar is the top choice — naturally rot-resistant and safe for food. Untreated pine is cheaper but shorter-lived.
How do I fill a raised bed cheaply?
Use the “lasagna” approach: layer logs, branches, leaves, and grass clippings in the bottom third, then top with a good soil-and-compost mix.
How wide should a raised bed be?
No more than four feet, so you can reach the middle from either side without stepping on the soil.
Build it sturdy, fill it with great soil, and plant it thoughtfully — do those three things and a single raised bed will out-produce a much larger patch of ordinary ground, season after season.