How to Save Heirloom Tomato Seeds
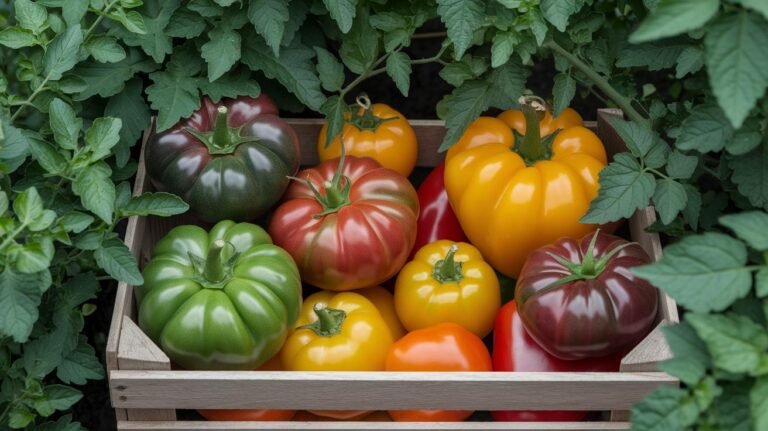
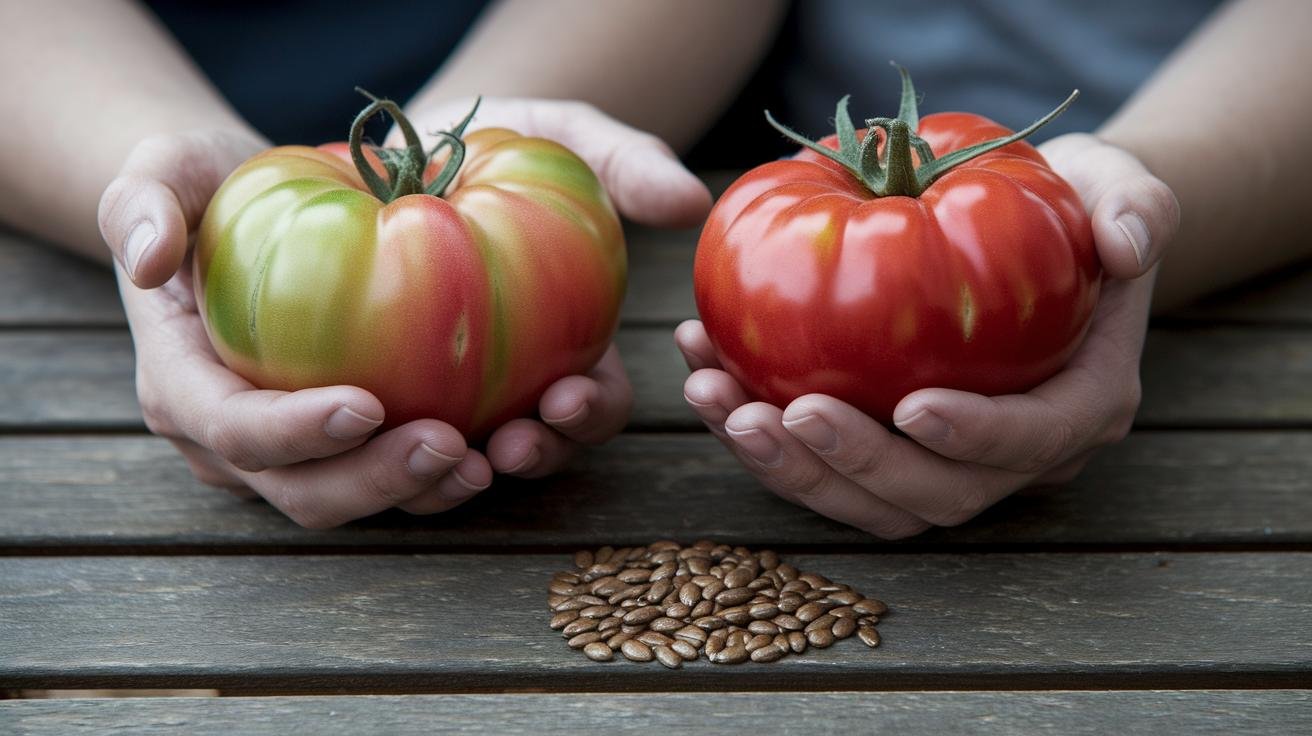
Bite into a sun-warm Cherokee Purple or a Brandywine off your own vine and you understand why people get obsessive about heirloom tomatoes. Here’s the part most gardeners miss: the seeds inside that tomato will grow the exact same fruit next year, for free, if you know how to save them. I used to scrape mine into the compost with the rest of the guts. Then a neighbor handed me a labeled envelope of seed from a tomato I’d been raving about all August, and I’ve saved my own every season since.
Saving heirloom tomato seeds comes down to four moves: pick the right fruit, ferment the seeds to strip their gel coat, dry them until they rattle, and store them somewhere cool and dark. None of it is hard, but each step has one or two places where people go wrong and end up with seed that won’t sprout. I’ll walk you through exactly how I do it, and flag the mistakes so you don’t repeat mine.
As an Amazon Associate, Backyard Superstar earns from qualifying purchases at no extra cost to you.
Why Bother Saving Heirloom Tomato Seeds
The obvious reason is money — a packet of good heirloom seed runs a few dollars, and one ripe tomato gives you dozens of seeds. But that’s not really why I do it. The better reason is that heirlooms are open-pollinated, which means they breed true: save seed from a Mortgage Lifter and you get Mortgage Lifters next year, not some random cross. Hybrid tomatoes won’t do that, and if you’re fuzzy on the difference it’s worth reading up on open-pollinated versus heirloom tomato seeds before you save anything.
There’s a quieter payoff, too. Save seed from your strongest plants a few years running and that line slowly adapts to your dirt and your weather. The tomatoes that shrugged off a brutal July are the ones whose seed you keep, so over time you’re breeding a strain that’s a little tougher every season — one that’s genuinely yours. You can’t buy that at the garden center.
Picking the Right Tomatoes to Save Seeds From
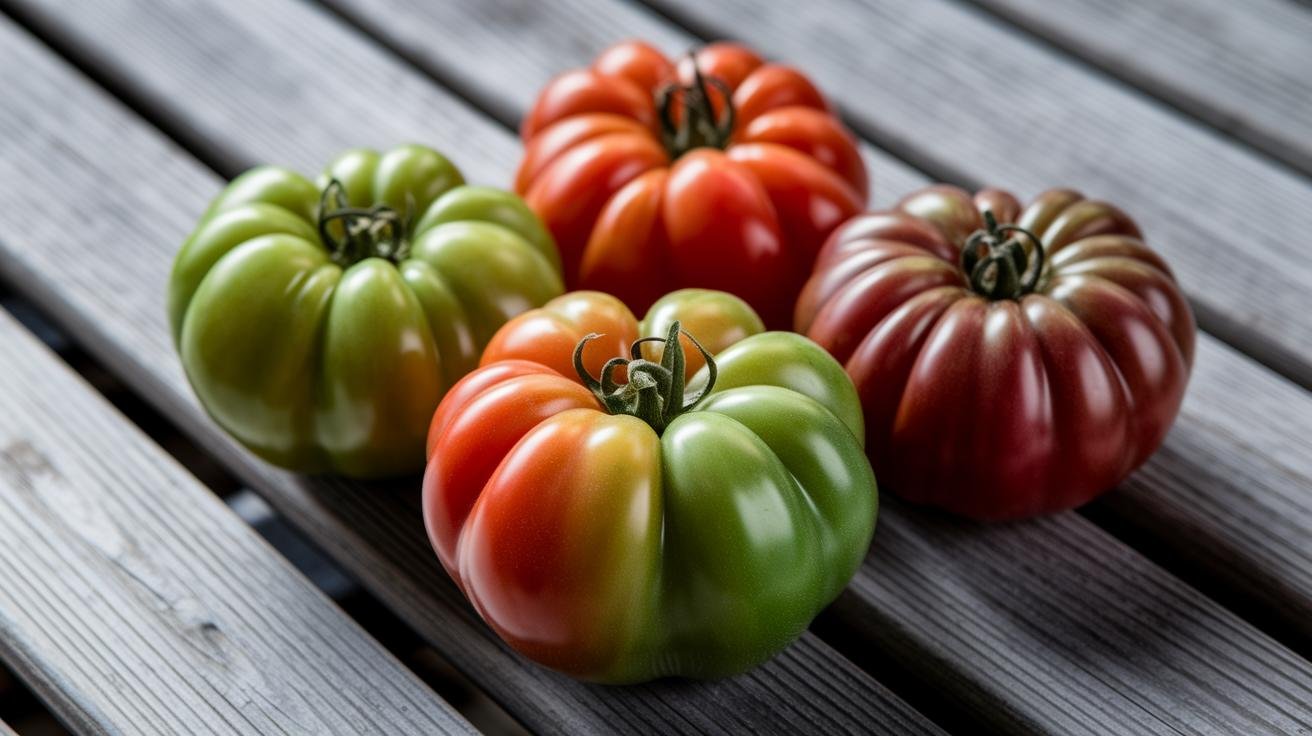
Walk your patch and find the best fruit on the healthiest plants — not the biggest tomato, the best plant. You want fruit that’s dead ripe, deep in color, and firm with just a little give. Under-ripe tomatoes carry immature seed that germinates poorly, and mushy over-ripe ones can already be rotting from the inside. The first year I saved seed I grabbed a soft one off the ground because it was huge; half those seeds never came up.
Skip anything with sunken spots, mold, or weird patches. Disease can ride along on the seed into next year’s garden, and there’s no upside to gambling a whole planting on a questionable tomato when you’ve got better fruit right there. If your plants struggled with blight all season, that’s a signal to grow sturdier stock next time — my notes on disease-resistant heirloom varieties are a good place to start.
One more thing if you grow several varieties close together: tomatoes mostly self-pollinate, but bees will occasionally carry pollen between plants and cross them. To keep a line pure, either space different varieties about ten feet apart or slip a fine mesh bag over a few flower trusses before they open. It’s the same principle whether you’re growing in the ground or working through the best heirloom varieties for containers on a small patio.
Scooping and Fermenting the Seeds
Slice the tomato across its middle — through the equator, not the stem — and you’ll expose the seed cavities. Scoop the seeds and the surrounding jelly into a jar. That slippery gel is the whole reason we ferment: it’s a natural coating that stops seeds from sprouting inside a wet tomato, and it has to come off before the seed will store or germinate well. Scrubbing it off by hand doesn’t work. Fermentation does it for you.
A wide-mouth glass jar is the right tool here, because you’ll be swirling and pouring, and glass lets you watch the film develop. I keep a stack of Ball regular-mouth pint mason jars ($) around for exactly this kind of job — they’re cheap, they don’t stain, and the markings help me keep varieties straight when I’ve got three going at once. Label each jar the moment you fill it. Trust me: unlabeled fermenting tomato guts all look identical by day three.
Add a splash of water if the pulp is thick, cover the jar loosely with a coffee filter or its lid set on top — you want air in, fruit flies out — and park it somewhere around 65 to 75°F, out of direct sun. Give it a stir once a day. In two to four days a layer of whitish mold will form on top and you’ll see a few bubbles. That’s not the seed going bad; that’s the gel coat breaking down exactly like it’s supposed to. Don’t let it run much past four days, though, or the seeds can start to sprout in the jar, and then you’ve lost the batch. The one time mine went a week it smelled like a science experiment gone wrong, and most of it was ruined.
Rinsing and Drying Seeds So They Store Clean
Once that film forms, it’s time to clean the seeds. Fill the jar with water and stir hard. The good, viable seeds are dense and sink to the bottom; the dead ones, the pulp, and the mold float. Pour off everything floating on top, add fresh water, and repeat until what’s left is clean seed sitting at the bottom and clear water above it. This float test does double duty — it separates the keepers from the duds automatically.
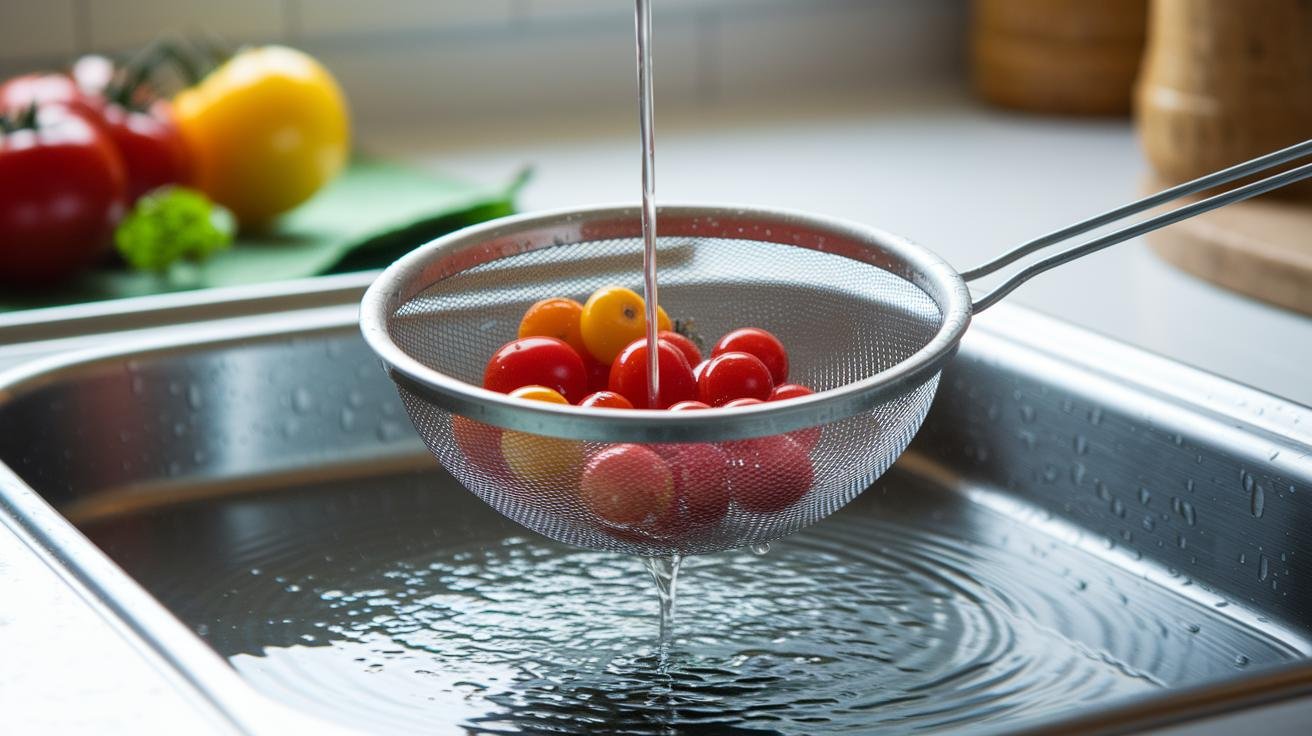
Now tip the seeds into a fine-mesh strainer and rinse under cool running water, working the last of the gel off with your fingertips until they stop feeling slippery. The mesh matters: tomato seeds are small enough to wash straight through a colander with big holes. A tight set like the Bellemain stainless steel fine-mesh strainer set ($$) catches every seed, and the three sizes cover everything from a single tomato to a whole colander of them come harvest. It’s a reusable kitchen tool anyway, so it earns its keep well past seed season.
Drying is where patience pays off. Spread the seeds in a single layer on a coffee filter, a paper plate, or a ceramic dish — not paper towel, which they’ll glue themselves to as they dry. Put them somewhere with decent airflow, out of direct sun, around 60 to 80°F. Stir them with your finger once a day so they dry evenly and don’t clump. Give it a full week to ten days. They’re done when they’re hard, separate easily, and rattle when you tip the plate. Rush this and any trapped moisture will mold your seeds in storage, so when in doubt, dry them another day or two.
Storing Heirloom Tomato Seeds So They Last
Bone-dry seeds still need protection from the two things that kill them in storage: moisture and heat. An airtight container is non-negotiable — a paper envelope tucked inside a zip-top bag, a small glass jar with a tight lid, or a purpose-built seed box all work. The point is to seal out the humid air that would otherwise sneak in and wake the seeds up or rot them.
Drop a desiccant in with them and you’ve bought real insurance. A few Dry & Dry rechargeable silica gel packets ($) in the container soak up any stray moisture, and because they’re the rechargeable kind you just bake them dry and reuse them year after year. In a pinch a spoonful of dry rice in a twist of tissue does a similar job, but the silica packets are cheap enough that I don’t bother improvising anymore.
Label everything with the variety and the date you saved it — a fine-point permanent marker on the envelope, or a piece of tape on the jar. This sounds fussy until the year you open three identical jars in March with no idea what’s in them. If you save more than a couple of varieties, a divided GLOCHYRA seed storage box with envelopes and labels ($$) keeps the whole collection sorted and readable in one place, which beats the shoebox-of-loose-envelopes system I used to run. Then find a spot that stays cool and dark — a fridge drawer at 40 to 50°F is ideal, or a cellar shelf. Kept dry and cold, heirloom tomato seed stays viable for four to six years, though germination slips a little each year past the first.
Testing Germination Before You Plant
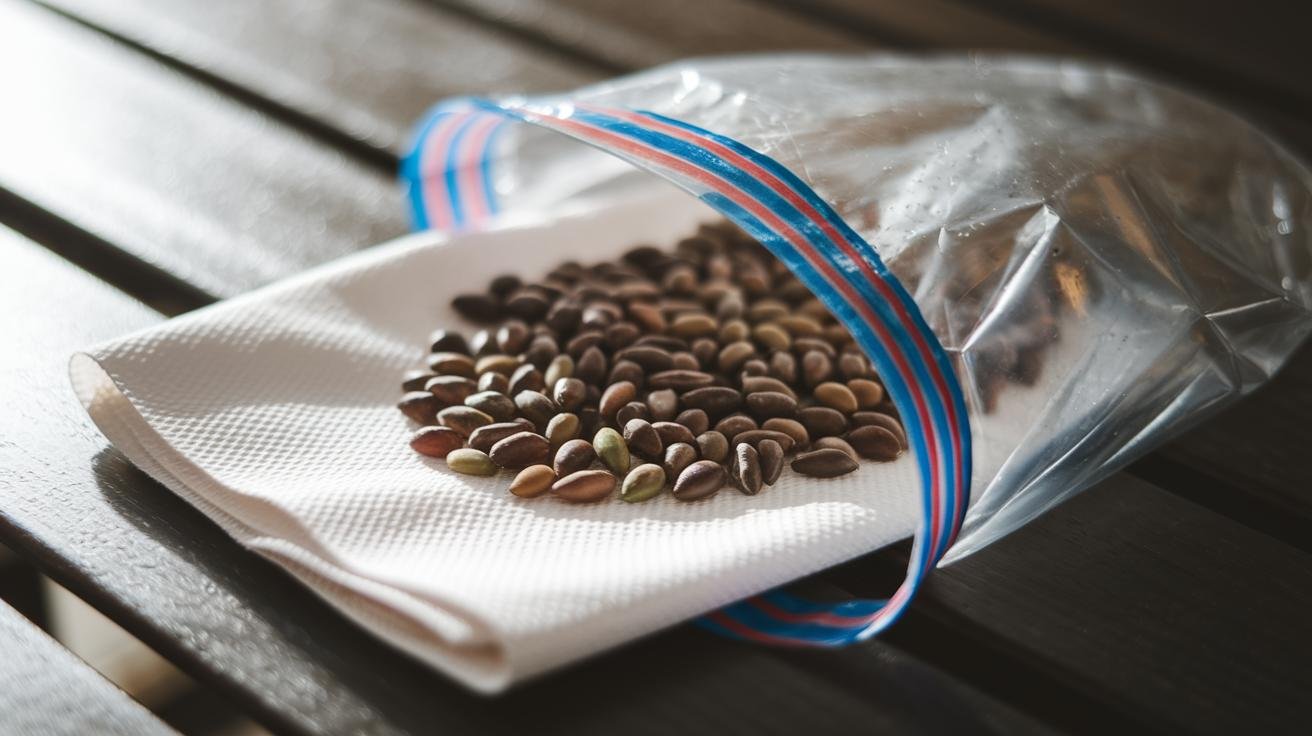
Before you commit a whole tray to old seed, run a quick germination test so you’re not babysitting dirt that was never going to sprout. Count out ten seeds and lay them on a damp paper towel — moist, not dripping. Fold it over, slide it into a zip-top bag, and set it somewhere warm, around 70 to 80°F. The top of the fridge or a seedling heat mat both work.
Check it after seven to fourteen days. Count how many seeds pushed out a little white root, divide by ten, and multiply by a hundred — that’s your germination percentage. Eight of ten sprouting means roughly 80 percent, which is plenty; sow a little thicker to compensate. If only three or four wake up, that seed is on its way out and you’ll want fresh stock for anything you’re counting on. Keep an eye on the towel while you wait, because too wet invites rot and bone-dry keeps everything dormant. Once you know your seed is good, line up your sowing dates with the seasonal vegetable planting calendar so your seedlings are ready right when the soil warms.
Seed-Saving Mistakes That Cost You a Crop
Most failed seed batches trace back to the same handful of errors, and every one of them is avoidable. Skipping fermentation is the big one — leave the gel coat on and germination drops off a cliff, because that coating is literally designed to keep seeds from sprouting. Drying in direct sun or a muggy room is the next: sun can cook the seeds and humidity leaves them just damp enough to mold in the jar.
The rest are simple discipline. Storing seed somewhere warm or bright shortens its life fast, so cool and dark is the rule. Saving from a hybrid tomato instead of an heirloom means the seed won’t breed true, and you’ll get a surprise harvest that looks nothing like the parent. And forgetting to label — I did this early on and ended up planting a mystery row that turned out to be a jumble of Brandywine and a cherry I’d saved the same week. It made for a funny summer, but it wasn’t the garden I’d planned. Once you’ve got clean seed put away, growing it out in good soil is the easy part; a bed built the way I lay out tomatoes in raised beds gives your saved seed the strong start it deserves.
Recommended gear for saving tomato seeds
As an Amazon Associate, Backyard Superstar earns from qualifying purchases at no extra cost to you.
- Fermenting jars — Ball regular-mouth pint mason jars ($). Cheap, wide-mouth, easy to label and watch the film form.
- Rinsing seeds — Bellemain fine-mesh strainer set ($$). Mesh tight enough that tiny tomato seeds don’t wash through; three useful sizes.
- Keeping seed dry — Dry & Dry rechargeable silica gel packets ($). Pull moisture out of the storage container; bake and reuse each year.
- Organizing the collection — GLOCHYRA seed storage box with envelopes and labels ($$). Sorts multiple varieties, keeps everything labeled and readable.
Frequently Asked Questions
Do I really have to ferment tomato seeds?
For the best results, yes. The gel coat around each seed is a natural sprout inhibitor, and fermentation is the reliable way to remove it. You can rinse seeds aggressively without fermenting and some will still germinate, but you’ll see lower and slower sprouting, plus fermentation also knocks down some seed-borne diseases.
How long do saved heirloom tomato seeds stay good?
Stored airtight in a cool, dark spot around 40 to 50°F, heirloom tomato seeds stay viable for roughly four to six years. Germination is highest in the first year or two and drops gradually after that, so a quick germination test on older seed tells you whether to sow it thicker or replace it.
Can I save seeds from a store-bought heirloom tomato?
Often, yes — if it’s a true heirloom and the seeds are mature. Fully ripe fruit is key, and you’ll want to confirm it isn’t a hybrid, since hybrids won’t breed true. Grocery tomatoes are also sometimes picked underripe, so garden or farmers-market fruit generally gives you stronger seed.
Why did my saved seeds grow a different tomato than expected?
Two usual causes: the parent was a hybrid rather than an open-pollinated heirloom, or bees cross-pollinated your heirloom with a different variety growing nearby. Space varieties about ten feet apart or bag a few flower trusses to keep a line pure.
Is it normal for mold to form during fermentation?
A thin white film on top is normal and expected — it’s the sign the gel coat is breaking down. Stir daily, keep it to two to four days, and rinse the seeds well afterward. Fuzzy colored mold or a batch left far too long is a different story; that seed is best tossed.