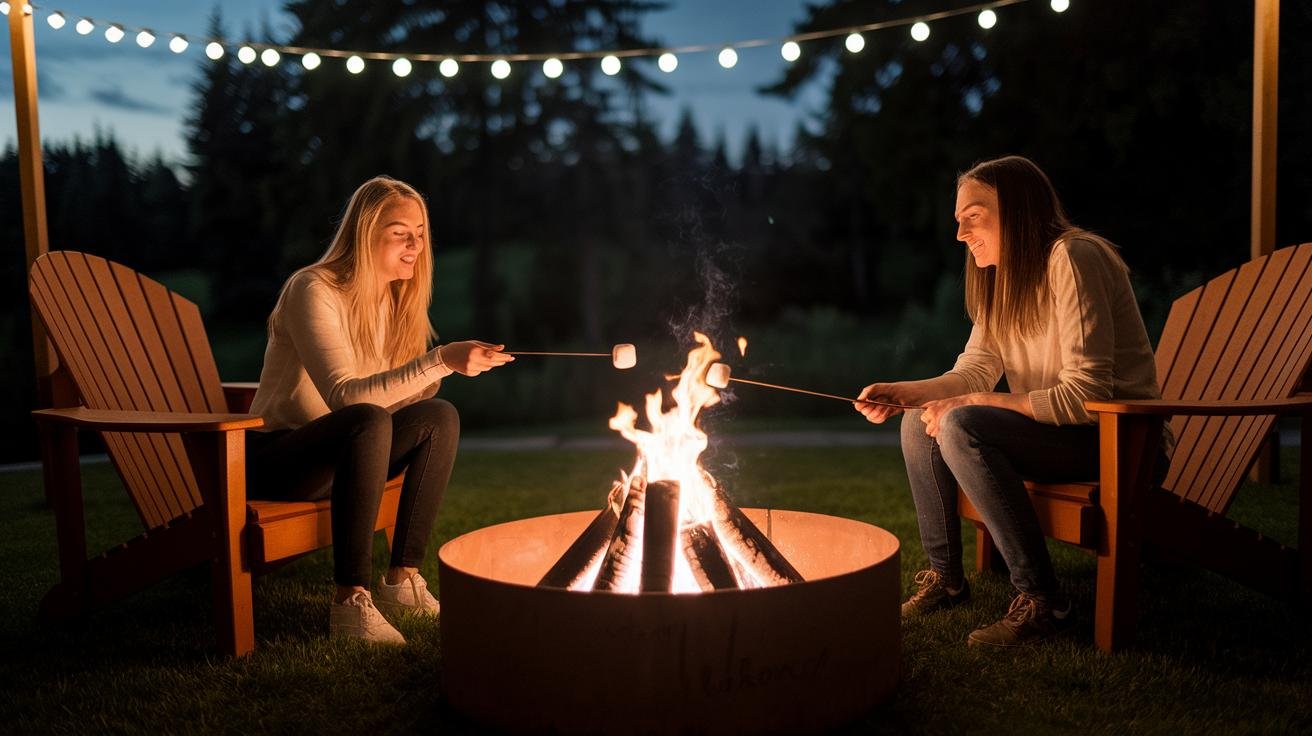
Backyard Fire Pit Ideas for Every Style and Budget
You don’t need a big paved patio to have a real fire pit. Some of the best fire nights I’ve had happened around a $120 steel ring dropped into a bare patch of yard, with camp chairs pulled up and a bag of marshmallows going soft in the heat. A fire pit is the cheapest way I know to make a backyard somewhere people actually want to sit after dark — and the range of backyard fire pit ideas runs from a stack of stones you build in an afternoon to a plumbed-in gas table you flip on with a switch. Here’s how I’d sort through the options by style, effort, and budget, plus the gear that’s actually worth buying.
As an Amazon Associate, Backyard Superstar earns from qualifying purchases at no extra cost to you.
Fire Pit Styles That Fit Real Backyards
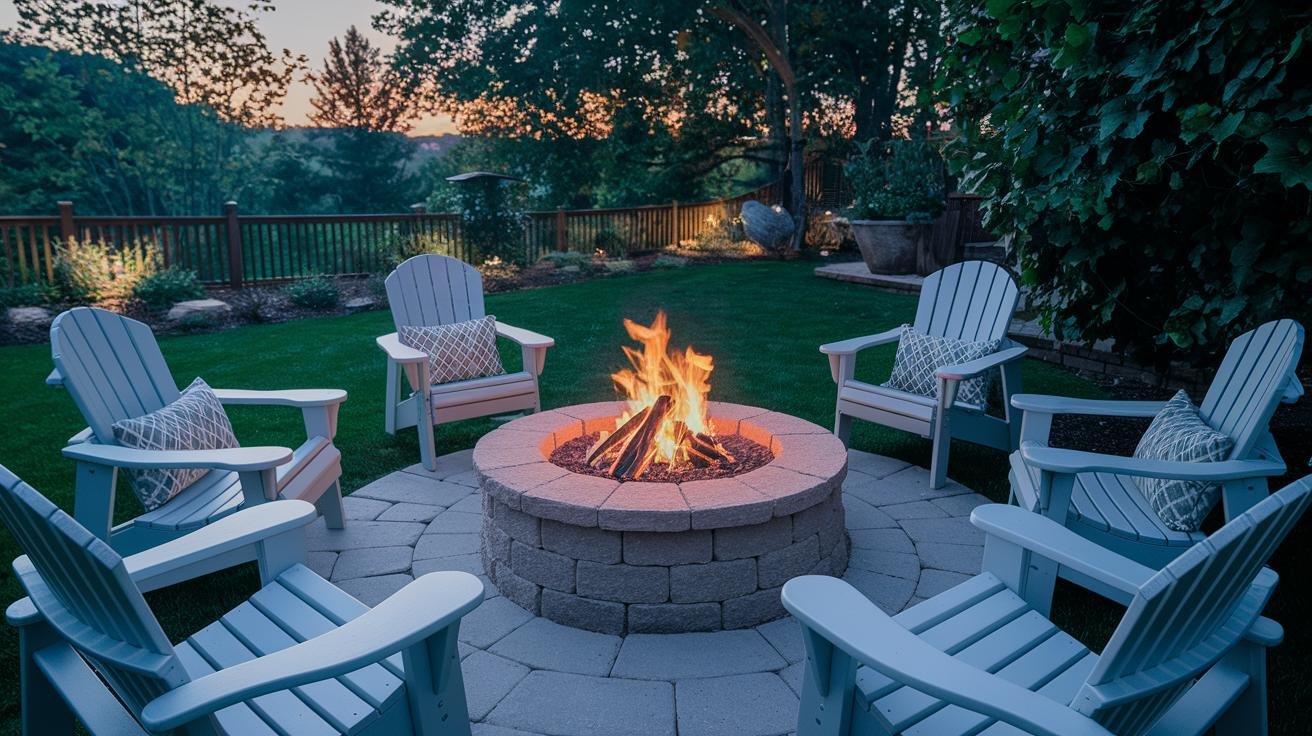
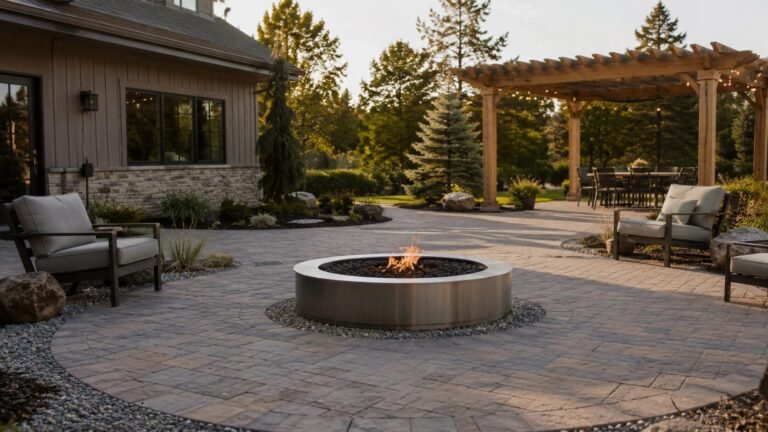
Every fire pit is really answering one question: how much fuss do you want between you and the flames? That’s the axis I’d start on, because it sorts the field fast. On one end you’ve got a rough stacked-stone ring under a tree, moss creeping between the rocks, all campfire and no controls. On the other, a modern gas table on concrete pavers that lights instantly and never leaves you smelling like a bonfire. Neither is better — they’re just built for different evenings.
Shape matters more than people expect, too. A tidy basin bowl tucks into a corner and heats a couple of chairs. A long rectangular pit gives you a wide ledge to set a drink or warm your feet, which is worth a lot on a cold night. Between those extremes you’ll find shallow steel rings, weatherproof corten-steel bowls that rust to a warm brown on purpose, precast concrete units, and hardscape pits carved right into a retaining wall.
If smoke is your dealbreaker, this is where a smokeless pit earns its keep. The double-wall design pulls air up through the base and re-burns the smoke before it reaches your eyes, so you can sit downwind without playing musical chairs. The Solo Stove Bonfire 2.0 is the one I point people to — stainless steel, genuinely low-smoke, and light enough to carry with the included stand ($$$). It’s a splurge, but it’s the pit that finally got my smoke-sensitive brother-in-law to stick around the fire.
You don’t have to spend that to get a good wood fire, though. If you just want flames tonight, a straightforward steel bowl does the job. The Sunnydaze 26-inch Steel Fire Pit Bowl comes with a spark screen, a log grate, and a poker, sets up in minutes, and holds a proper armful of wood ($$) — a solid middle-of-the-road pick that looks better than its price suggests. For the full breakdown of running on logs versus gas, my gas vs. wood-burning fire pit guide lays out the trade-offs.
Building a DIY Fire Pit: Materials, Steps, and Cost
Building your own pit is one of the most satisfying weekend projects going, and it’s genuinely hard to mess up. Most DIY pits come down to four things: pavers, gravel, sand, and a steel fire ring to hold the heat off the blocks. You can dig the whole thing in for a sunk-in look or stack the pavers proud of the ground for a bowl — your call, no wrong answer.
A solid base is the part people skip and then regret. The gravel layer under everything lets rainwater drain instead of pooling, and it keeps stray coals from finding bare dirt. Here’s the sequence I follow:
- Mark a circle three to four feet across and check that it’s level.
- Spread about four inches of gravel and tamp it down.
- Add a one-inch layer of sand over the gravel.
- Stack six to eight courses of pavers into a ring.
- Drop a steel fire ring into the center.
- Sweep fine sand into the paver joints to lock them.
- Let it sit 24 hours before the first fire.
That steel ring in step five is the piece worth buying rather than improvising. Raw pavers exposed to direct flame will spall and crack over a season or two; a liner takes the heat instead. The Sunnydaze Steel Fire Pit Ring Insert is a heavy-gauge 30-inch liner that assembles in a few minutes and drops straight into a paver surround ($) — cheap insurance for a build you want to last. I added one to a pit I’d built without a liner the first time, and the difference in how the blocks held up was night and day.
Cost depends entirely on how far you take it. A basic ring — a couple dozen pavers, a half-ton of gravel, some sand, and a liner — runs a little over a hundred dollars in materials and a Saturday of work. Push into built-in seating ledges, a hidden gas line, and full stone masonry and the budget climbs into the thousands. Most people land happily in the middle. And leveling really does matter: run a straight board across the base, rock it gently, rake down the high spots. Mine wobbled the first go, and five minutes with a rake fixed it.
Built-In vs. Portable Fire Pits
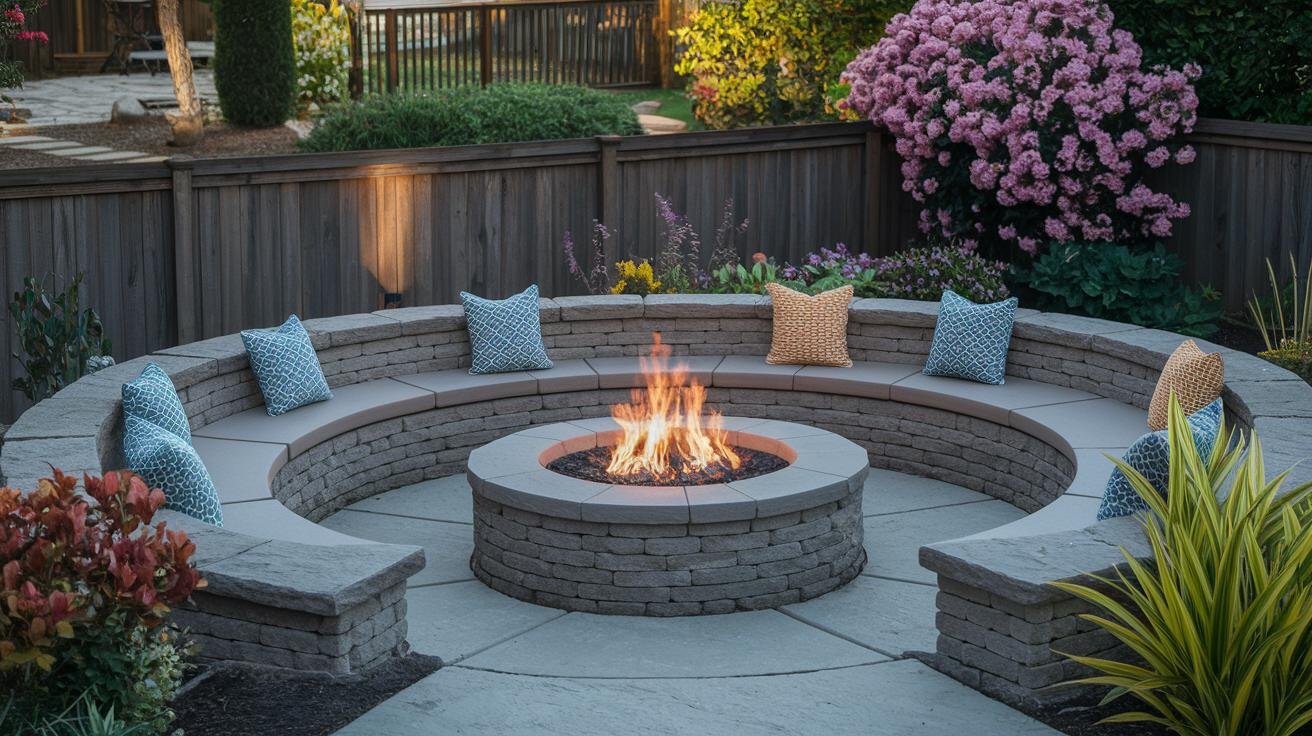
A built-in pit tucks into a patio or low retaining wall, built from stone, brick, or poured concrete and often plumbed to a natural-gas line so it lights with a switch. You may need a permit, and the walls block wind while doubling as seating ledges. My family’s built-in wood-burner is the reason our crisp fall evenings turn into three-hour hangouts — there’s a permanence to it that a portable pit can’t quite match.
Portable pits trade that permanence for freedom. They show up as a metal ring, a bowl, or a tabletop gas unit, need no permit, and go wherever the fun does. On a small patio that flexibility is the whole point. If you want the cheapest way into fire nights, a folding steel pit like the Amazon Basics 26-inch Folding Fire Pit comes with a spark screen and a stand, packs flat, and stores in a shed corner between uses ($). It’s not fancy, but it lights a fire and it won’t make you wince at the price.
The upgrade path from there is gas. A propane fire table gives you instant flames, no smoke, and a flat rim for drinks and plates, which makes it the easy choice for entertaining. The Bali Outdoors 42-inch Propane Fire Pit Table puts out serious heat, hides the tank in the base, and includes a lid so it works as a regular patio table when the flame’s off ($$$). Think about how you actually use the yard: quiet balcony nights lean portable, while regular backyard gatherings are where a built-in or a gas table pays you back.
Fire Pit Materials: Stone, Steel, Brick, and Concrete
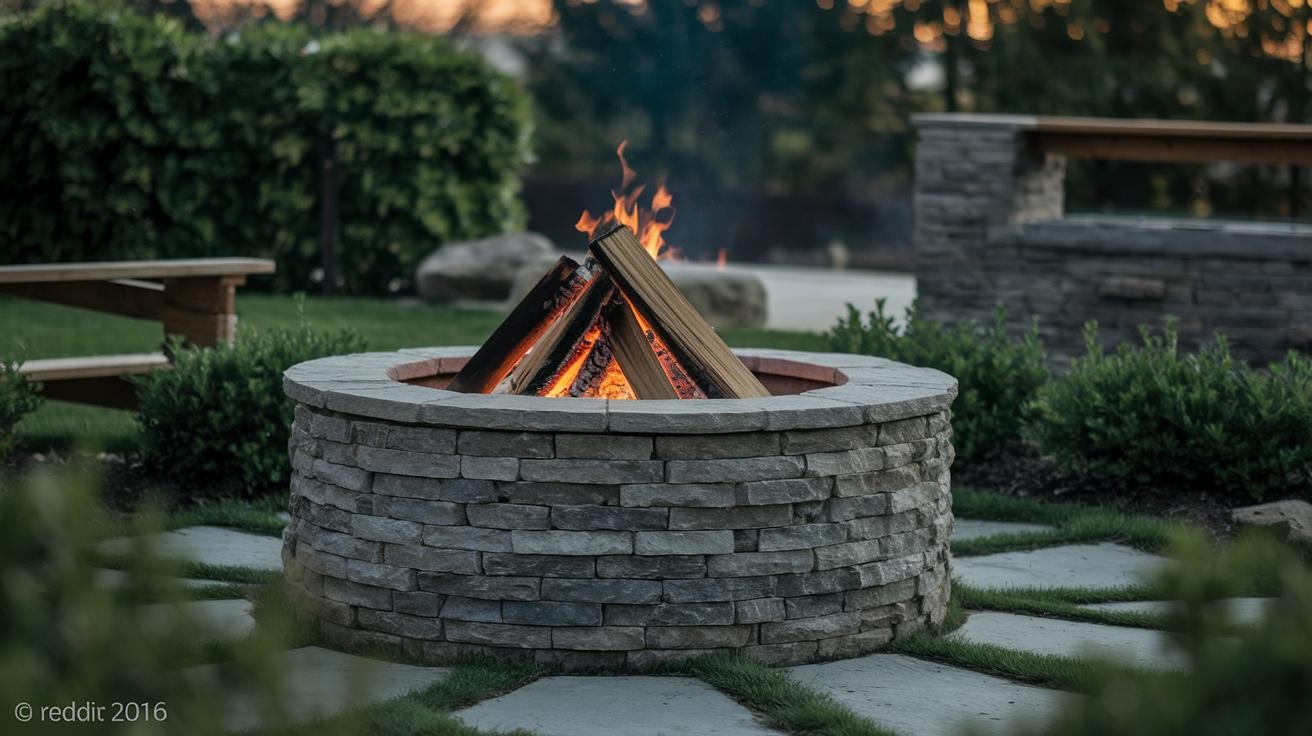
Material sets the whole mood of a fire pit, and each one asks for a slightly different kind of care. Stacked natural stone reads rustic and earthy, like the fire grew out of the ground; it looks fantastic but wants an occasional seal to shed water. Steel is the opposite temperament — fast to heat, sleek, and low-drama. Corten (weathering) steel ages into a warm rust patina on purpose, while black steel bowls just want to burn. Brick lands in the classic-campfire zone and holds heat beautifully, though the mortar joints need tuckpointing every few years. Concrete is the modern minimalist, smooth enough to stain or stamp, and mostly just needs a yearly wipe and reseal.
| Material | Style feel | Relative cost | Upkeep |
|---|---|---|---|
| Stacked stone | Rustic, earthy | $$–$$$ | Seal occasionally |
| Corten / black steel | Modern ring or bowl | $–$$ | Patina forms on its own |
| Brick | Classic campfire | $$ | Tuckpoint mortar every few years |
| Concrete | Sleek, minimalist | $$–$$$ | Wipe clean, reseal yearly |
There’s no rule that you pick just one, either. Some of the best-looking pits I’ve seen mix a stacked-stone surround with a steel liner, or frame a concrete bowl with a brick border. Blend the look you want with the upkeep you’ll actually keep up with, and you’ll end up with a fire spot that feels like yours.
Seating and Layout Around the Fire
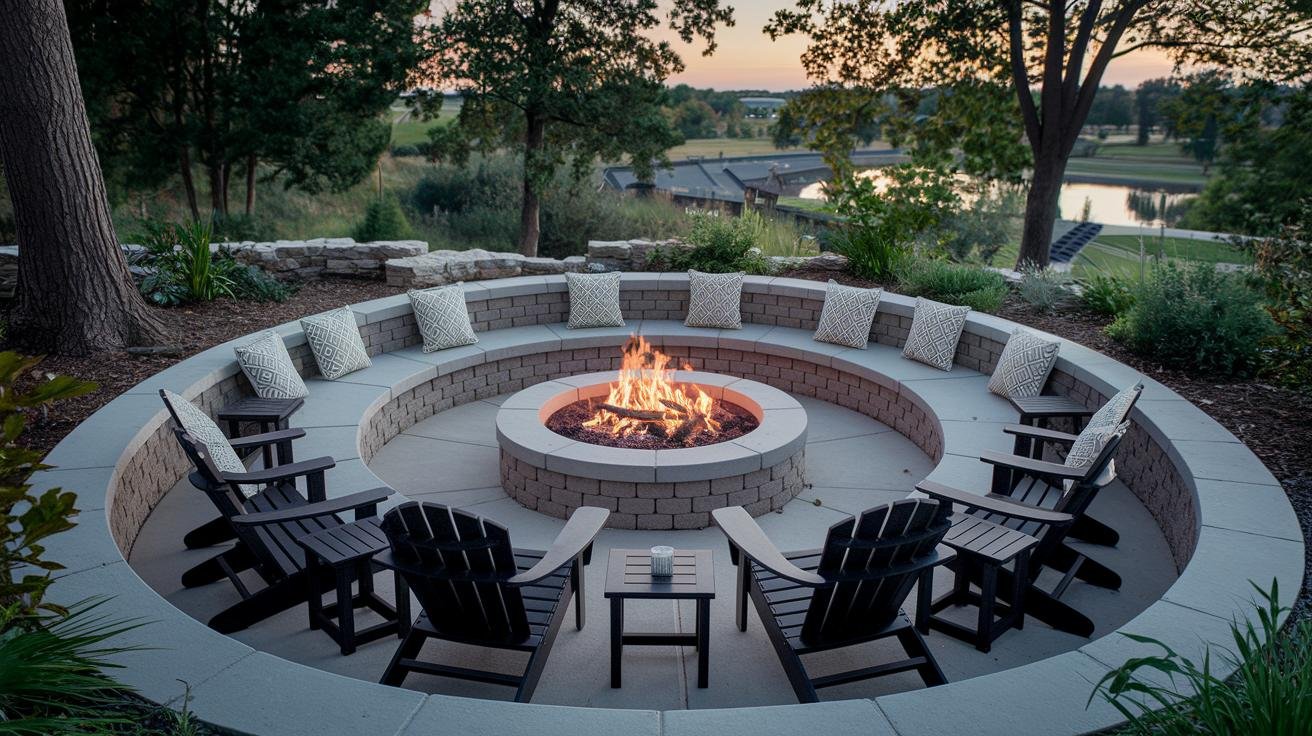
Good seating is the difference between a pit people glance at and one they linger around. The goal is simple: close enough to share the warmth and the conversation, with room to stretch your legs. How you get there depends on the pit’s shape. A round pit loves a curved bench or a fan of Adirondack chairs set in a rough arc, so everyone gets a straight shot at the flames. A rectangular pit pairs naturally with straight benches or a low outdoor sofa running along one long edge, fire at the center.
Mix fixed and movable seating and the space works harder. Built-in ledges double as backrests and side tables for mugs and marshmallow sticks, while a couple of ottomans and a light side table let you flex from a quiet night for two to a full backyard crowd. Don’t skip the soft stuff — weather-resistant cushions, a throw or two, and an outdoor rug under it all take the chill off cold stone and make people actually want to settle in. For more ways to arrange it, my patio seating ideas post has layouts worth stealing.
Safety, Maintenance, and Local Rules
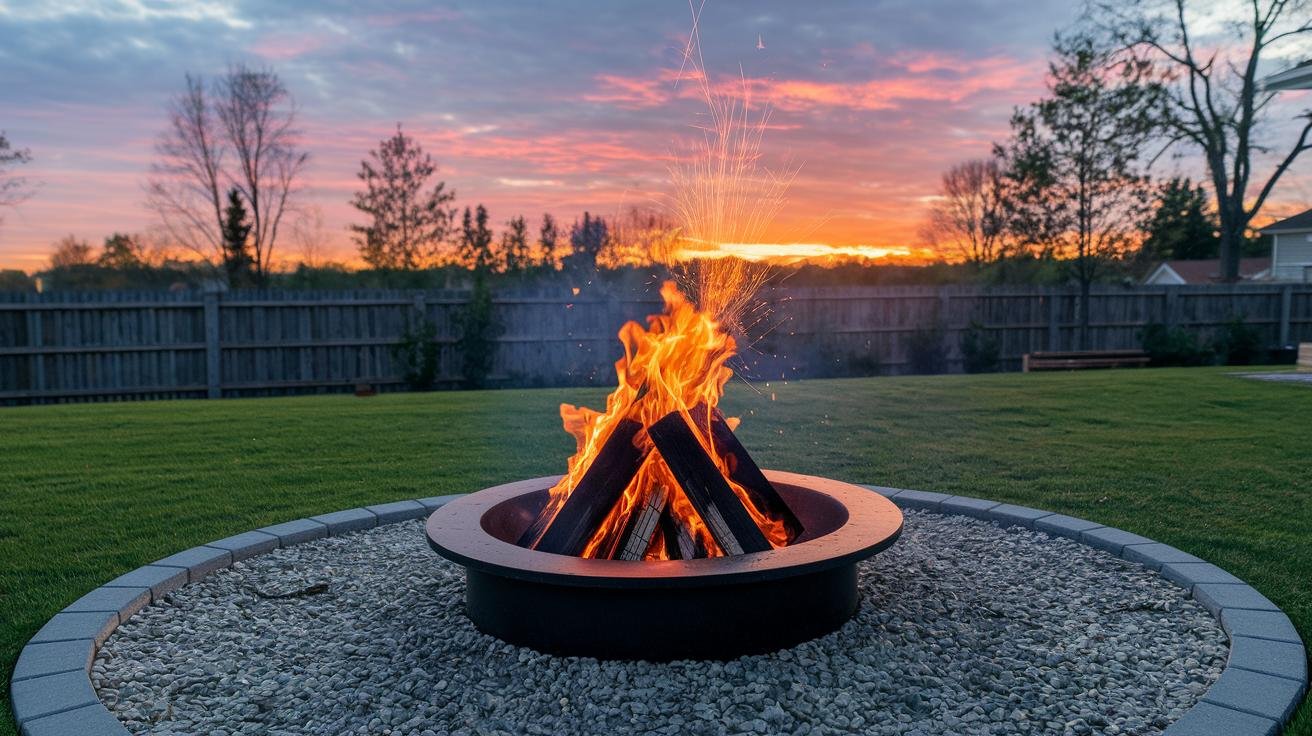
A fire pit is only as good as the spot you put it in. Set it on a noncombustible base — brick, stone, concrete, or pea gravel — so stray embers land somewhere they can’t catch, and cleanup doesn’t mean scraping ash out of the lawn. Then give it room: keep at least ten to fifteen feet of clearance from fences, sheds, decks, and low branches, and treat that circle as a no-go zone for chairs and firewood. I learned the clearance rule the boring way, watching a breeze carry sparks toward a wood fence closer than I’d like to admit. For the specifics on distances, my fire pit placement and safety guide spells them out.
Check your local rules before you build or light up. Plenty of towns require a permit or have open-burning restrictions, and a quick call to the fire department beats an awkward visit mid-party. Once you’re running, upkeep is light: use a spark screen to catch flying embers, scoop cold ash into a metal bucket weekly, and check stone mortar and metal parts once a year for cracks or rust. When the night’s over, let the wood burn down and drown the embers until they’re cold to the touch.
Weather is the other thing that quietly wears a pit out. A cover keeps rain, snow, and UV off the metal and stops water from pooling and rusting the bowl in the off-season. A fitted one like the Sunnydaze 36-inch Fire Pit Cover is heavy-duty PVC with a drawstring that actually stays put in wind ($) — a small buy that adds years to a pit. When the season really turns, my guide to winterizing a wood-burning pit walks through the full shutdown, and the maintenance and cleaning guide covers the season-long routine.
Recommended gear for a backyard fire pit
As an Amazon Associate, Backyard Superstar earns from qualifying purchases at no extra cost to you.
- Smokeless splurge — Solo Stove Bonfire 2.0 ($$$). Double-wall stainless steel that re-burns the smoke so you can sit downwind.
- All-around wood pick — Sunnydaze 26-inch Steel Fire Pit Bowl ($$). Comes with spark screen, grate, and poker; sets up in minutes.
- Budget portable — Amazon Basics 26-inch Folding Fire Pit ($). Packs flat, includes a spark screen, cheapest way into fire nights.
- DIY liner — Sunnydaze Steel Fire Pit Ring Insert ($). Heavy-gauge 30-inch liner that keeps paver builds from cracking.
- Gas upgrade — Bali Outdoors 42-inch Propane Fire Pit Table ($$$). Instant flames, hidden tank, doubles as a patio table with the lid on.
- Off-season protection — Sunnydaze 36-inch Fire Pit Cover ($). Heavy-duty PVC with a drawstring that keeps rain and rust off the bowl.
Seasonal Decor That Keeps the Fire Cozy
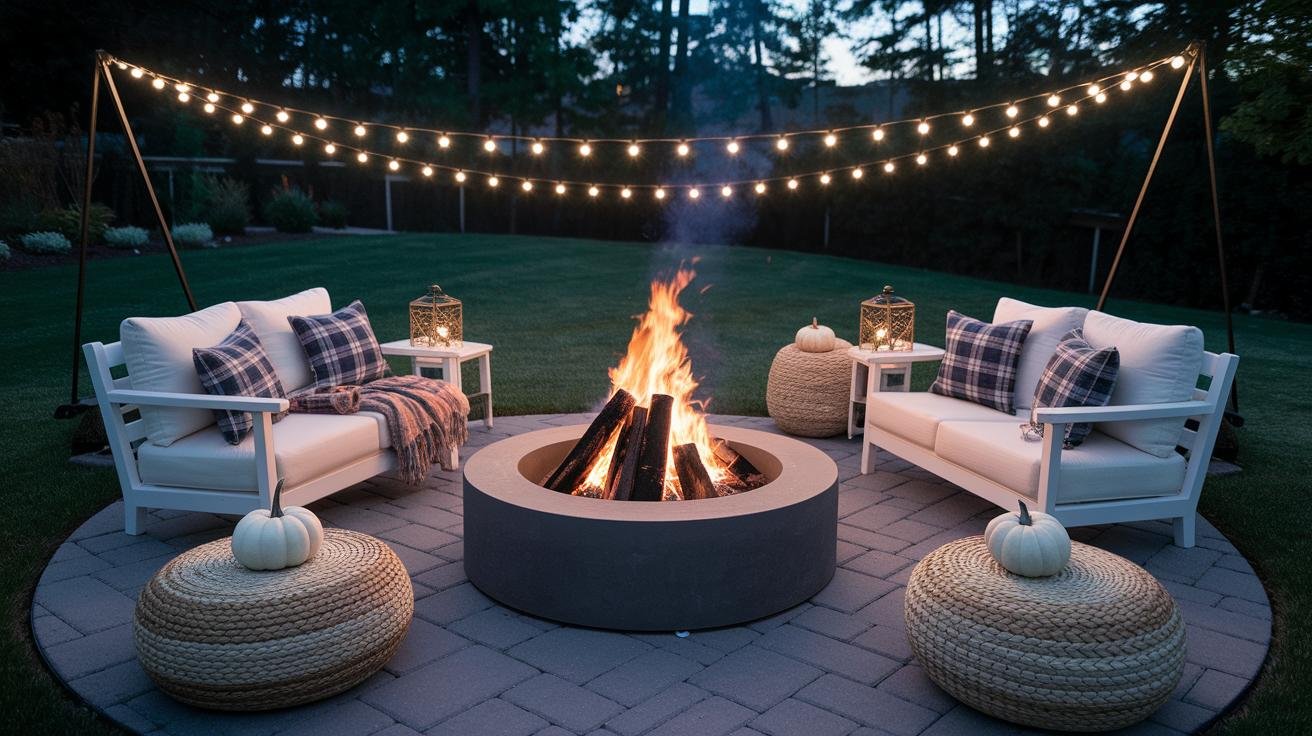
The nice thing about a fire pit is that it takes on whatever mood you give it, season to season, with almost no effort. In spring and summer, string a few LED fairy lights overhead, set lanterns around the rim, and add weather-resistant cushions for long, warm evenings. Come fall, swap in plaid pillows, drape a woven throw over a bench back, and tuck a couple of small pumpkins around the base — instant sweater weather.
Winter is where a fire pit really earns its spot. Stack firewood in a neat pile nearby, keep wool blankets within reach, and set up a little hot-cocoa station on a side table so nobody has to run inside. When the holidays roll around, a fresh wreath on the fence behind the pit and a pine-cone garland do the whole job. None of it costs much or takes long, and it’s what turns a fire pit from a summer toy into a year-round reason to be outside.
FAQ
What are some small, budget-friendly fire pit ideas?
Set a steel fire bowl on a bed of pea gravel and ring it with a course of basic pavers or reclaimed bricks. Add a few solar path lights, and you’ve got a cozy setup for very little money and about an afternoon of work.
How do I build a simple DIY fire pit in my backyard?
Mark and level a three- to four-foot circle, lay four inches of gravel topped with an inch of sand, stack six to eight courses of pavers, drop in a steel fire ring, then sweep sand into the joints. Let it cure a day before the first fire.
What should I put in the bottom of a fire pit?
About four inches of crushed gravel with roughly an inch of sand on top. That base drains rainwater and keeps direct heat from cracking the pavers underneath.
Is a smokeless fire pit worth it?
If smoke chasing you around the fire is your main gripe, yes. The double-wall design re-burns the smoke so you can sit anywhere without stinging eyes. If you rarely notice smoke, a standard steel bowl saves money and still burns wood beautifully.
How far should a fire pit be from the house?
Keep at least ten to fifteen feet of clearance from the house, fences, sheds, decks, and overhanging branches, and check your local rules — some areas require more. See my placement and safety guide for the specifics.
Are backyard fire pits worth it?
For most yards, absolutely. A pit extends your outdoor season into the cool evenings, gives people a natural place to gather, and adds warmth and light for a fraction of what other backyard upgrades cost.