How to Grow Tomatoes in Pots and Containers
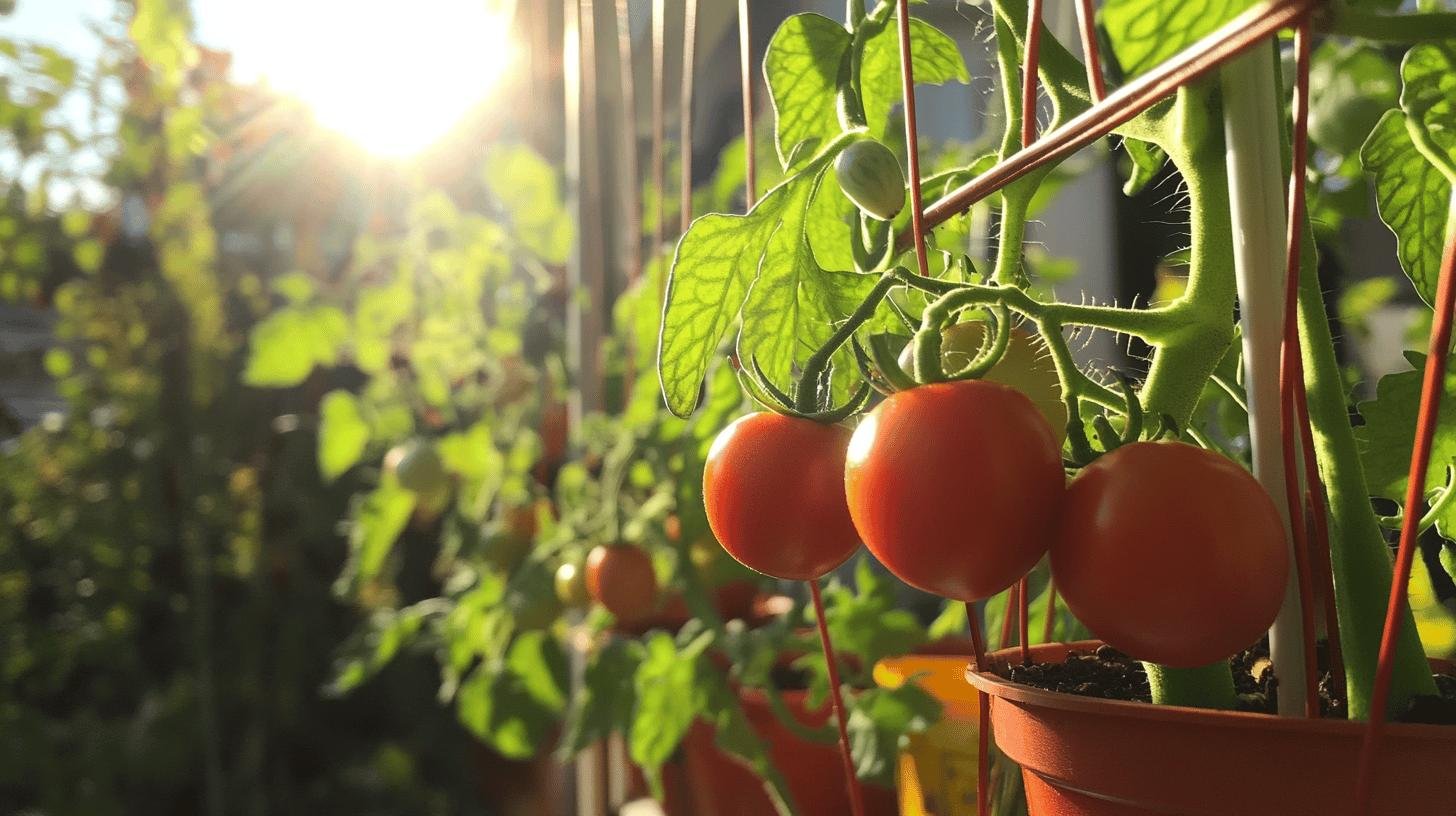
You don’t need a garden bed to grow real, vine-ripened tomatoes. Some of the best harvests I’ve ever pulled came off a sunny patio, out of pots I could move with my own two hands. Growing tomatoes in pots gives you something an in-ground bed can’t: full control over the soil, the watering, and where the plant sits as the sun shifts through the season. If you’ve got six hours of sun and a container big enough, you can grow tomatoes on a balcony, a back step, or a strip of driveway — and the flavor is every bit as good as anything from the garden.
As an Amazon Associate, Backyard Superstar earns from qualifying purchases at no extra cost to you.
The whole thing comes down to a handful of decisions made early — the pot, the soil, the variety — and then a steady routine once the plant is in. Get those right and a potted tomato will reward you for months. Below is how I set mine up, the mistakes I’ve made so you don’t have to, and the gear I actually reach for. If containers are new to you, my guide to backyard container gardening covers the basics this post builds on.
Pick the Right Pot for Container Tomatoes
Pot size is the decision people get wrong most often, and it’s the one that matters most. Tomatoes are big, thirsty plants with hungry roots, and a cramped container throttles them before they ever set fruit. The rule I go by: bigger is almost always better. A pot that feels comically large in spring will look exactly right by July, when the plant is four feet tall and loaded.
How big depends on the type of tomato. Sprawling indeterminate varieties — the ones that keep growing and fruiting until frost — want serious root room, so I give them a 20-gallon container like the Smart Pots 20-Gallon Fabric Container (premium pick, $$). Compact determinate types, which grow to a set size and ripen most of their crop at once, do fine in an 18-inch-diameter pot. Small patio and dwarf varieties will even tolerate a 5-gallon bucket — just know that the smaller the pot, the faster it dries out and the more often you’ll be hauling the watering can.
Then there’s the pot material, and here I’ve become a real convert to fabric. Fabric pots breathe along every surface, so air reaches the roots from all sides. That “air-pruning” keeps roots from circling and stops the soggy, airless conditions that cause root rot in a sealed plastic pot. On a hot day the soil in a fabric pot also runs cooler than in plastic, which the roots appreciate. Plastic pots are cheaper and hold moisture longer, which can be a plus if you’re away a lot — but for tomatoes I’ll take the breathability every time. If you want to start a few plants without spending much, a multipack like these VIVOSUN 20-Gallon Grow Bags gets you several big fabric pots for the price of one rigid planter (budget pick, $). Whatever you choose, make sure it has real drainage holes — standing water at the bottom of a pot will kill a tomato faster than almost anything.
The Best Soil for Tomatoes in Pots
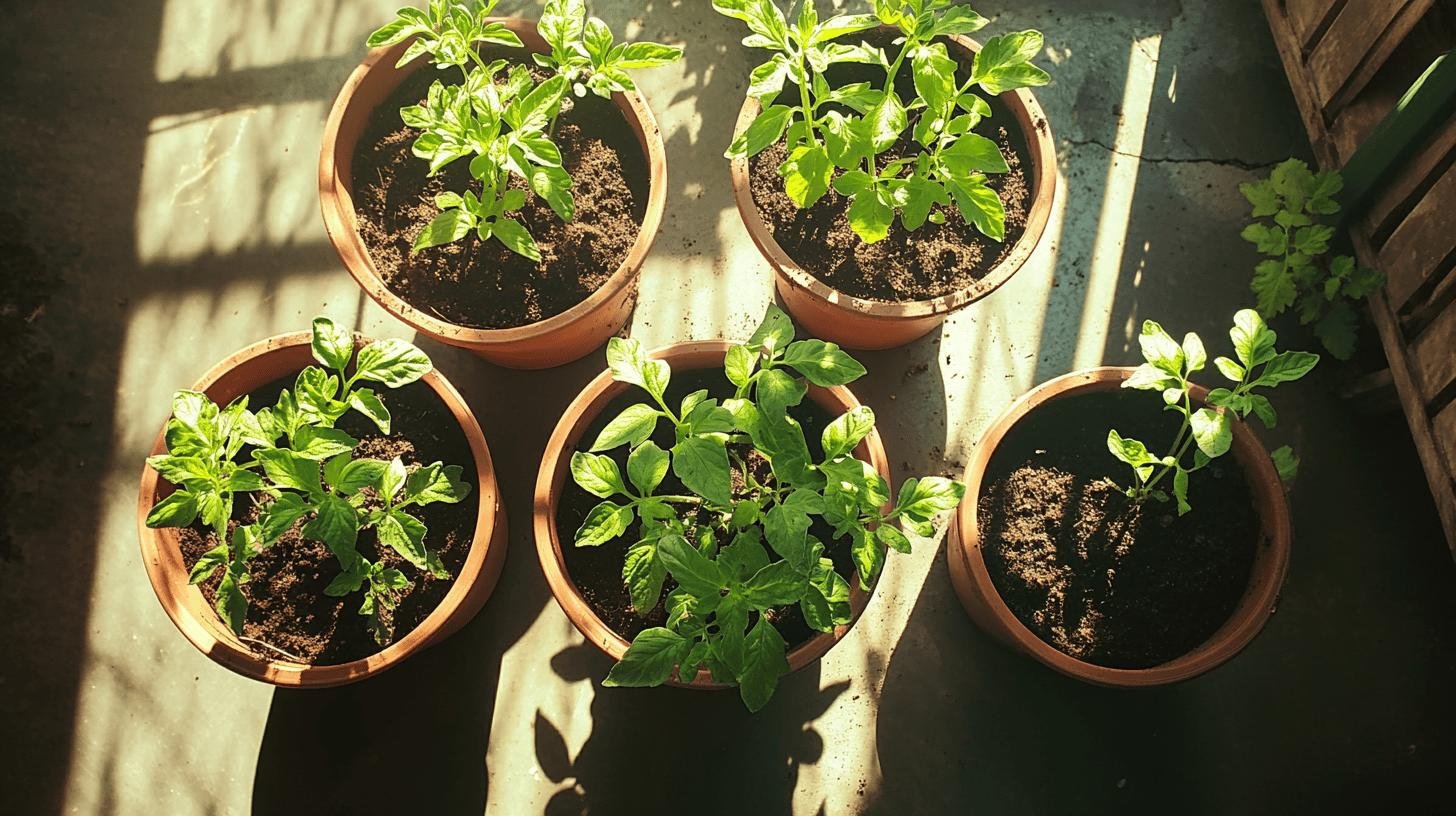
Here’s the thing that trips up new container gardeners: never fill a pot with soil dug from the yard. Garden dirt compacts into a dense, airless brick once it’s confined to a container, and it can bring weed seeds and disease along for the ride. What a potted tomato wants is a real potting mix — light, fluffy, and built to hold moisture while still draining freely.
I reach for a quality organic blend, and the one I keep coming back to is FoxFarm Happy Frog Potting Soil (top pick, $$). It’s amended with earthworm castings and beneficial soil microbes, the pH is already dialed in for vegetables, and the texture is exactly the loose, moisture-holding stuff tomato roots love. Miracle-Gro Performance Organics and similar organic container mixes work well too — the point is to start with a real potting mix rather than topsoil. For a deeper look at what goes into a good blend, my notes on the best soil mix for container gardening break it down ingredient by ingredient.
You don’t have to buy fresh soil every single year, either. I’ll reuse a good potting mix for two or three seasons before it’s truly spent, refreshing it each spring by working in a few inches of compost and a dose of fresh mix to replace what the last crop used up. The one exception: if a plant came down with disease, I dump that soil rather than risk carrying the problem into next year’s tomatoes. When the mix starts looking gray, feeling compacted, or draining poorly, it’s done its tour — time to start fresh.
Which Tomato Varieties Grow Best in Containers
Variety choice quietly decides how your whole season goes, because not every tomato is built for a pot. The first fork in the road is determinate versus indeterminate. Determinate tomatoes grow to a fixed height, set most of their fruit in a couple of big waves, and then wind down — which makes them tidy, predictable, and easy to support in a container. Indeterminate tomatoes are the opposite: they vine on and on, fruiting steadily until frost, and they need a bigger pot and sturdier support to match that ambition.
For determinate types that genuinely thrive in pots, I lean on the classics — Better Bush, Bush Goliath, and the aptly named Patio. They stay compact, resist common diseases reasonably well, and still deliver real, slice-for-a-sandwich tomatoes rather than a token handful. If your space is tight or you just want a steady trickle of fruit instead of one big flush, cherry tomatoes are the easiest win in container growing. Sungold and Super Sweet 100 are almost foolproof, and a single healthy plant will hand you bowls of sweet little tomatoes from midsummer straight through fall.
Heirlooms are worth a word, because people assume the big rambling beefsteaks are off-limits in pots. They’re not — you just have to choose with the container in mind and give them the biggest pot you’ve got. Compact or “dwarf” heirloom lines and the smaller-fruited heirlooms (think a determinate-leaning paste or a cherry-size heirloom) handle pot life far better than a six-foot Brandywine ever will. The trade-off is honest: heirlooms reward you with flavor and character that most hybrids can’t touch, but they often carry less disease resistance, so airflow and clean watering matter even more. If you want a head start, look for grafted or disease-resistant heirloom selections. For tomatoes specifically and beyond, my roundup of vegetables that grow well in containers can help you round out the pots once the tomatoes are settled.
How to Plant Tomatoes in Containers
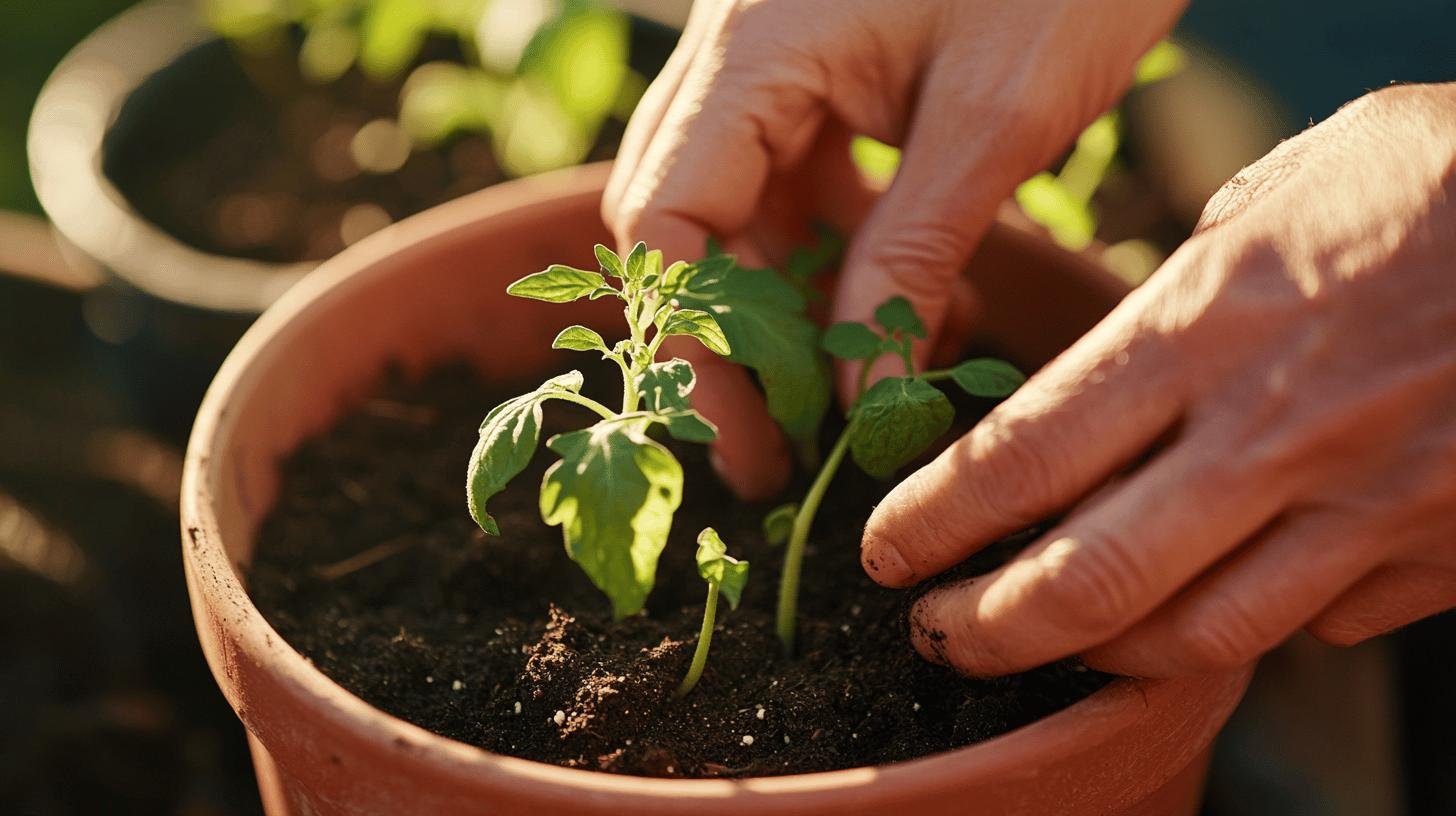
Timing is the first thing to nail. Tomatoes are warm-season plants with zero tolerance for frost, so wait until all danger of frost has passed and nighttime temperatures are reliably staying above the mid-40s before they go outside. Rush it and a single cold night can set a young plant back weeks — or end it. One quiet advantage of pots is that they’re portable: if a late cold snap sneaks into the forecast, I just carry mine into the garage for the night or drape them with a frost cloth, something you simply can’t do with an in-ground bed.
The single best planting trick I know for tomatoes is to bury them deep. Strip the leaves off the bottom two-thirds of the stem and plant it so that buried portion is underground. Tomatoes grow roots all along any stem that’s in contact with soil, so a deeply planted seedling builds a much bigger, stronger root system — and a bigger root system means a sturdier plant and more fruit. Here’s the simple sequence I follow:
- Fill the pot with a quality potting mix, leaving a couple of inches at the top.
- Start with a healthy transplant (or your own seedling, hardened off to outdoor conditions first).
- Pinch off the lower leaves and bury two-thirds of the stem.
- Firm the soil gently around the base so the plant stands on its own.
- Water thoroughly right away to settle the roots and close any air pockets.
Set the cage or stake in at planting time, too — more on that below. It feels premature when the plant is six inches tall, but installing support early means you’re not jamming stakes through established roots later, which damages the plant just as it’s hitting its stride.
Watering and Feeding Potted Tomatoes
If there’s one place container tomatoes ask more of you than in-ground ones, it’s watering. A pot holds a limited reservoir of moisture and the sun pulls it out fast, so consistency is everything. Tomatoes want even, steady moisture — and the swings between bone-dry and soaking-wet are exactly what trigger cracked fruit and blossom end rot. In the heat of summer I check mine daily, and on the hottest stretches a big plant in a fabric pot can need water every single day. The test is simple: push a finger an inch into the soil, and if it’s dry at the fingertip, it’s time to water. Water deeply until it runs out the drainage holes, rather than giving frequent little splashes that never reach the deeper roots. My container garden watering tips go further on keeping that routine stress-free.
Feeding matters nearly as much, because every time you water a pot, nutrients rinse out the bottom with it. Potted tomatoes are heavy feeders running on a finite pantry, so they need regular replenishing. I work an organic granular fertilizer into the mix at planting and then feed every couple of weeks through the season — Espoma Organic Tomato-tone is my standby (budget pick, $). It’s formulated specifically for tomatoes, with added calcium that helps head off blossom end rot, and it releases slowly so you’re not chasing the plant with liquid feed every few days. Whatever you use, ease back on high-nitrogen formulas once the plant starts flowering; too much nitrogen gives you a gorgeous leafy jungle and not many tomatoes.
Here’s the rhythm I keep, watering and feeding side by side:
| Watering | Feeding |
|---|---|
| Check soil daily; water when the top inch is dry | Mix granular organic fertilizer into the soil at planting |
| Water deeply until it drains from the bottom | Feed every 2 weeks through the growing season |
| Daily watering likely in peak summer heat | Ease off nitrogen once flowering starts |
| Aim for even moisture — avoid wet/dry swings | Give a calcium-inclusive feed to limit blossom end rot |
Supporting and Pruning Container Tomatoes
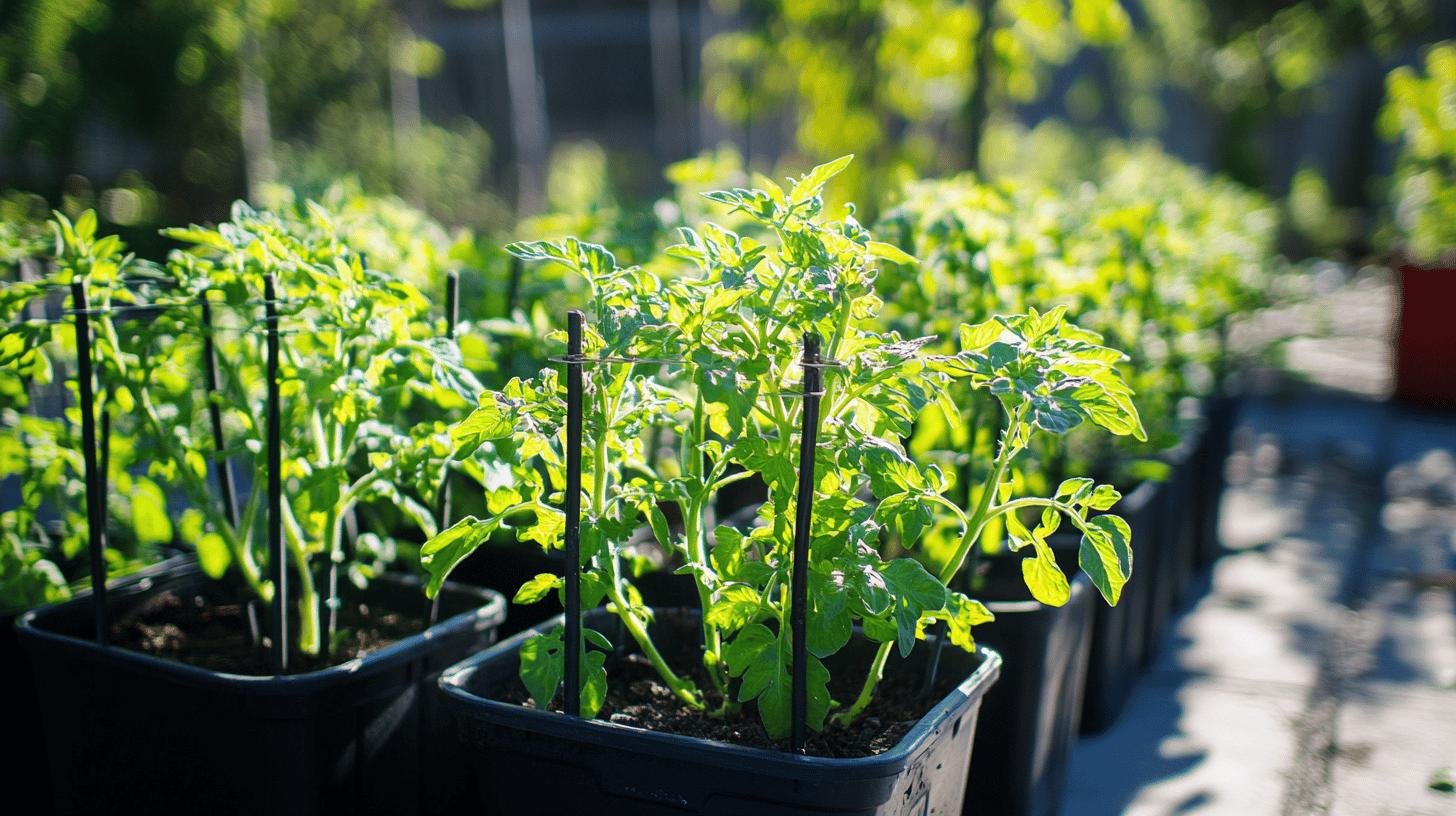
Even a compact tomato gets top-heavy once it’s carrying fruit, and an unsupported plant flops, snaps, or lets its tomatoes rest on the soil where they rot. Support is not optional. For determinate and most patio varieties, a sturdy cage is the easiest answer — it holds the whole plant without much fuss. I use heavy-gauge ones like the Gardener’s Supply Lifetime Tomato Cages (premium pick, $$$); they’re far stronger than the flimsy cone cages and they fold flat for winter storage. Indeterminate vines that climb past the top of a cage do better on a tall stake or a string trellis you can keep tying them to as they grow. Whatever you pick, get it in at planting time so you’re not disturbing roots later.
Pruning is where a little effort pays off in better fruit. On indeterminate plants I pinch out the “suckers” — the shoots that sprout in the crook between the main stem and a branch — to steer the plant’s energy into tomatoes instead of endless foliage. Determinate types need almost no pruning, since cutting their growth back can cost you fruit, so with those I just remove the lowest leaves to keep them off the soil. A few habits keep any potted tomato healthier:
- Pinch suckers on indeterminate plants to focus energy on fruit.
- Strip the lower leaves so nothing touches the wet soil surface.
- Thin crowded interior growth to open up airflow.
- Check weekly for the first signs of pests or disease.
That airflow point is the one people skip, and it’s the one that prevents the most trouble. A plant you can see daylight through dries faster after rain and gives fungal diseases far less of a foothold.
Common Problems: Pests, Disease, and Blossom End Rot
Container growing actually heads off a lot of problems — you control the soil, and getting the pots up off the ground puts them out of reach of some crawling pests. But a few issues still turn up, and catching them early is the whole game. The usual suspects are aphids, whiteflies, and spider mites, small sap-suckers that multiply fast. I check the undersides of leaves once a week, and at the first sign I knock them back with a spray of neem oil, which disrupts the pests’ life cycle without nuking the bees and other beneficial insects. For a fuller toolkit, my guide to natural pest control for container gardens walks through the organic options.
The disorder that frustrates container growers most is blossom end rot — that sunken, leathery brown patch on the bottom of the fruit. It looks like a disease, but it’s really a calcium problem driven by uneven watering: when the soil swings from dry to wet, the plant can’t move calcium into the developing fruit. The fix is rarely “add more calcium” so much as “water more consistently,” which is exactly why the steady-moisture routine above matters so much. A calcium-inclusive fertilizer like Tomato-tone helps on the margins, but even watering does the heavy lifting.
The mistakes I see most often are easy to sidestep. Crowding too many plants into one pot starves them all of light and air, so give each tomato its own roomy container. Overwatering is as harmful as underwatering — it’s about even moisture, not constant soaking, and good drainage is non-negotiable. And starting each season with fresh or refreshed soil keeps last year’s pathogens from carrying over. None of these are hard; they’re just the difference between a plant that limps along and one that buries you in tomatoes.
End-of-Season Care for Your Pots
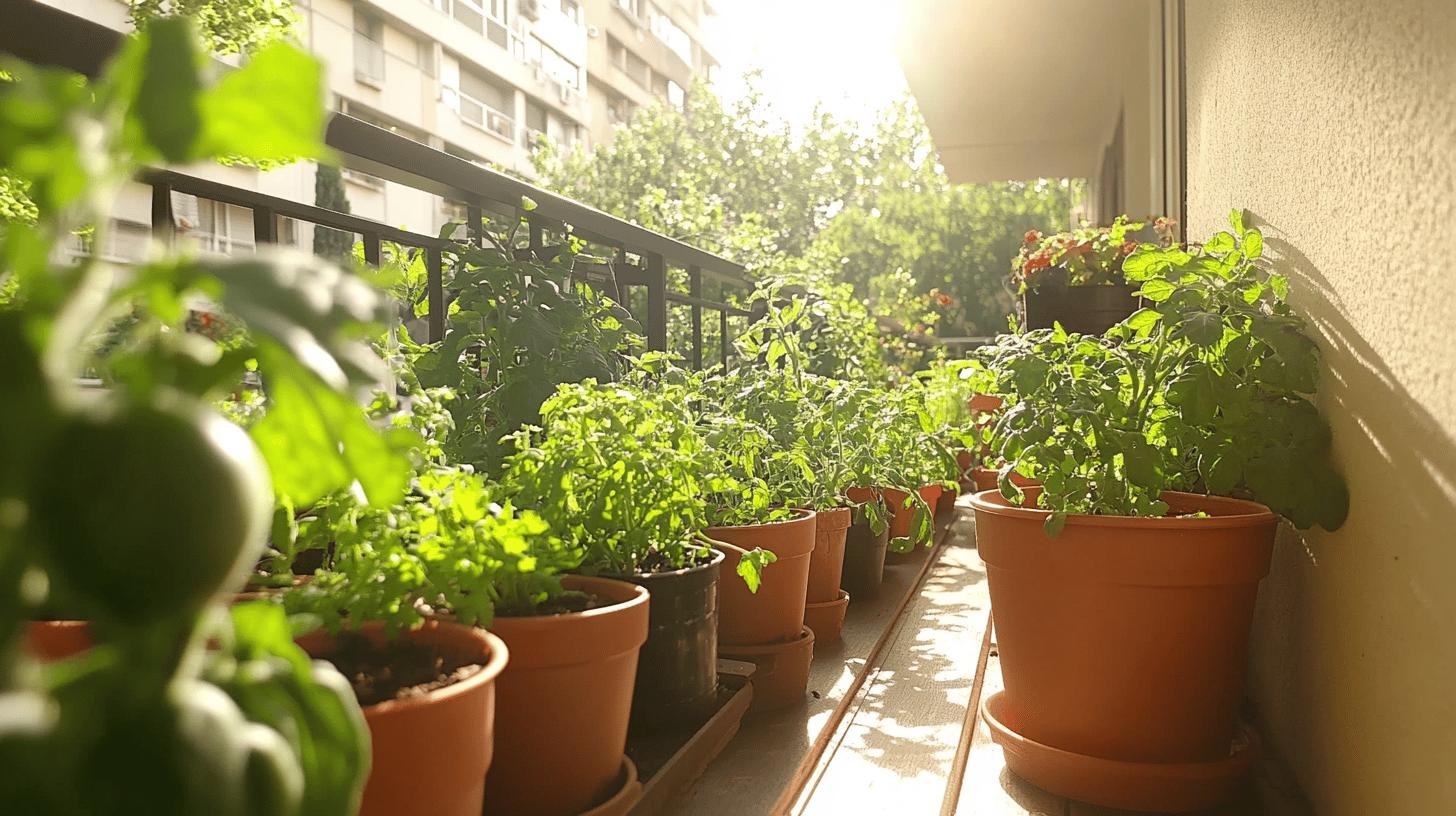
When the plants finally wind down in fall, a little cleanup now saves you grief next spring. Pull the spent plants and clear out every bit of debris — old tomato foliage left to break down in the pot is an open invitation for diseases to overwinter and ambush next year’s crop. If a plant struggled with disease, toss its soil rather than reuse it; healthy mix can be refreshed and run another season, as covered above.
Give the empty pots a real cleaning before they go into storage. I scrub them with mild soapy water to clear off caked soil, then sterilize with a weak bleach solution — about one part bleach to nine parts water — to kill any lingering pathogens. Let them dry completely, then stash them somewhere sheltered for winter. Fabric pots can go in the wash on a gentle cycle and air-dry. It’s a ten-minute job in October that hands you a clean, ready-to-plant setup the moment next spring’s tomato fever hits.
Recommended gear for container tomatoes
As an Amazon Associate, Backyard Superstar earns from qualifying purchases at no extra cost to you.
- Top pick — soil — FoxFarm Happy Frog Potting Soil ($$). Light, microbe-rich organic mix with pH already set for vegetables.
- Budget pick — pots — VIVOSUN 20-Gallon Grow Bags ($). Several big, breathable fabric pots for the price of one rigid planter.
- Budget pick — feed — Espoma Organic Tomato-tone ($). Slow-release organic tomato food with added calcium to fight blossom end rot.
- Premium pick — pot — Smart Pots 20-Gallon Fabric Container ($$). Roomy, breathable pot that keeps roots cool and healthy for big indeterminate plants.
- Premium pick — support — Gardener’s Supply Lifetime Tomato Cages ($$$). Heavy-gauge cages that hold a loaded plant and fold flat to store.
Frequently Asked Questions
How well do tomatoes grow in pots?
Very well, as long as you give them a big enough container, a quality potting mix, full sun, and steady water. Many gardeners get harvests from pots that rival an in-ground bed, with the bonus of fewer soil-borne diseases and the freedom to move plants around.
What size container is best for growing tomatoes?
Big. Indeterminate (vining) types want a 20-gallon pot; compact determinate varieties do well in an 18-inch-diameter pot; small patio and dwarf tomatoes can manage in a 5-gallon bucket. Aim for at least 18 inches deep so the roots have room.
How often should I water tomatoes in pots?
Check daily and water whenever the top inch of soil is dry — in peak summer heat a large potted tomato may need water every day. Water deeply until it drains from the bottom, and keep moisture even to prevent cracking and blossom end rot.
What soil is best for potted tomatoes?
A quality organic potting mix such as FoxFarm Happy Frog or Miracle-Gro Performance Organics. Don’t use garden soil in pots — it compacts and can carry weeds and disease.
Do tomatoes need pruning when grown in pots?
Indeterminate types benefit from pinching out suckers to direct energy into fruit. Determinate varieties need little pruning beyond removing the lowest leaves to keep them off the soil and improve airflow.
What causes the brown spots on the bottom of my potted tomatoes?
That’s blossom end rot, caused by uneven watering that keeps the plant from moving calcium into the fruit. Water consistently and use a calcium-inclusive tomato fertilizer to prevent it.