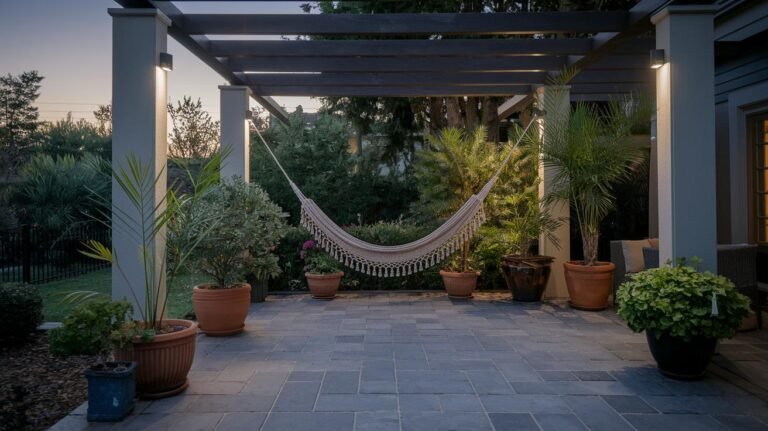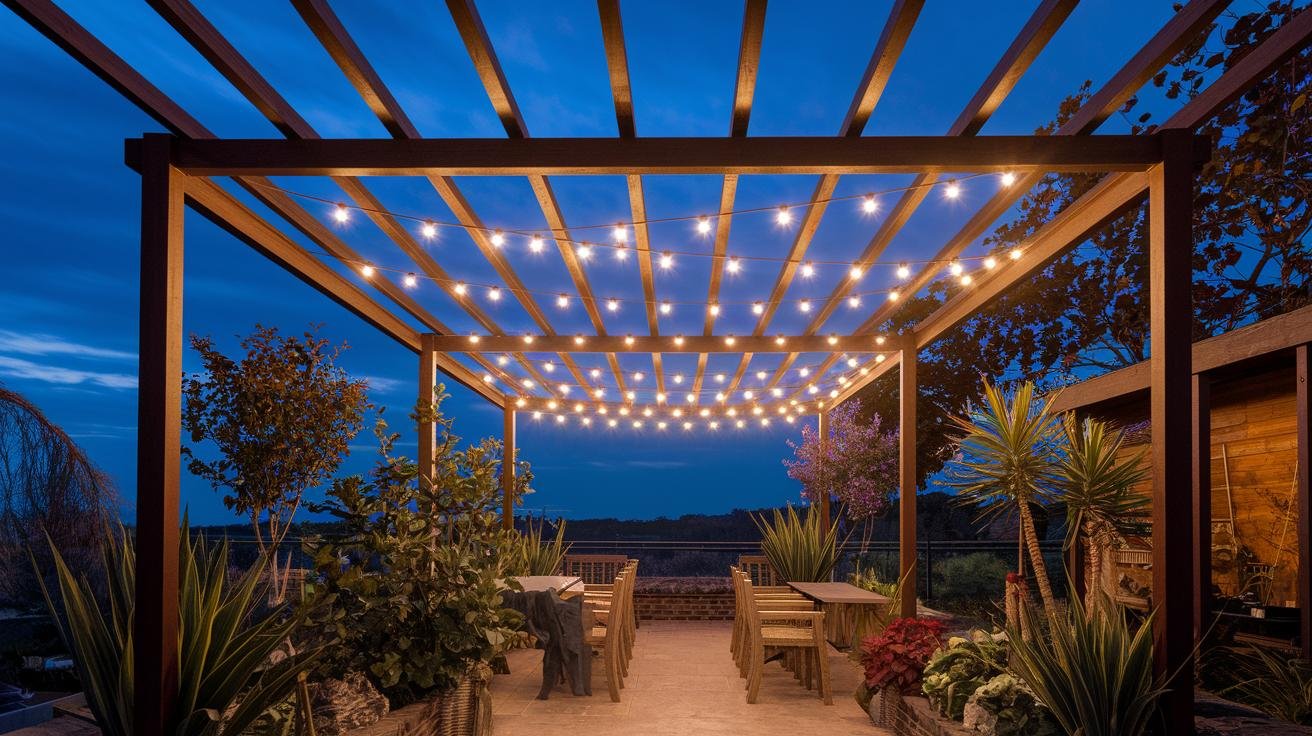
Pergola Lighting Ideas for Evening Ambiance
A pergola without lighting is a daytime feature. Add layered lighting and it becomes the part of the backyard you actually use after sundown. I learned that the slow way — my first pergola sat dark and unused every evening until I strung one run of lights across it, and suddenly we were eating dinner out there three nights a week. The right mix of overhead string lights, hanging lanterns, under-beam LED strips, and smart dimming turns a bare structure into a usable outdoor room from dusk through midnight, and the whole thing is well within DIY range.
This guide covers the fixture types worth knowing, how color temperature and brightness set the mood, smart controls and dimming, the weatherproofing rules that keep it safe, DIY wiring, lighting-zone planning, and a real budget-and-maintenance breakdown. For the pergola structure itself, see our companion guide on budget-friendly pergola design ideas.
As an Amazon Associate, Backyard Superstar earns from qualifying purchases at no extra cost to you.
Five Lighting Types Worth Knowing
Most pergola installations combine two or three of these five fixture types. Layering different sources gives the visual depth a single source never will.
| Lighting type | Key specs | Price range |
|---|---|---|
| Outdoor string lights | 48 ft, 12–15 Edison-style bulbs, plug-in or hardwired | $$ |
| Hanging lanterns | Solar or battery, 8–12 hr run time, IP44+ rated | $–$$ |
| LED light strips | 16–33 ft, IP65 rated, cuttable, RGB or warm/cool white | $$ |
| Pendant lights | 120V hardwired, IP44 rated, ~800 lumens per fixture | $$–$$$ |
| Fairy lights (microLED) | 30 ft string, IP65 rated, decorative | $ |
String lights are the workhorse, and honestly where I’d tell anyone to start. Drape them across the beams in a zigzag, a perimeter rectangle, or radiating from the center. Edison-style bulbs throw a warmer glow than plain LEDs, and a commercial-grade set like the Brightech Ambience Pro 48-ft LED string lights ($$) uses shatterproof dimmable 2W bulbs on a weatherproof cord — the kind you can leave up year-round instead of taking down every fall.
Hanging lanterns add character at specific spots — over a dining table, at the corners of a seating area, above a bar cart. Solar lanterns like these WdtPro solar hanging lanterns ($) are the easy win where running power is a hassle: they charge in the sun, flick on at dusk on their own, and shrug off rain at an IP65 rating. The tradeoff is brightness, so treat them as accent, not your main light.
LED light strips tucked under the beams give a clean wash of indirect light — the most modern of the looks, and it plays especially well on contemporary pergolas with straight lines. An outdoor-rated strip such as the Govee RGBIC outdoor LED strip (warm + cool white) ($$) is IP65 sealed, cuttable to length, and app-controlled, so you can dial it warm for a quiet night or shift color for a party.
Pendant lights are the most formal option. A pair over the dining table delivers focused task lighting bright enough to actually see what you’re eating.
Fairy lights are decorative more than functional. Best woven through climbing vines on the posts or wrapped around the upright supports for a bit of sparkle.
A typical build might combine one string-light run across the beams, two pendants over the table, and an LED strip under a side beam for backlight. That three-layer combination is where most pergolas land.
Color Temperature and Mood
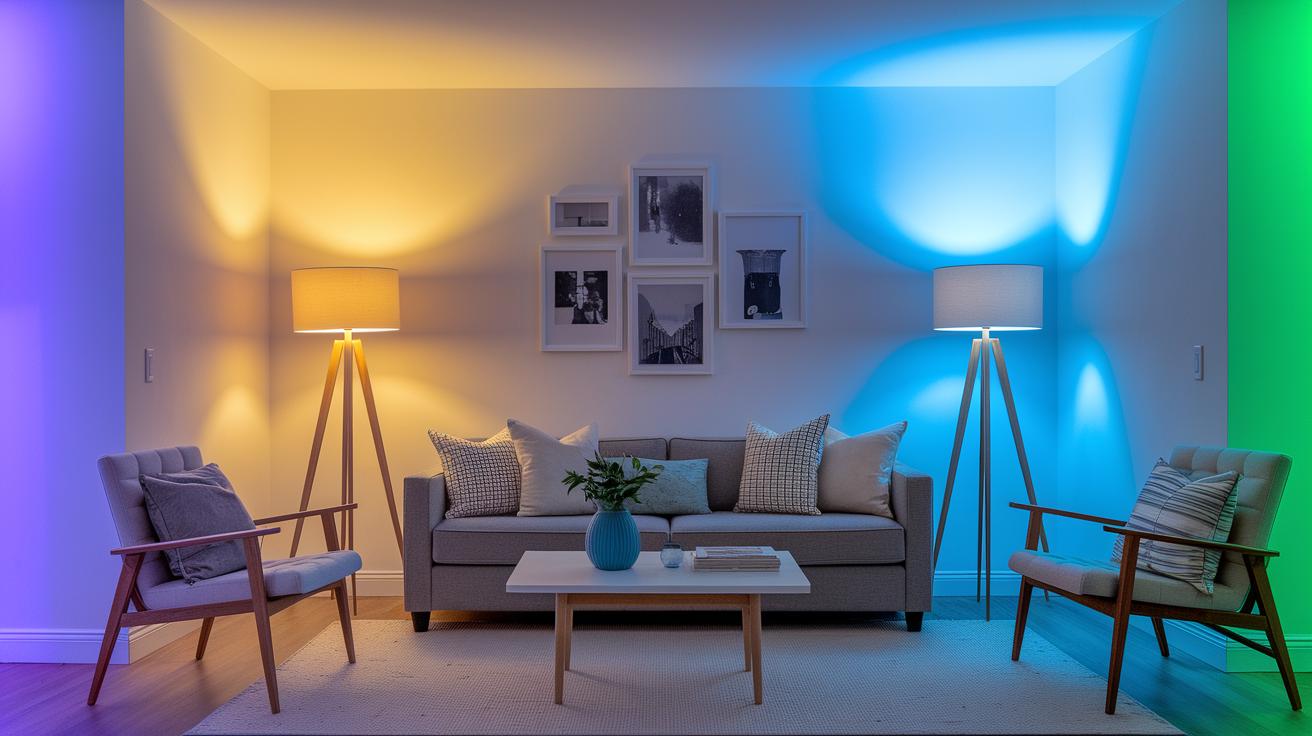
Color temperature (measured in Kelvin, K) decides whether the light feels golden and cozy or crisp and modern — and the wrong choice will quietly fight the rest of your backyard. Here’s how the ranges break down:
- Warm white (2700K–3000K): the sunset/candlelight range. Default for relaxing, evening conversation, and anything paired with a wood pergola. Feels intimate.
- Soft white (3000K–3500K): still warm but slightly brighter and crisper. A good middle ground for pergolas that host both dinners and games.
- Cool white (3500K–4500K): daylight-like, modern, energetic. Works for contemporary designs and spots where you need accurate visibility (food prep, reading).
- Daylight (5000K+): almost clinical. Too bright for relaxed evenings — reserve it for task lighting where color accuracy matters.
Brightness target: aim for roughly 200–400 lumens per fixture across the array. Under 200 lm reads as decorative ambient only — pretty, but you can’t read by it. Closer to 400 lm gives you functional light without glare.
On color-changing options: an RGBW strip with app or remote control lets you keep warm white for everyday use and jump to a specific color for parties or holidays. Reading-light evenings stay golden; Halloween orange and Christmas red-and-green are a tap away. Favor app or Wi-Fi control over basic remotes, which drop signal at distance — the same Govee RGBIC strip handles both the warm-white base and the color scenes from one controller.
Smart Controls and Dimming
Smart controls are the upgrade that pays back for years. Phone control, voice control, and scheduling turn pergola lighting from “walk out and flip a switch” into “lights come on at sunset and dim to 30% at 10 PM on their own.”
Smart plug — the easiest entry point. If you don’t want to swap every bulb, plug your existing string lights into an outdoor-rated smart plug like the Kasa outdoor smart plug (EP40) ($). It’s IP64 weather-rated with two sockets, handles sunset/sunrise scheduling, and works with Alexa and Google Home — no hub, no rewiring.
Dimming without a hardwired dimmer. For string lights you actually want to fade, an outdoor dimmer plug like the Kasa outdoor smart dimmer plug (KP405) ($$) drops between the outlet and the lights and gives you app and voice dimming on dimmable bulbs — the indoor dimmer experience, weatherproofed. It’s my pick when the whole point of the pergola is winding the lights down late.
Wi-Fi smart bulbs and hubs: pair smart bulbs (Philips Hue, LIFX, TP-Link Kasa) to a Wi-Fi hub for per-bulb control. For a pergola far from the router, a Zigbee or Z-Wave mesh system holds signal better than pure Wi-Fi because each device extends the range.
Scenes worth setting up:
- Sunset dim-on: lights come on at sunset at 30%, ramp to 70% over 30 minutes.
- Dinner: warm white at 80%, focused on the table.
- Late evening: dim to 30% at 10 PM, off at midnight.
- Party mode: color strips on a slow cycle while the warm whites hold steady.
Weatherproofing and Safety
Outdoor electrical work has stricter rules than indoor because water and electricity actively try to hurt each other. The basics come down to IP ratings, GFCI protection, and sealed connections.
IP ratings matter. The two-digit code on outdoor fixtures (IP44, IP65, IP67) tells you how protected they are from dust and water:
- IP44: splash-resistant. Fine for covered pergola areas with overhead protection.
- IP65: dust-tight and rain-resistant. Required for any fixture directly exposed to weather.
- IP67: survives brief submersion. Overkill for most pergolas, but good for low fixtures near a water feature.
GFCI outlets are mandatory. Any outdoor outlet within 6 feet of a water source (sprinkler, hose bib, fountain) has to be a Ground Fault Circuit Interrupter. It cuts power within milliseconds if it senses current leaking to ground — the difference between a startled jump and a serious shock.
Wiring rules:
- Use UV-resistant outdoor-rated wiring marked for wet locations.
- Keep all connections in weatherproof junction boxes, never exposed.
- Seal cable-gland entries with silicone.
- Bury 120V runs in PVC conduit at least 18 inches deep.
- Keep overhead wires at least 3 feet above any walking surface (NEC rule).
Then test it with a hose. Run water across each fixture and junction box for 30 seconds. No drips inside, no flickering. If anything misbehaves, fix it before powering back up.
DIY Installation and Wiring
Most installations fall into one of two power categories: low-voltage (12V from a transformer) or line-voltage (120V from your home electrical). The choice drives safety, range, and complexity, so decide it before you buy fixtures.
Low-voltage (12V) advantages: it’s safer for DIY — touching a powered 12V wire won’t hurt you — usually needs no permit for the wiring, and the cable can be surface-mounted with clips instead of buried in conduit. Most landscape-lighting kits are 12V for exactly these reasons. The one part you don’t skimp on is the transformer that steps household power down; a timer-and-photocell unit like the DEWENWILS low-voltage landscape transformer ($$) turns the whole run on at dusk and off on a schedule without you touching a switch.
Low-voltage limits: brightness tops out around 20W per fixture before voltage drop becomes a problem, and range is roughly 100 feet from transformer to the last fixture before the far lights dim.
Line-voltage (120V) requires more care: it supports brighter fixtures (pendants, recessed) and skips the voltage-drop math, but the wiring has to be in conduit or rated for direct burial, it often needs a permit and inspection, and I’d strongly recommend an electrician for the home-side connection even if you DIY the pergola-side runs.
Step-by-step low-voltage installation
- Plan the layout. Sketch the pergola from above, mark each fixture, and measure the cable run from the transformer to each one.
- Mount the transformer on a wall, post, or box near a GFCI outlet. It needs to be IP44-rated or housed in a weatherproof box.
- Mark fixture spots every 4 feet along the beams with a pencil.
- Install stainless steel hooks or eye bolts at each mark. Pre-drill pilot holes so you don’t split the beam.
- Run 12 AWG low-voltage cable along the beams, secured with UV-rated zip ties or stainless clips every 12 inches.
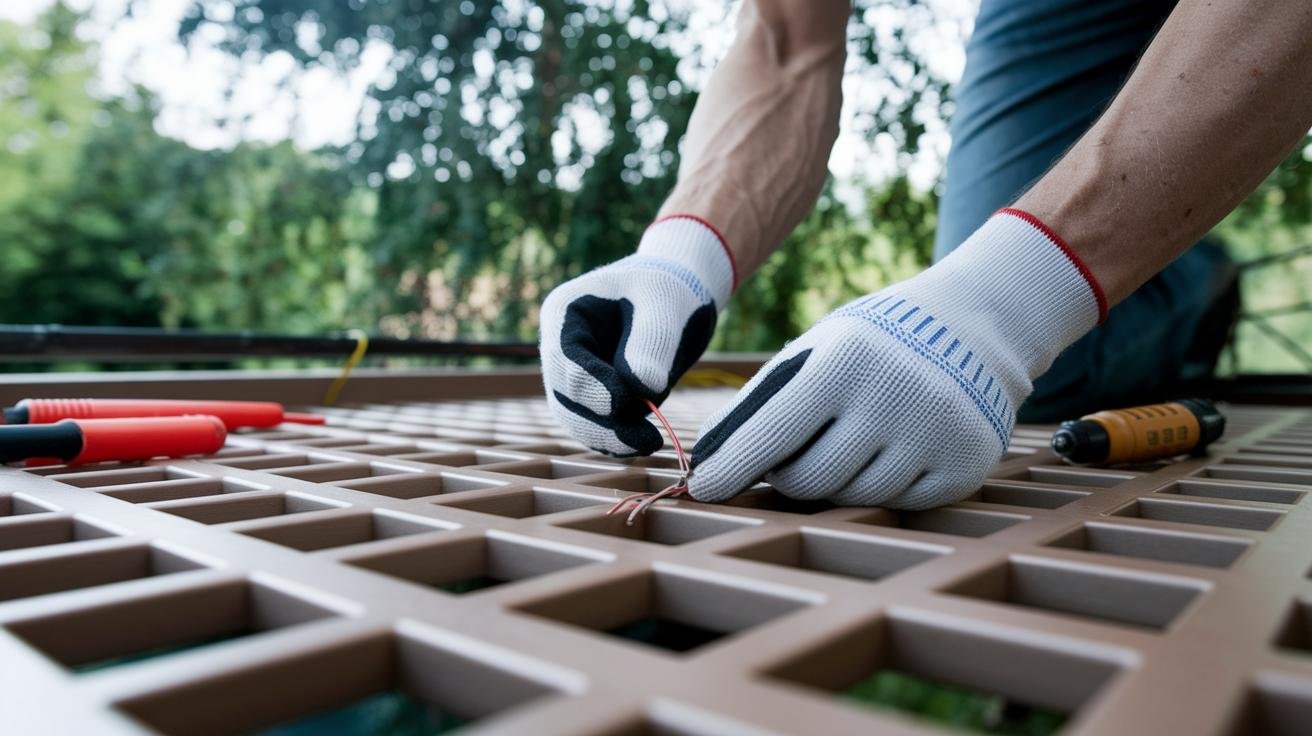
- Connect fixtures with waterproof (IP68) connectors. Slide heat-shrink tubing over each joint and shrink it for extra sealing.
- Power on and test. Dim or flickering fixtures usually mean voltage drop — move them closer to the transformer or step up a cable gauge.
- Tuck excess cable up under the rafters or into hollow beam channels for a clean finish.
Lighting Zones and Layering
The best pergola lighting uses multiple zones at different brightness levels and beam angles, each doing a different job. Think of it the way an interior designer plans a room: ambient, task, and accent, with a safety layer for the path.
Ambient (general illumination): string lights overhead, draped across the beams, around 300–400 lumens per bulb, hung 7+ feet up with a wide spread. This is the base layer that fills the whole pergola.
Task (focused, brighter): pendants over the dining table (about 30 inches above the surface, 400+ lumens, ~60° beam), step lights on any stairs (50 lumens, narrow 10° beam), and reading lights at the seating.
Accent (decorative, lower intensity): uplights at the base of the posts to wash the uprights (200 lumens, 45° upward beam, a foot off the ground), fairy lights through vines, and an LED strip under a beam for indirect glow.
Pathway (safety): solar stake lights every 3–4 feet along the walkway to and from the pergola — 10 lumens, wide 120° beam, just enough to mark the path without glare.
Put it together — ambient string lights, a task pendant over the table, accent uplights at the posts, and pathway lights on the approach — and you get a scheme that’s both good-looking and genuinely useful. That layering of intensities and angles is what separates a thoughtfully lit pergola from one that’s just got string lights slung across it. For the walking surfaces those pathway lights illuminate, our guide on planning a paver patio covers the layout and base prep that pairs naturally with a lit pergola.
Budget and Maintenance
A complete mid-range install for a typical 10×12-foot pergola is a modest one-time spend spread across the 10-year lifespan of quality LED fixtures. Here’s roughly where the money and the upkeep go:
| Item | Relative cost | Maintenance cycle |
|---|---|---|
| String lights (48 ft) | $$ | Replace burned-out bulbs as needed; full strand every 2–3 years |
| Hanging lanterns (set) | $–$$ | Check batteries every 6 months |
| LED strip (16–33 ft) | $$ | Clean every 6 months; lasts 25,000+ hours |
| Transformer | $$ | Inspect connectors annually |
| Hardware (clips, connectors, hooks) | $ | Reseal connectors yearly |
Operating cost is tiny. A 16-foot LED strip running 6 hours a night draws about 10 watts — pennies a month. A dozen 5W Edison string bulbs over the same hours still lands in single-dollar territory monthly. The fixtures cost more to hang than to run.
Quarterly maintenance:
- Wipe down lanterns and pendants to clear dust and pollen.
- Check every string bulb; replace the dead ones.
- Inspect cable runs for weather, animal, or branch damage.
- Test GFCI outlets — press “Test” to confirm it trips, then “Reset.”
Annual deep maintenance:
- Reseal cable-gland silicone on all junction boxes.
- Tighten any loose hardware (hooks, clips, mounting screws).
- Check the transformer terminals for corrosion.
- Replace lantern batteries that no longer hold a charge.
For ideas on what to put under the pergola once it’s lit — seating, dining furniture, plants — see our guide to creating a tranquil space in your yard.
Layer the fixture types, pick a warm color temperature, weatherproof the wiring properly, and the pergola turns into the part of the backyard you reach for most after sundown — for years, not just one summer.
Recommended gear for this project
As an Amazon Associate, Backyard Superstar earns from qualifying purchases at no extra cost to you.
- Top pick — string lights — Brightech Ambience Pro 48-ft LED ($$). Commercial-grade, dimmable, shatterproof — the year-round workhorse.
- Budget accent — WdtPro solar hanging lanterns ($). No wiring, IP65, dusk-to-dawn on their own.
- Color + warm white — Govee RGBIC outdoor LED strip ($$). IP65, app-controlled, warm every night or color for a party.
- Easiest smart control — Kasa outdoor smart plug (EP40) ($). Sunset scheduling + voice, no hub, plug-and-play.
- Best for dimming — Kasa outdoor smart dimmer plug (KP405) ($$). App/voice dimming for outdoor string lights.
- Power the low-voltage run — DEWENWILS low-voltage transformer (timer + photocell) ($$). Dusk-on, scheduled-off for a 12V system.
Pergola Lighting FAQ
What’s the best lighting for a pergola?
The best pergola lighting layers multiple types: string lights overhead for ambient illumination, pendant lights over a dining table for task lighting, and LED strips or uplights for accent. A common setup runs a length of string lights across the beams, a couple of pendants over the table, and a strip under one beam for backlight. Start with string lights — they carry most of the effect for the least effort.
What color temperature should pergola lights be?
Warm white (2700K–3000K) is the default for pergola use — golden, cozy, intimate. Soft white (3000K–3500K) works for mixed-use pergolas that host both relaxing evenings and dinners. Skip cool white (4000K+) for relaxation areas; it reads harsh and modern in the evening. RGB color-changing LED strips let you keep warm white for everyday use and shift to specific colors for parties or holidays.
How do I weatherproof pergola lighting?
Use IP65-rated fixtures for exposed locations and IP44 for covered areas. Install GFCI outlets within 6 feet of any water source. Use UV-resistant outdoor-rated wiring marked for wet locations. Keep all connections in weatherproof junction boxes sealed with silicone cable glands. Test the install by spraying every fixture with a hose for 30 seconds — no drips inside, no flickering.
What’s the difference between low-voltage and line-voltage pergola lighting?
Low-voltage (12V) lighting uses a transformer to step down household power, is safer for DIY (a powered 12V wire won’t hurt you), usually needs no permit, and its cable can be surface-mounted. It’s limited to about 100 feet from transformer to last fixture. Line-voltage (120V) supports brighter fixtures with no voltage-drop concerns, but requires conduit-buried wiring, often a permit, and is best handled by an electrician on the home side.
How do I add smart controls to pergola lighting?
Easiest path: plug existing string lights into an outdoor-rated smart plug for scheduling and voice control. To fade the lights, use an outdoor smart dimmer plug with dimmable bulbs. For more granular control, install smart bulbs (Philips Hue, LIFX) on a Wi-Fi hub; for a pergola far from the router, a Zigbee or Z-Wave mesh system holds signal better. Most systems work with Alexa, Google Home, and Apple HomeKit.
How should I layer lighting zones under a pergola?
Use four layers: ambient (string lights overhead, 300–400 lumens, wide beam), task (pendants 30 inches above the dining table at 400+ lumens, plus step lights at 50 lumens), accent (uplights at post bases, fairy lights in vines, LED strips under beams around 200 lumens), and pathway (solar stake lights every 3–4 feet along walkways). Layering builds depth a single source can’t.
What’s the maintenance schedule for pergola lighting?
Quarterly: wipe down fixtures to clear dust and pollen, replace burned bulbs, inspect cable runs, test GFCI outlets. Annually: reseal silicone on junction-box cable glands, tighten hardware, check transformer terminals for corrosion, and replace lantern batteries that no longer hold a charge. Quality LED fixtures last 25,000+ hours — roughly 10 years at 6 hours a night.