Garden Edging Ideas for Tidy Borders
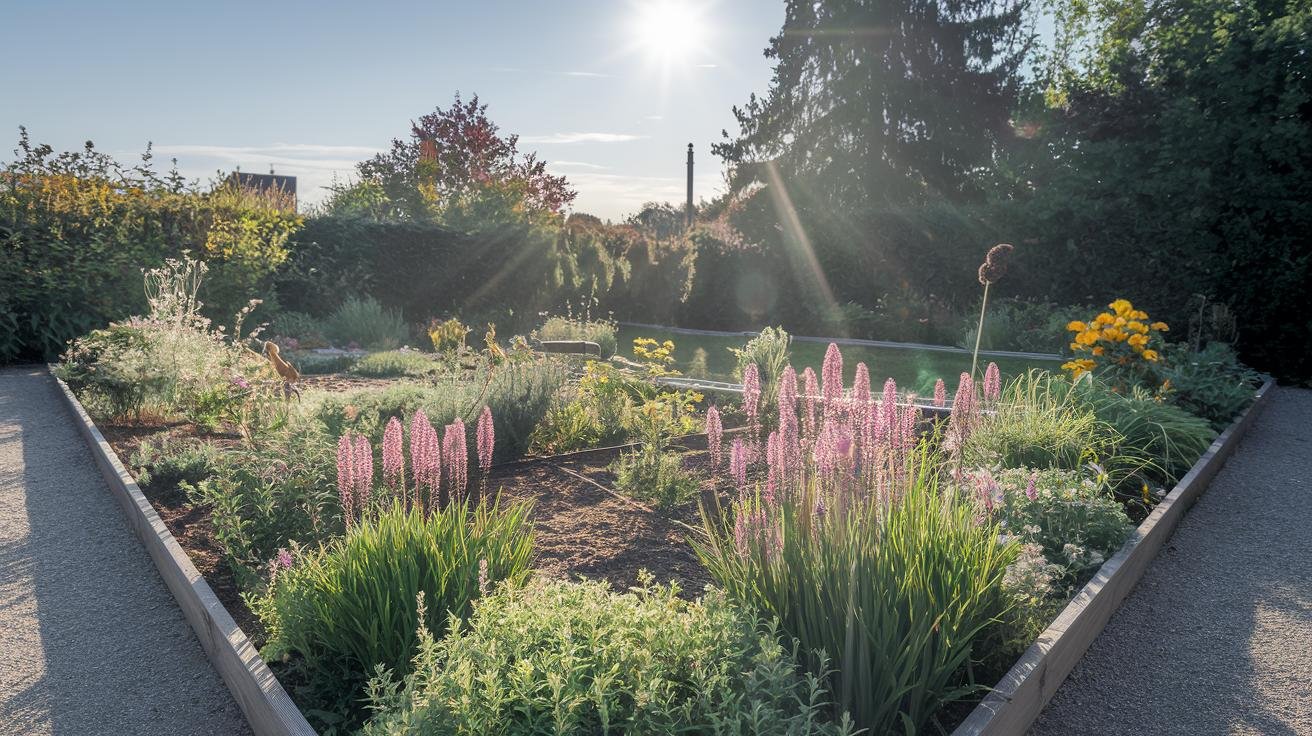
Ever looked at your flower beds and watched the grass creep in on your tulips? I have — there goes another clump. Garden edging is the fix, and it’s a simpler one than most people expect. Think of it as drawing a clean line between your lawn and your blossoms, telling the grass, “this side is yours, and this side is theirs.” Tuck a strip into a shallow trench, press it down, and you’ve carved a neat border that stops runaway roots and steers rainwater away from your most fragile plants.
Below I’ll walk you through why edging earns its keep, how the five common materials compare, and exactly how to install a border yourself in an afternoon.
As an Amazon Associate, Backyard Superstar earns from qualifying purchases at no extra cost to you.
Why Garden Edging Is Worth a Weekend Afternoon
The first time I slipped a row of edging strips into a shallow trench, it felt like I was carving a little path just for my plants. But the prettiness is only half of it. Edging quietly saves you work all season long. A crisp border gives your mower and trimmer a clean line to follow, so your yard work goes faster and your beds stop bleeding into the lawn.
Here’s what a good border actually does for you:
- Gives mowing and trimming a clean edge to follow, which cuts your weekly upkeep down
- Holds mulch and soil where you put them, so beds stay tidy instead of washing onto the grass
- Acts as a root barrier that keeps lawn grass from sneaking under and into your beds
- Slows soil erosion and guides water runoff away from delicate plants
- Frames your flowers, shrubs, and veggies so they read as the real stars of the yard
It also pairs beautifully with the rest of your bed care. A clean edge keeps the lawn out, and a layer of mulch keeps weeds down — the two together are most of the reason a bed looks “finished.” If grass is your real headache, my notes on organic lawn weed control cover what to do about the part that’s already in your turf. And if you’re edging around a raised planting, getting the soil for that raised bed right matters just as much as the border around it.
Popular Garden Edging Materials Compared
Edging comes in metal, plastic, wood, stone, and rubber, and you can match the look to your home. Whether you want straight, formal lines or soft curves, there’s a material that gets you there. Here’s how they stack up.
Metal Edging
Steel and aluminum edging feel solid the moment you pick them up. They come in heights from around 4 inches up to a foot, and a powder-coated finish fights rust so they hold their line season after season. Most kits interlock with spikes, so there’s little or no digging, and they’ll flex around a curved bed or stay rigid for a straight run. For a decorative take that doubles as a low border, the Amagabeli No-Dig Decorative Metal Garden Border ($$) presses straight into the soil with no trench and gives beds a tidy, wrought-iron look. Metal is my pick when you want crisp definition that lasts.
Plastic Edging
Plastic edging bends like a ribbon in your hands. It usually arrives in a long coil with little teeth and anchoring stakes, so you can cut it to length and shape it around tight curves or straight lines without any special tools. It’s the easiest material to install solo, and you can lift and move it if you rework a bed next season. The Dimex EasyFlex No-Dig Plastic Landscape Edging ($) is the one I hand to beginners — its L-shaped profile sits flush with the ground, the spiral spikes hold against frost heave, and it shrugs off a string trimmer. Tuck low-growing flowers or a few stones against it to soften the look.
Wood Edging
Wood edging brings a warm, cozy feeling to a garden. You can choose cedar, which naturally resists rot, or pressure-treated lumber for a longer-lasting natural border. Most kits come in short pieces with connector pins that lock together into a run, keep your mulch where it belongs, and make beds look neat. I love the smell of fresh cedar on a sunny morning when I’m setting a new border.
Stone and Brick Outlines
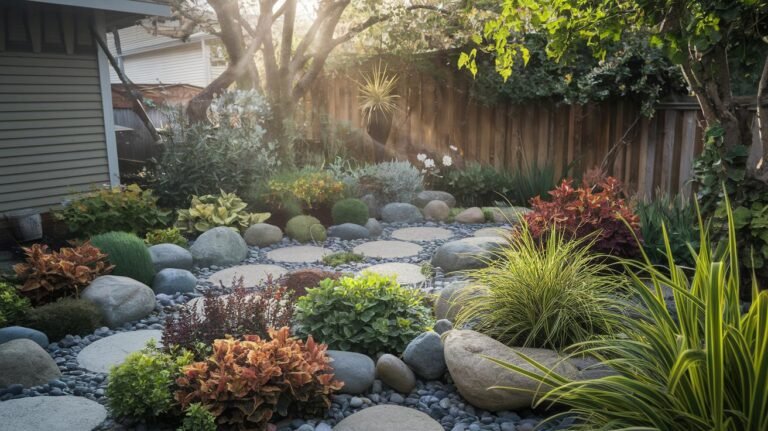
Stone or brick edging reads like a little row of walls. You can pick precast scalloped strips, log-style blocks, or brick pavers laid in a herringbone or zigzag pattern. It takes more effort — you dig a shallow trench, level each piece, and tap it down with a rubber mallet — but the result is the most permanent and substantial of the bunch. If you want ideas for blending natural stone and gravel into a border, my rock garden ideas are a good place to start.
Rubber Edging
Rubber edging made from recycled tires is one of the most forgiving choices around. There’s no trenching — you just drive in the stakes — and it stays smooth under your mower and flexes instead of cracking when frost hits. The EcoBorder L No-Dig Rubber Landscape Edging ($$$) is my favorite of the eco-friendly options: each section flexes into a curve, the pieces lock together with included dowels, and the earth-tone finish more or less disappears behind your plants. It’s the closest thing to a set-it-and-forget-it border I’ve used.
How to Install Garden Edging Step by Step
This is a true afternoon project. Here’s the order I follow every time.
- Mark your line. Lay out garden rope, a few stakes, or a stripe of bright spray paint along the edge you want. Walk it and tweak the curves until it feels right against the rest of your yard.
- Dig a shallow trench. Carve a trench about 3 to 4 inches deep with an edging shovel or trenching spade, keeping the bottom level so each piece sits straight. (No-dig metal, plastic, and rubber kits let you skip this step entirely.)
- Set each piece. Slide in the strips so the top edge sits flush with the ground, then tap gently with a rubber mallet until it’s snug but not bent.
- Anchor it. Drive a stake or spike every 18 to 24 inches. Wear gloves — those spikes bite if you grab them wrong, and I learned that the hard way.
- Connect the sections. Line up each piece and push in the pins or clips until they click. No seams means a clean, unbroken border.
- Backfill and tamp. Pack soil or fine gravel against the trench edges and press it down with your foot. This keeps sections from shifting and guides water away from your plants.
- Trim and finish. Cut any excess with garden shears or a fine-toothed saw, then top the bed with mulch, decorative stones, or a low ground cover to hide the seams and add your own style.
Tools and Materials You’ll Need
You don’t need much. For tools: an edging shovel or trenching spade, a rubber mallet, a level, a tape measure, gloves, and optional safety glasses. The trench is the only part that asks for a real digging tool, and a sharp, narrow spade makes all the difference. I reach for a serrated digging tool like the Root Assassin 48-inch Garden Shovel and Saw ($$) — the saw-tooth edges slice through turf and stray roots cleanly, so carving a neat, even trench takes a fraction of the effort of a flat spade.
For materials, most edging kits include the strips themselves, the stakes or spikes that hold them, and connector clips. The one extra worth adding is landscape fabric tucked under the edging at install time — it’s a breathable barrier that blocks weeds but lets water through.
Garden Edging Design Ideas and Patterns
Once you’ve settled on a material, the shape is where your border gets personality. A few directions to play with:
- Straight, formal lines in brick or metal frame your plants like a picture and lean modern. Clean and architectural.
- Soft curves in interlocking stone or flexible plastic hug a bed like a ribbon and echo the way plants actually grow. Don’t be shy about tweaking the curve until it feels right underfoot.
- Zigzag brick or paver patterns add a playful, sawtooth edge that draws the eye along the bed and breaks up straight lines.
- Scalloped concrete or rubber strips carve soft half-circles for a cottage-garden feel; tuck a spreading ground cover so it peeks through each curve.
- Slender steel strips in black powder-coat or weathered corten slice through green like a brushstroke — simple, sleek, and right at home in a modern space.
- Mixed stone blocks with gravel or painted brick play rough against smooth for depth and bold color.
You can also combine straight runs, curves, and scallops in one project for a border that’s entirely your own. If you’re styling a whole patio or outdoor room around these beds, my modern patio design ideas help tie the hardscape and planting together.
Garden Edging Costs and Budget-Friendly Picks
Edging spans a wide price range, so it’s easy to match a material to your budget. Rough per-foot estimates run something like this: plastic at the low end, then rubber and wood in the middle, metal a step up, and DIY stone or installed concrete and brick at the top. Professional installation and tool rentals add to that, while many kits bundle the connector pins, spikes, and stakes so you skip extra trips to the hardware store.
If you’re watching the budget, a DIY run of plastic or rubber strips is the most affordable way to get a clean border, especially if you already own a mallet and a trenching spade. Buying a small sample pack instead of a full coil keeps the upfront cost low when you only need to edge one short bed, and bulk pricing can trim material costs noticeably on a big install.
Keeping Your Edging Sharp Through the Seasons
A border is close to set-and-forget, but a few quick checks a year keep it looking crisp instead of tired. Here’s the simple rhythm I follow:
- Quarterly walk-through: stroll the line, re-level anything that’s leaning, and swap out broken stakes or connector clips.
- Spring reset: tap any frost-lifted pieces back down with a rubber mallet, then refill the trench with fresh soil or fine gravel.
- Summer upkeep: trim the grass along the border before each mow, and refresh a two-inch layer of mulch to keep weeds at bay. The right organic mulch does a lot of that work for you.
- Annual once-over: brush a rust-resistant sealant on metal edges, or treat cedar and pressure-treated wood with a protective oil to fend off rot.
- Weed barrier: if you didn’t lay landscape fabric at install, you can still tuck it under shallow soil along the edging to stop weeds from pushing through.
Stick to that and you’ll keep a sharp garden frame with very little elbow grease, which leaves you more time to actually enjoy the blooms instead of chasing gaps.
Recommended gear for this project
As an Amazon Associate, Backyard Superstar earns from qualifying purchases at no extra cost to you.
- Top pick — EcoBorder L No-Dig Rubber Landscape Edging ($$$). Recycled-rubber strips that flex into curves, lock together, and disappear behind your plants — no trenching.
- Budget pick — Dimex EasyFlex No-Dig Plastic Landscape Edging ($). Bends around tight curves, sits flush with the ground, and the easiest border to install solo.
- Decorative pick — Amagabeli No-Dig Decorative Metal Garden Border ($$). Rustproof panels that press straight into the soil for a tidy, wrought-iron edge.
- Tool — Root Assassin 48-inch Garden Shovel and Saw ($$). Serrated blade slices through turf and roots for a clean, even trench.
Start With One Clean Border
If you’ve been eyeing a bed where the grass keeps winning, start there. Mark the line, carve a shallow trench, and tap in a single run of edging this weekend — you don’t have to do the whole yard at once. I showed you why a border saves you mowing and trimming time, how metal, plastic, wood, stone, and rubber compare, and the step-by-step for setting it straight. Pick the material that fits your style and budget, and let that first crisp edge talk you into the next one.
Garden Edging Questions, Answered
What is the cheapest way to edge a garden?
The most budget-friendly route is plastic or recycled-rubber edging. Both snap into place with stakes, need no trenching, and work for straight or curved beds, so you get a clean border for very little money and effort.
What materials are available for garden edging?
The common choices are metal strips for a sleek line, plastic borders for easy curves, wood for a warm natural look, stone or brick for a classic feel, and recycled rubber for a soft, forgiving edge.
What type of garden edging is best?
It depends on your style and how much upkeep you want. Metal gives the sharpest modern line, stone and brick are the most permanent, wood adds warmth, and plastic or rubber are the simplest to install yourself. Pick the one that matches your yard.
What are common mistakes when edging?
The usual ones are digging the trench too shallow or too deep, leaving gaps between sections, and skipping the backfill so pieces shift. Uneven heights and not trimming the grass along the border also keep an edge from looking crisp.
How much will 100 feet of edging cost?
It varies widely by material — basic plastic sits at the low end, mid-range metal, wood, and concrete block fall in the middle, and installed brick or stone runs the highest. Choosing a DIY material keeps the total down.
Where can I buy garden edging materials?
You’ll find edging at home improvement stores, local garden centers, and online retailers. Comparing options online first lets you check sizes, kit contents, and availability before you commit.
What are creative garden edging ideas?
Try scalloped concrete strips for cottage charm, zigzag brick for visual interest, gentle curves with interlocking stone, minimalist steel for a sleek look, or mixed stone and gravel for texture and contrast.