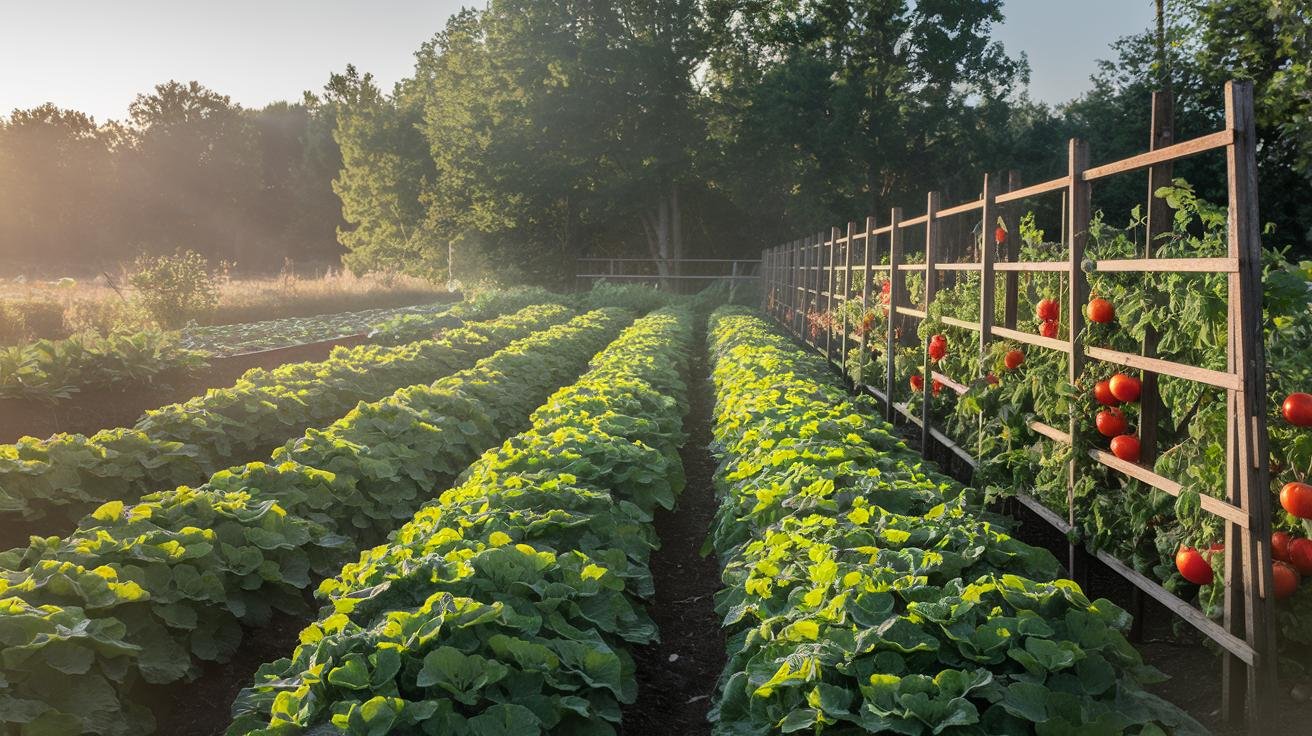
How to Plan a Vegetable Garden Layout
A good vegetable garden layout is the difference between a plot that feeds you all summer and one that turns into a crowded, weedy mess by July. I know because I’ve grown both. The first garden I planted was a single long row of everything, packed too tight and set in a spot that baked in the afternoon — half of it bolted or burned out before I got a decent harvest. The garden I grow now produces three times as much in less space, and the only thing that really changed was the plan. Get the vegetable garden layout right — the site, the bed sizes, the spacing, and the order things go in — and the growing part gets a lot easier.
As an Amazon Associate, Backyard Superstar earns from qualifying purchases at no extra cost to you.
Start by Reading Your Yard
Before you measure a single board, spend a day watching where the light falls. Most vegetables want six to eight hours of direct sun, and the sunniest corner is almost never where you’d guess — trees, fences, and the house throw more shade than you think, and it moves through the day. Note where the sun lands at 9 a.m., noon, and 4 p.m., and put your beds where those windows overlap.
Then look at three other things. Drainage: after a hard rain, does a spot stay soggy for hours? Skip it, or plan to build up. Water access: a garden you have to drag a hose forty feet to reach is a garden you’ll quietly stop watering in August, so stay close to a spigot. And convenience: put the beds somewhere you walk past every day. Out of sight really is out of mind with vegetables — the plot by the back door gets tended, and the one behind the shed gets forgotten.
Soil is the last piece, and the one most people skip. Before you amend anything, it’s worth knowing what you’re actually starting with. A mail-in kit like the Soil Savvy Soil Test Kit reads your pH plus the major and minor nutrients and sends back a plain-English fertilizer recommendation, which beats guessing and dumping on amendments your soil doesn’t need (mid-range, $$). Most vegetables are happiest between pH 6.0 and 7.0. If your test comes back off, you can correct it before anything’s in the ground — much easier than fixing it around established roots.
Size Your Beds and Paths for Easy Reach
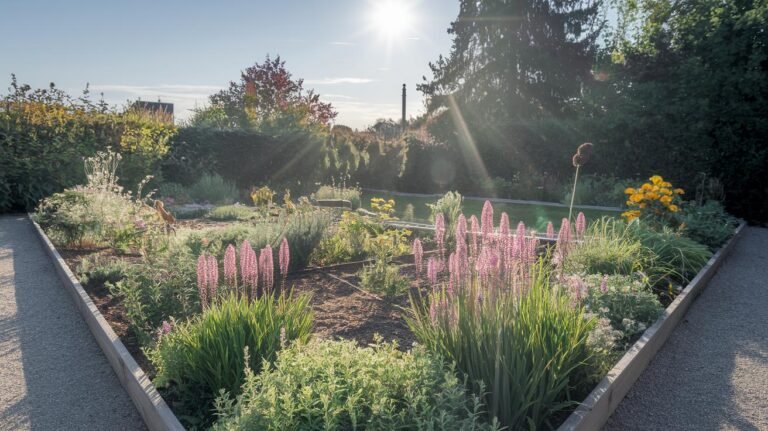
Here’s the single most useful number in garden design: four feet. Keep every bed no more than four feet wide, and you can reach the center from either side without ever stepping on the soil. That matters more than it sounds — every footprint compacts the ground and squeezes the air out of it, and compacted soil grows sad, stunted plants. Length is up to you and your space; a 4-by-8-foot bed is the classic for a reason, but a 4-by-4 works fine in a tight yard.
Height is about your soil and your back. Eight to twelve inches suits most crops. Go eighteen inches or deeper if you’re building over a hard surface, fighting bad native soil, or you just don’t want to kneel in the dirt — though the taller the bed, the more mix it takes to fill, so weigh that against your budget. Between the beds, leave paths of eighteen to twenty-four inches. Two feet feels generous until you’re trying to steer a full wheelbarrow through, and then you’re glad you left it.
You can build the frame yourself out of cedar in an afternoon — my step-by-step raised bed build walks through the cuts and corners — or skip the saw entirely with a modular kit. A metal system like the Vego Garden 17-inch modular raised bed kit bolts together into several bed shapes, won’t rot, and lasts years, which is why I point people who want it done in one weekend toward it (premium, $$$). Whatever you build, fill it with a real bed mix, not native dirt — roughly equal parts quality topsoil, compost, and an aerating material like coarse sand or perlite. I put the exact ratios in the best soil for raised garden beds guide, because getting the fill right is where beds are won or lost.
No room for a full bed, or renting and can’t build? Grow bags are the honest small-space answer. A set like the Gardzen 10-gallon fabric grow bags gives you a ten-pack of breathable, handled pots for less than the price of one ceramic planter, and the fabric walls air-prune the roots so plants don’t get pot-bound (budget, $). Line them along a sunny deck rail and you’ve got a garden that packs up when the lease ends.
| Bed type | Footprint | Height | Best for |
|---|---|---|---|
| Standard rectangle | 4×8 ft (or 4×4) | 8–12 in | Most vegetables; the all-purpose default |
| Deep bed | 4×8 ft | 18+ in | Root crops, poor native soil, easier on the back |
| Grow bags / containers | 10–20 gal each | — | Balconies, decks, renters, trial plantings |
Lay Out the Beds: Where Each Crop Goes
Once the beds are built and filled, resist the urge to plant in tidy little farm rows with bare dirt between them. Raised beds reward intensive, grid-style planting that uses nearly every square inch — you get more food and, as a bonus, the canopy shades out most weeds before they start. Think in blocks, not lines.
The one rule that changes everything is sun position. Put your tallest crops on the north side of the bed so they don’t cast shade over everyone else as they grow. Tomatoes, pole beans, and trellised cucumbers go at the back; mid-height peppers and bush beans in the middle; low stuff like lettuce, carrots, and radishes along the sunny south edge. Those tall crops carry the most weight in the layout, so it pays to grow them well — my notes on planting tomatoes in raised beds cover spacing and support in detail.
Going vertical is how a small footprint out-produces a big one. Anything that vines — cucumbers, pole beans, peas, small squash — would rather climb than sprawl, and lifting it off the ground saves space, improves airflow, and keeps fruit clean. A sturdy panel like the SUMGROW 6-foot garden trellis with netting drops right into the back of a bed and gives climbers something to grab (budget, $). Set it on the north side when you install it, so the vines it holds become the tall back wall of the layout rather than a shade problem.
Companion Planting and Crop Rotation
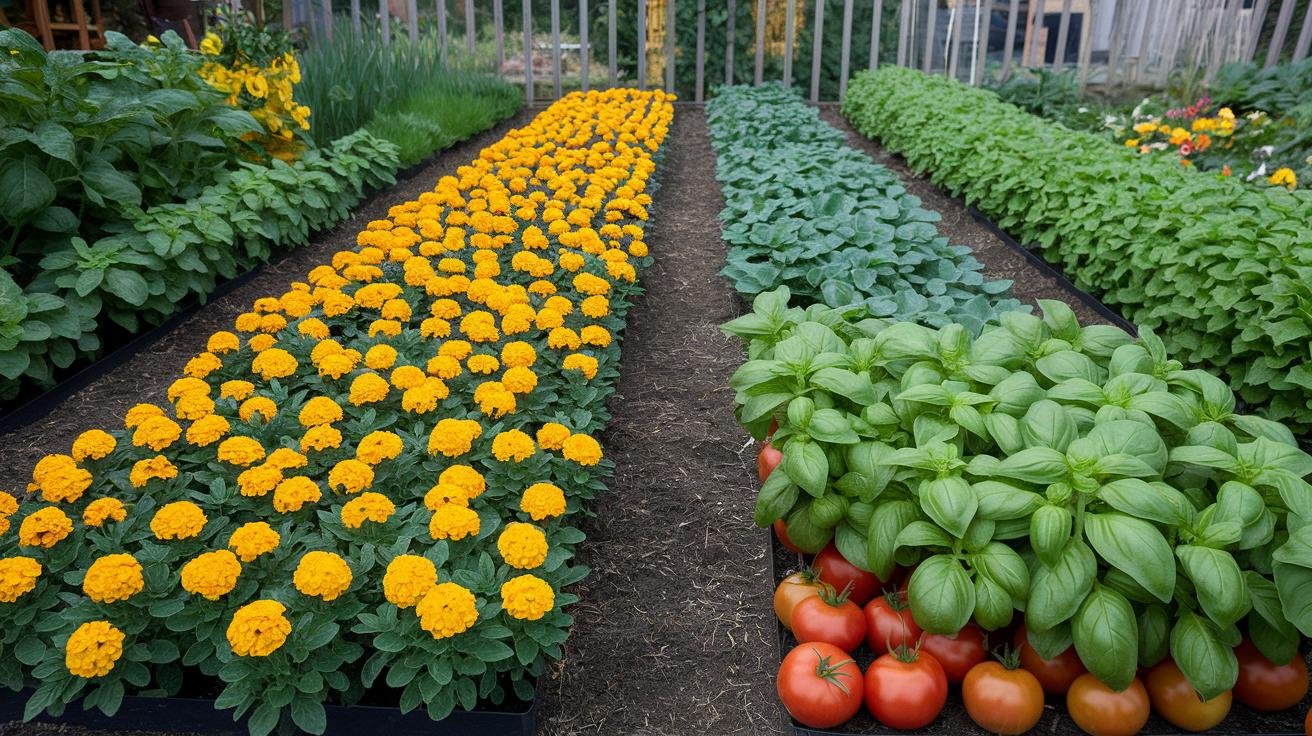
Which plants share a bed matters more than most beginners expect. Some pairings genuinely help each other — a strong-scented neighbor confuses the pests hunting for a particular crop, or a flower pulls in the predators that eat the aphids. I tuck flowers and herbs along my bed edges every year, and the difference in pest pressure is real. A few reliable partnerships:
- Tomatoes + basil: basil’s scent helps mask tomatoes from some pests, and they like the same conditions.
- Carrots + onions: onion smell throws off the carrot fly.
- Cucumbers + nasturtiums: nasturtiums act as a trap crop, luring aphids away.
- Beans + corn: cornstalks give climbing beans a living trellis.
- Anything + marigolds: they earn their spot as a broad pest deterrent and a pollinator magnet.
Those flowering borders do double duty as a pollinator strip, which is worth designing on purpose — the same thinking behind a full pollinator garden layout applies in miniature along your bed edges.
Rotation is the other habit that keeps a garden healthy year after year. The idea is simple: don’t grow the same plant family in the same spot two seasons running. Pests and diseases that target, say, the tomato-and-pepper family build up in the soil where those crops grew, so moving them to a fresh bed next year starves that buildup out — and because different families feed differently, rotating also keeps the soil from getting mined of one nutrient. A four-year cycle through the beds is plenty. This is exactly why a repeatable grid of same-size beds is so handy: you can shuffle whole crop families around the grid each spring without rethinking the whole plan.
Water and Feed the Whole Layout
Raised beds and containers drain fast, which is great for roots and hard on your watering discipline — they dry out quicker than open ground, sometimes needing a daily drink in a heat wave. Hand-watering works if you’re reliable, but the honest truth is that most missed harvests trace back to inconsistent water. This is where a little automation earns its keep. A kit like the Raindrip R560DP automatic drip system with timer runs a line of emitters through the beds and waters up to twenty plants on a schedule, delivering it slowly at the roots where it counts instead of onto the leaves where it invites disease (mid-range, $$). Set it for early morning, and the garden gets watered whether or not you remember.
Feeding follows the same “steady, not heavy” rule. Work compost into the beds at planting, then top up through the season — I add a shovel of finished compost around heavy feeders like tomatoes and squash mid-summer. Go easy on high-nitrogen fertilizer, especially on fruiting crops: too much nitrogen gives you a jungle of leaves and hardly any tomatoes. Feed the soil consistently and it feeds the plants.
Plant It Season by Season
A raised bed warms up earlier in spring and drains faster after rain, which stretches your season at both ends if you plan for it. Early and late in the year, lean on the cool-season crops: lettuce, spinach, peas, radishes, and brassicas like broccoli and kale all shrug off light frost. When the soil warms up for summer, that’s the window for the heat-lovers — tomatoes, peppers, beans, squash, and cucumbers.
The trick that keeps a small garden producing is succession planting: the moment one crop finishes, replant the gap instead of letting it sit. Pull the spent spring lettuce and drop in bush beans; when the beans wind down, sow fall greens. I sow a short row of lettuce every couple of weeks rather than all at once, so it comes in as a steady supply instead of a single glut that bolts before I can eat it. And when the growing year winds down, don’t leave the beds bare — sowing a cover crop over the off-season protects the soil and feeds it for spring, so the whole layout starts next year stronger than it finished.
Recommended gear for this project
As an Amazon Associate, Backyard Superstar earns from qualifying purchases at no extra cost to you.
- Premium pick — Vego Garden 17-inch modular raised bed kit ($$$). Bolts into several bed shapes, won’t rot, sets up in a weekend.
- Budget pick — Gardzen 10-gallon fabric grow bags (10-pack) ($). Instant small-space garden for renters and balconies.
- Test first — Soil Savvy Soil Test Kit ($$). Reads pH and nutrients so you amend on facts, not guesses.
- Go vertical — SUMGROW 6-foot garden trellis with netting ($). Turns cucumbers and beans into a space-saving back wall.
- Water on autopilot — Raindrip R560DP drip kit with timer ($$). Consistent root-level water for up to 20 plants.
FAQ
How do I plan a vegetable garden layout for a small space?
Grow up, not out. Keep beds four feet wide so you can reach the middle, plant in an intensive grid instead of spaced rows, add a trellis for anything that vines, and use grow bags on decks or rails to squeeze in more. A 4-by-4-foot bed grows a surprising amount when it’s planted densely.
How wide should a raised garden bed be?
No more than four feet, so you can reach the center from either side without stepping on — and compacting — the soil. Length can be whatever fits your space.
How far apart should garden paths be?
Eighteen to twenty-four inches between beds. Aim for the full two feet if you use a wheelbarrow, which needs the room to turn.
Which crops go on the north side of the bed?
The tallest ones — tomatoes, pole beans, trellised cucumbers — so they don’t shade shorter crops as they grow. Work down to the lowest plants, like lettuce and radishes, along the south edge.
Do I really need to rotate my crops in a small garden?
It helps a lot. Moving each plant family to a different bed each year, on about a four-year cycle, keeps soil-borne pests and diseases from building up and balances how the soil is fed. A grid of same-size beds makes the shuffle easy.
What should I plant first in a new vegetable garden?
Start with the season you’re in. In cool spring or fall, sow lettuce, spinach, peas, and radishes; once the soil warms in summer, switch to tomatoes, peppers, beans, and squash. Replant each gap as crops finish to keep the beds producing.