How to Design a Living Wall for Outdoor Spaces
The bare fence along my patio used to be the one spot in the yard I never looked at twice. A living wall changed that in a single weekend — suddenly there were trailing leaves, a few coral blooms, and that damp, green smell every time I walked past. If you’ve been eyeing a blank wall or fence and wondering whether you could turn it into a vertical garden, you can, and it’s a friendlier project than it looks.
The trick is to plan in the right order: read the wall first, then pick a frame that can carry wet soil, choose plants that actually suit your light, and set up watering before you plant a single pocket. Do it in that sequence and the wall more or less takes care of itself. Skip a step and you’ll spend the summer troubleshooting. Here’s how I approach it, plus the gear that has held up on my own walls through heat, wind, and a couple of surprise storms.
As an Amazon Associate, Backyard Superstar earns from qualifying purchases at no extra cost to you.
Reading Your Wall Before You Build Anything
Every wall has its own little climate, and the plants only thrive if you match them to it. Before I buy anything, I spend a day just watching the spot. Where does the sun land at 10 a.m., and is it still there at 3 p.m.? A south-facing wall bakes; a north-facing one stays cool and even, which ferns love and most succulents hate. That single observation decides half your plant list.
Wind matters more than people expect. A wall on the windward side of the house dries out fast and can rock a lightweight frame, so note the direction gusts usually come from. Then think about humidity and anything nearby that casts shade or drips — a gutter, a maple, the neighbor’s shed. Those are the details that quietly make or break a living wall, and they cost nothing to check.
If you’d rather not guess at how much light a spot really gets, a cheap meter takes the argument out of it. I keep an inexpensive XLUX 3-in-1 soil tester ($) in the shed — it reads soil moisture, light level, and pH with no batteries, and the light dial alone settles whether a spot is “full sun” or really just “bright shade.” Walk it along the wall at a few heights, because the top of a wall often gets an hour or two more sun than the bottom.

Choosing a Frame and Panels That Hold Wet Weight
Here’s the number that surprises everyone: soaked soil and mature plants can push a wall past 30 pounds per square foot. Dry potting mix feels like nothing in the bag, but add water and a season of root growth and it turns into a heavy, wet sponge hanging off your siding. So the frame is not the place to cut corners.
You have three broad options, and the right one depends on what you’re anchoring into. If you can bolt into studs or masonry, a galvanized steel frame carries the most weight and shrugs off rust for years. Treated wood panels look softer and warmer and handle a moderate load, which is plenty for herbs and small trailing plants. Modular pocket systems are the easiest entry point — you screw a backing board to the wall and hang fabric planters on it — but they carry the least, so keep them to lighter greenery.
| Frame type | Load capacity | Best for |
|---|---|---|
| Galvanized steel | 50+ lbs/sq ft | Big walls, heavy planting, long life |
| Treated wood panel | 30–50 lbs/sq ft | Herbs and light trailing plants, warm look |
| Modular pocket system | 20–40 lbs/sq ft | Renters and first-timers, easy to swap out |
For most people starting out, fabric pocket planters are the sweet spot — no welding, no permits, and you can take them with you if you move. A Meiwo 7-pocket vertical wall planter ($) is the one I hand to friends who want to try a small section without committing to a whole wall; the deeper upgraded pockets hold enough soil that plants don’t dry out by noon. When you’re ready to cover more wall, a Delectable Garden 12-pocket waterproof planter ($$) adds a moisture barrier on the back, which is what you want against wood siding so runoff doesn’t soak the wall itself.
Whatever you hang, match the anchors to the surface. Steel into studs or masonry wants heavy-duty bolts. Fabric panels on soft siding do better with a solid backing board behind them and a few extra brackets underneath, so the whole thing stays put when the next summer storm rolls through. If you want the full breakdown of frame options, my guide to the best materials for vertical garden structures goes deeper than I can here.
Picking Plants for Sun, Shade, and the Seasons
This is the fun part, and also where the wall either looks lush or looks like a struggle by August. The rule I keep coming back to: put the right plant in the right pocket, and the wall practically maintains itself. Fight your light, and nothing you buy will fix it.
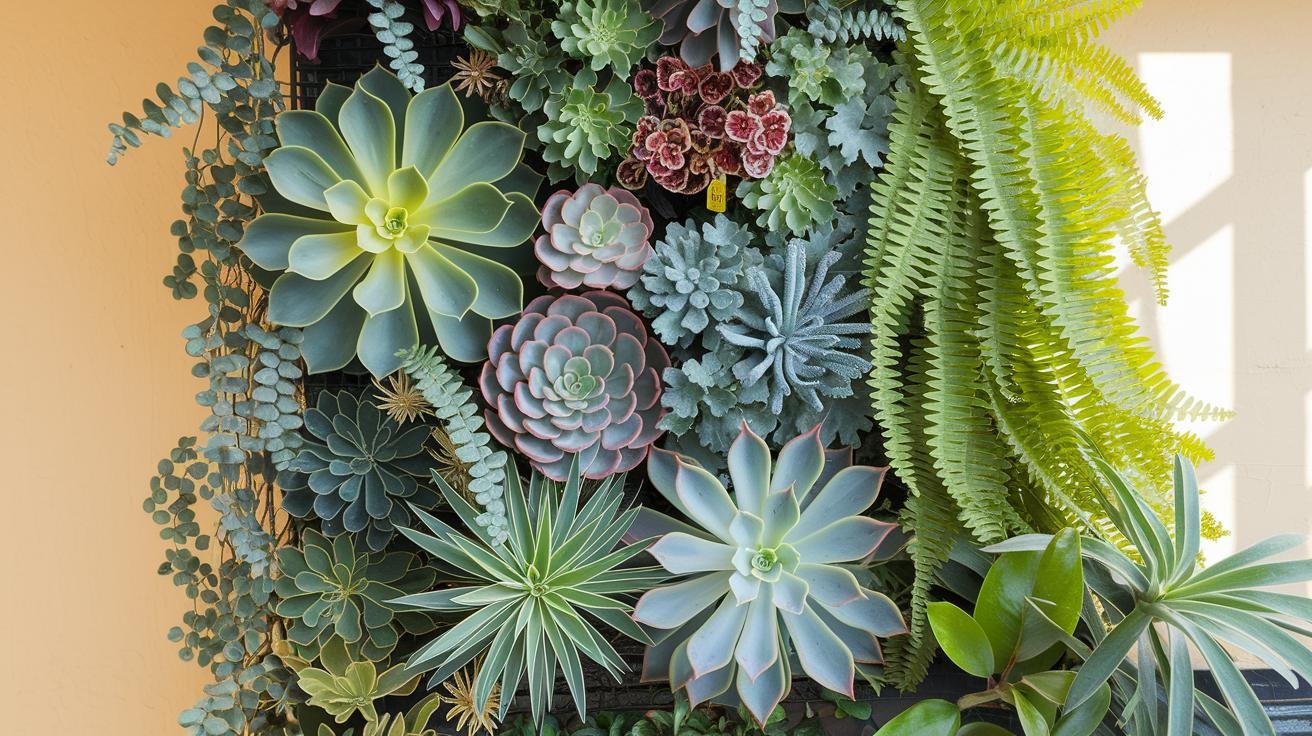
Hot, bright sections want plants that store their own water. Sedums and echeverias hold moisture in plump leaves and barely notice a missed watering, which makes them forgiving for a first wall — the vertical succulent garden layout ideas I’ve collected are a good place to steal color combinations. The cool, damp side of a wall is where ferns, hostas, and trailing vines shine; if most of your wall sits in shade, lean on my list of shade-tolerant plants for vertical gardens rather than forcing sun-lovers to sulk.
I almost always tuck a few edible herbs into the reachable middle pockets — lemon thyme for its citrus scent when you brush past, mint if you have a spot you don’t mind it taking over. Native perennials earn their place too: they need less water once established and bring bees and butterflies to the wall, which turns a pretty feature into a working little ecosystem. And don’t think of the planting as permanent. I rotate small bulbs in for spring, let herbs and sun-lovers carry high summer, and swap in hardy evergreens before the first freeze so the wall never goes fully bare.
Setting Up Irrigation So You Never Chase a Hose
A vertical wall drinks differently than a flowerbed. Water runs down, so the top pockets dry out while the bottom ones stay soggy, and hand-watering evenly every day gets old within a week. The fix is a simple drip system, and honestly it’s the upgrade that makes a living wall sustainable instead of a chore.
The setup I recommend for a first wall is a self-contained kit with its own timer. A Raindrip R560DP automatic drip kit ($$) waters up to 20 plants on a schedule, runs off an outdoor faucet, and comes with the drippers and tubing already sized for containers and hanging pockets — which is exactly what a pocket wall is. You set it once and let it feed each pocket at the roots instead of spraying the leaves. Aim for roughly half a gallon to a gallon per square foot of wall each week, then adjust after you see how your particular pockets hold moisture.
A few refinements are worth knowing about. Rain-fed drip lines tap a barrel or gutter to cut your tap-water use, and a soil-moisture sensor pauses watering when the pockets are already wet, which is the single best guard against the classic beginner mistake of drowning the roots. After a heavy rain, poke a finger into a couple of pockets — they sometimes hold more water than you’d think, and a day off does them good. If you want to compare setups before you buy, I broke them all down in my guide to vertical garden irrigation systems.
Arranging Plants for a Wall That Looks Alive
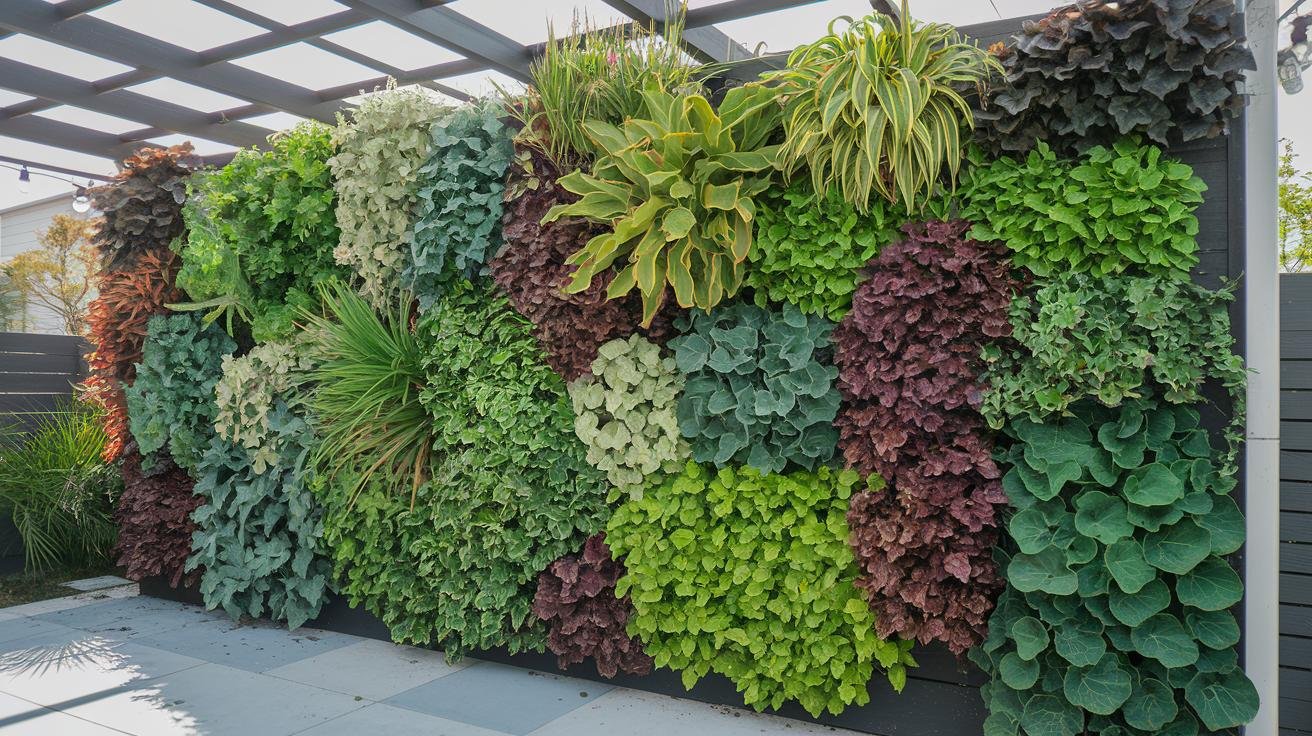
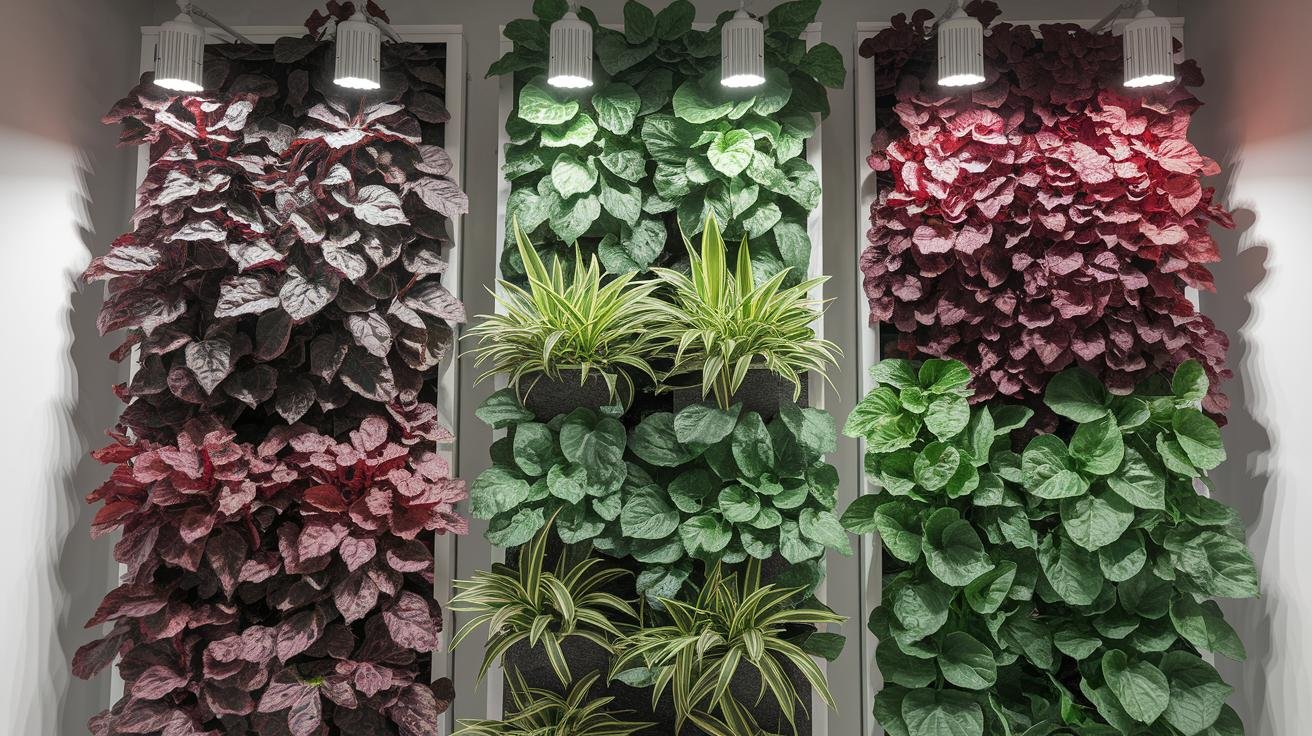
A living wall reads as art when you play with contrast instead of scattering plants at random. I like to set broad, glossy leaves next to fine, feathery fronds so the eye catches the difference, then group colors in loose clusters — a drift of emerald, a patch of silvery variegation, a few coral blooms — rather than dotting them evenly. That simple rhythm is what makes people stop and look.
Height zones add depth. Tall, upright plants belong near the top where they catch the most light, fragrant herbs go in the middle where you’ll brush them, and trailing vines like ivy or creeping Jenny spill over the bottom edge to soften the frame. Arrange those bands on a slight diagonal and the whole wall feels like it’s moving. For more finished looks to borrow from, my gallery of living wall design ideas is full of combinations that photograph well.
Lighting is the finishing touch, and it does double duty on a covered or shaded wall by feeding the plants light they’d otherwise miss. On my porch wall I tucked a set of Barrina full-spectrum LED grow strips ($$) between the panel frames — they’re a plug-and-play strip meant for covered spots, not open rain, so keep them under an eave or on a porch. Angled behind the leaves, they give a soft backlight after dusk and quietly support growth in the dimmer months.
Budgeting Your Living Wall Without Surprises
Running the numbers first keeps the project fun instead of stressful. Costs land in a few predictable buckets, and where you fall in each range depends mostly on how big the wall is and whether you go modular or steel. Frames and panels are the biggest line by far; a light modular pocket system costs a fraction of a welded steel frame covering the same area.
Here’s how the spending usually breaks down, from most to least:
- Frames and panels — the largest cost, and the one that scales with wall size and material. Modular pocket systems sit at the low end, steel frames at the high end.
- Plants — a modest per-pocket cost; thrifty succulents keep it low, showy ferns and flowering herbs push it up.
- Irrigation — a one-time cost for a drip kit, tubing, and a timer that pays you back in saved watering time.
- Annual upkeep — a small yearly amount for fertilizer, the odd replacement plant, and a system check-up.
A couple of quiet extras catch people off guard: shipping a heavy steel frame adds freight, and a weatherproof coating or freeze-proof liner tacks on a little per square foot in harsh climates. Shopping the off-season or buying pockets in bulk shaves real money off the total. And doing the install yourself saves on labor — a living wall is well within reach for a confident weekend DIYer, though bringing in a pro buys you peace of mind on a big or high wall.
Keeping It Alive: Simple Seasonal Care
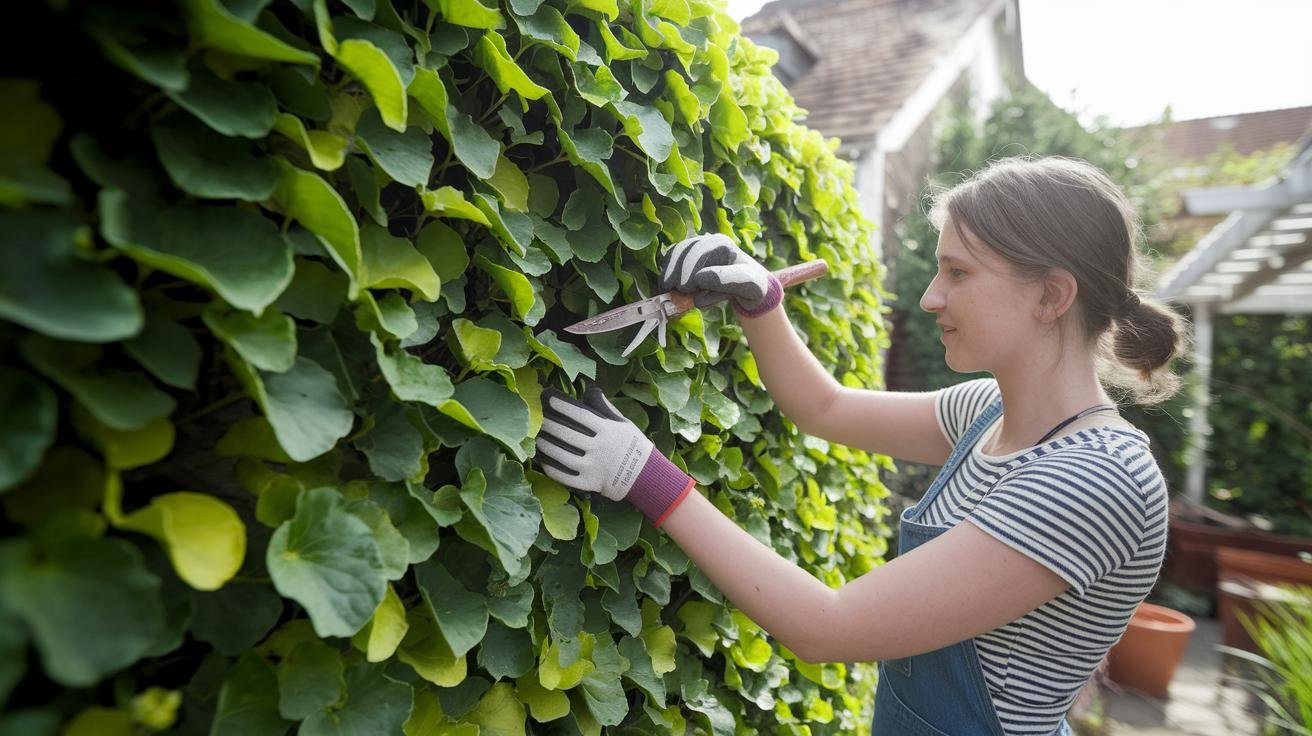
A living wall asks for a few minutes a week, not a standing appointment. I do a quick walk-by with pruners in hand, snipping anything overgrown or tired and pulling the occasional weed before it steals water from its neighbors. A sharp pair makes the difference between a clean cut that heals and a crushed stem that sulks — I’ve used the same Fiskars bypass pruning shears ($) for years, and the low-friction blade still slips through soft growth without a fight.
Beyond trimming, keep an eye on a short checklist through the season. Prune overgrown stems every six to eight weeks to keep the shape and push fresh growth. Feed on a steady schedule with a balanced fertilizer so roots stay happy. Run a finger along the drip tubes now and then to catch a kink or a clog before a pocket goes thirsty. Swap out any plant that looks sunburned or stunted for one that suits that spot’s light, and check the leaves for aphids or caterpillars, treating early with a gentle rinse or a mild organic spray. Jot those tasks onto a seasonal calendar and the wall rewards you with months of easy green.
Recommended gear for this project
As an Amazon Associate, Backyard Superstar earns from qualifying purchases at no extra cost to you.
- Best for larger walls — Delectable Garden 12-pocket waterproof planter ($$). Moisture-barrier backing protects wood siding from runoff.
- Budget starter — Meiwo 7-pocket vertical wall planter ($). Deep pockets and an easy way to test a small section first.
- Watering — Raindrip R560DP automatic drip kit ($$). Timer-driven drip for up to 20 pockets, sized for containers.
- Site check — XLUX 3-in-1 soil tester ($). Reads light, moisture, and pH so you match plants to the wall — no batteries.
- Accent lighting — Barrina full-spectrum LED grow strips ($$). Plug-and-play backlight for covered or shaded walls.
- Pruning — Fiskars bypass pruning shears ($). Clean cuts on soft growth; low-friction blade stays sharp.
Frequently Asked Questions
What is an outdoor living wall?
An outdoor living wall is a vertical planting system mounted on a fence or exterior wall, where plants grow in pockets or panels instead of the ground. The goal is a durable structure that keeps the plants healthy while turning a bare surface into a green focal point.
How do I assess my space before building one?
Spend a day tracking how much sun the wall gets and when, note the direction the wind usually comes from, and check for nearby shade or anything that drips on the wall. Those conditions decide which frame and plants will actually thrive there.
What structure holds an outdoor living wall best?
Galvanized steel carries the most weight and lasts longest for big walls; treated wood panels suit lighter herb-and-vine walls; modular pocket systems are the easiest for renters and first-timers. Plan for at least 30 pounds per square foot once the soil is wet.
Which plants work best on a living wall?
Match plants to each spot’s light: succulents like sedum for hot, dry sections; ferns, hostas, and trailing vines for cool, shady ones; and edible herbs or native perennials in the reachable middle for scent and pollinators.
How do I water a vertical living wall?
Use a drip system with a timer so every pocket gets a steady drink at the roots. Plan for about half a gallon to a gallon per square foot each week, and add a moisture sensor if you tend to overwater.
How much maintenance does a living wall need?
Just a few minutes a week: prune overgrown stems every six to eight weeks, feed on a steady schedule, check the drip lines for clogs, replace any struggling plant, and watch for pests so you can treat them early.