Organic Soil Amendments for Vegetables
Watering a vegetable bed keeps the plants alive, but it won’t make them productive. Plump tomatoes, crisp kale, and beans that keep coming all season come from the dirt itself — how much life is in it, how well it holds water and air, and whether the nutrients your plants want are actually there. Organic soil amendments for vegetables are how you build that dirt: compost, aged manure, worm castings, bone meal, greensand, biochar, and cover crops, each fixing a different problem. This guide walks through what each one does, how to know which your soil needs, and exactly how much to work in and when.
As an Amazon Associate, Backyard Superstar earns from qualifying purchases at no extra cost to you.
What Soil Amendments Actually Do for Vegetables
An amendment isn’t the same thing as a fertilizer, and mixing the two up is where a lot of gardeners waste money. A fertilizer feeds the plant a dose of nutrients. An amendment feeds the soil — it changes the texture, feeds the microbes, and improves how the ground holds onto water and nutrients over the long haul. Compost and aged manure do the heavy lifting on structure and biology; bone meal and greensand target a specific nutrient the plant is short on. Most beds want a bit of both jobs done.
The payoff for doing it the organic way is real, and it compounds. Beds I’ve amended with compost for a few seasons drain after a downpour instead of turning to soup, and they don’t crust over and crack in a July dry spell the way bare clay does. The microbes you’re feeding break organic matter down into the exact forms roots can grab, and a living soil crowds out a lot of the disease problems that plague tired, lifeless ground. The one honest trade-off: organic amendments work on soil time, not plant time. They release slowly, so you feed for next month and next year, not this afternoon. If a plant is starving right now, that’s a job for a liquid feed — but if you want a bed that gets better every season instead of needing rescue every season, this is how you get there.
Test Your Soil Before You Add Anything
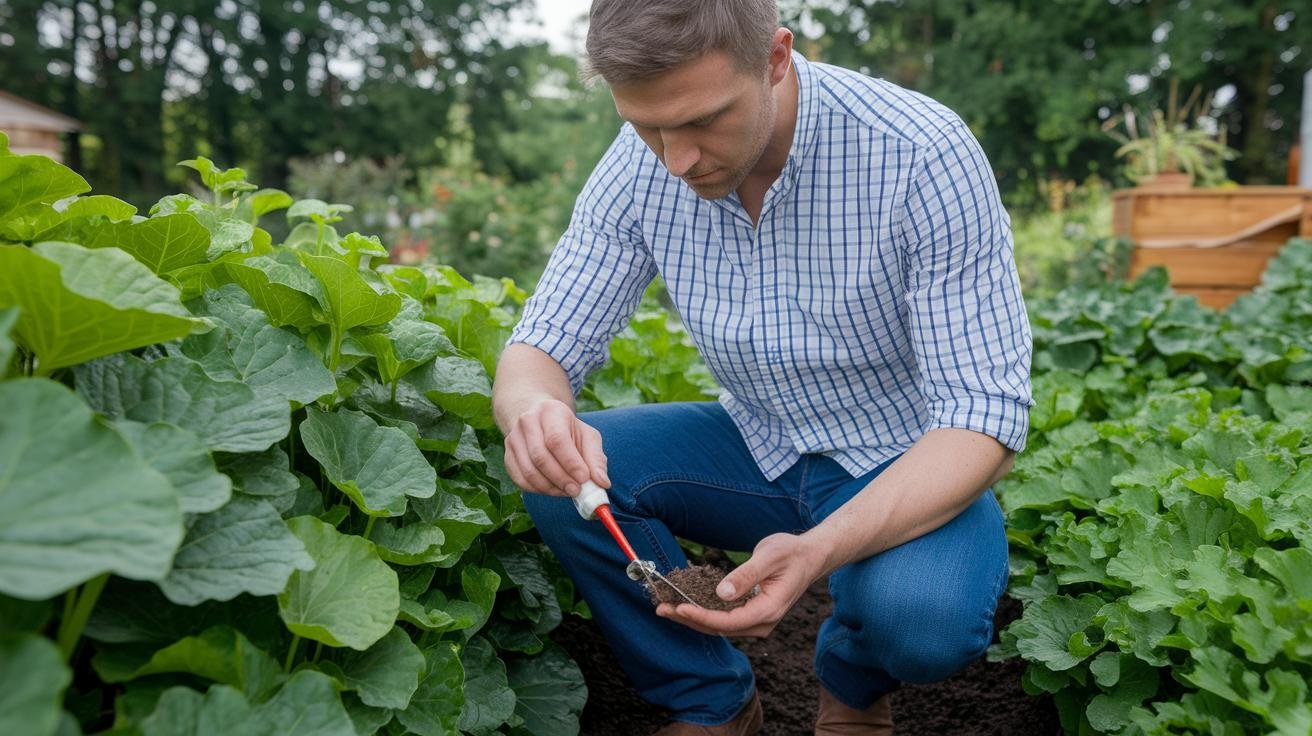
Here’s the mistake I made for years: dumping amendments on a bed by feel, guessing at what it needed. Half the time I was adding something the soil already had plenty of and doing nothing about the thing that was actually holding my plants back. A ten-dollar test saves you a season of that. Spring or early fall is the time to do it, while you’ve still got room to adjust before planting.
A mail-in lab kit is the most useful version for a vegetable gardener because it reads the whole picture — nitrogen, phosphorus, potassium, pH, and often the trace minerals — and hands you back a plain report on what to add. The Soil Savvy Soil Test Kit is the one I point people to first: you pull a sample, mail it in the prepaid pouch, and the report tells you your nutrient levels and pH along with a fertilizer recommendation, so you’re amending on data instead of a hunch (budget, $). A pocket pH meter is a fine second tool for a quick acidity read between lab tests — dampen the soil, push the probe in, and if it reads below 7 you’re acidic, above 7 alkaline. Most vegetables want roughly 6.0 to 7.0. If yours sits outside that, lime raises pH and elemental sulfur lowers it, and our guide to testing soil pH at home covers the details. Get pH right first — a nutrient the roots can’t take up because the pH is off does you no good sitting in the ground.
The Core Organic Amendments Worth Knowing
You don’t need all of these. You need the two or three that fix what your test flagged. Here’s what each one brings and where it earns its place.
Compost is the backbone, and if you only ever add one thing, make it this. Good compost is dark and crumbly, smells like a forest floor rather than sour, and holds water like a sponge while still letting air through. It feeds the microbes, nudges nutrients up gently across the board, and fixes both sandy soil that won’t hold water and heavy clay that holds too much. You can make your own, but when I need volume fast I’ll buy a screened bag like Wakefield Premium Compost, which is OMRI-listed and already aged so it’s ready to go into a bed the day you open it (budget, $). For a fuller breakdown, we’ve got a whole post on using compost in raised beds.
Aged manure brings steady nitrogen and does wonders for structure, loosening tight ground so roots can run. The word that matters is aged. I learned that the hard way — I once worked fresh manure into a bed too close to planting and scorched a whole row of lettuce seedlings, because raw manure is too “hot” and burns tender roots. Buy it composted and you skip that risk entirely. A bagged, fully composted product like Black Kow Composted Cow Manure is mellow-smelling, straw-free, and won’t burn (budget, $). It should never smell sharp or ammonia-like; if it does, it isn’t ready.
Worm castings are the concentrated stuff — worm digestion leaves behind a fine, dark casting loaded with microbes and nutrients in a form roots take up immediately. A little goes a long way, which is why it costs more by the pound than compost. I keep a bag around for transplants specifically: a handful in each planting hole gives seedlings a gentle, steady kick without any burn risk. Wiggle Worm Pure Worm Castings are pure with no fillers and OMRI-listed, and they’re what I reach for when I want the strongest organic boost I can give a young plant (premium, $$$).
Bone meal is a targeted fix, not a general feed. It’s slow-release phosphorus and calcium, which is what fuels strong root development and better fruit and bloom set — exactly what phosphorus-hungry crops like tomatoes and peppers want at transplant time. Espoma Organic Bone Meal (a 4-12-0 blend) stirs into the topsoil right where you set a transplant (budget, $). Only reach for it if your soil test shows phosphorus is actually low — piling it on when you don’t need it does nothing good.
Greensand is a mined mineral rich in potassium and a long list of trace elements, and it releases them slowly over months. It’s the one I use when a test comes back short on potassium, which shows up as weak stems and poor fruiting in things like peppers and tomatoes. Espoma Greensand works into the bed and then trickles its minerals out just as plants are waking up and getting hungry (mid-range, $$).
Biochar is the specialist. It’s a fine charcoal riddled with tiny pores, and those pores hold onto both water and nutrients so they don’t wash straight through your soil in a heavy rain — a real help in sandy beds that drain too fast. One catch worth knowing: raw biochar will actually rob nutrients from your plants at first, because it soaks up everything around it until it’s full. So use a pre-charged product, or soak plain biochar in a nutrient solution (like compost tea) for a couple of weeks before it goes in the ground. Wakefield Premium Biochar is a clean, pure option for blending into a bed (mid-range, $$).
How Much to Add and When to Work It In
Timing matters as much as amount, because most of these need lead time to break down or mellow before roots meet them. Work amendments into roughly the top six inches of soil, water them in, and give them the window below before you plant. Rush it and you either waste the amendment or, with manure, risk burning what you plant.
- Compost: spread 1–3 inches over the bed and fork it into the top six inches two to four weeks before planting.
- Aged manure: 20–40 pounds per 100 square feet, worked in three to six weeks ahead so it fully mellows.
- Worm castings: 1–2 pounds per 10 square feet mixed into the top couple inches at planting, or side-dressed around stems four to six weeks in for a midseason lift.
- Bone meal: 5–10 pounds per 100 square feet stirred into fresh-turned soil at planting. For heavy feeders like tomatoes, put in half at transplant and the rest when the first blooms open.
- Greensand: 5–10 pounds per 100 square feet in early spring, mixed in before the ground warms so the minerals are ready when plants are.
- Biochar: blend in at about 5–10 percent by volume — and charge it first (see above) so it feeds your plants instead of starving them.
A word on heavy feeders, since they’re where timing pays off most. Tomatoes, peppers, squash, and corn eat hard and long, so splitting their feeding — some phosphorus at transplant, a little more when they set fruit — keeps them producing instead of burning bright and fading. If you’re growing those in pots, the math changes because container soil drains and depletes fast; our guide to growing tomatoes in containers gets into feeding them specifically.
Cover Crops: Free Fertility Between Seasons
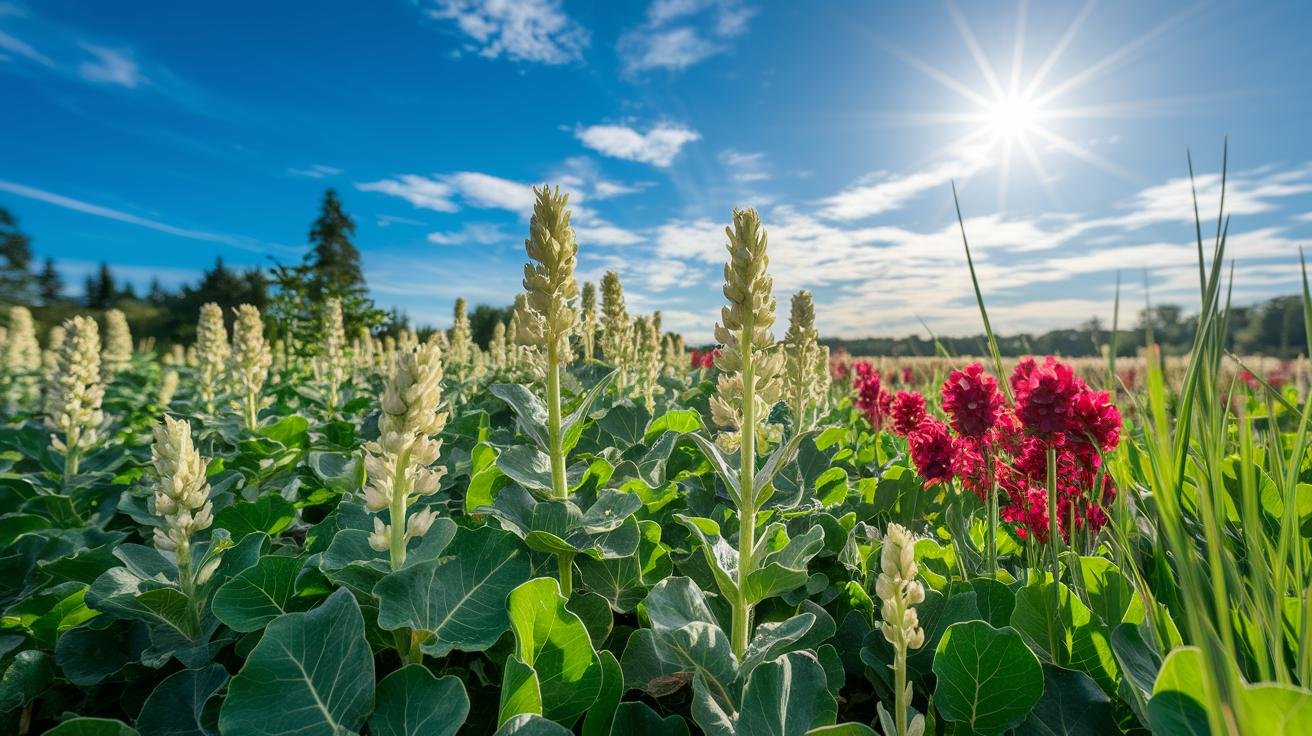
Cover crops are the amendment you grow instead of buy, and they’re the closest thing to free soil improvement there is. You sow a fast crop in a bed that’s between vegetables, let it build a mass of roots and leaves, then chop it down and fork it into the soil before it sets seed. The roots break up compaction, the greens rot down into organic matter, and legumes like clover and peas pull nitrogen out of the air and leave it in your soil. It’s the trick that turned my worst, most compacted bed around over a single winter.
Pick the crop to match the job and the season:
| Cover crop | When to plant | When to cut back | Main benefit |
|---|---|---|---|
| Buckwheat | 4–6 weeks before first frost | At first flower | Fast biomass; roots loosen compacted soil |
| Crimson clover | Fall | Before spring planting | Fixes nitrogen; deep roots improve tilth |
| Field peas | Early spring | When blooms fade | Adds a big nitrogen boost |
The routine is the same whichever you sow: once it’s flowering or at peak growth, mow or chop it, fork the green material into the top few inches, and wait about two weeks for it to break down before you plant into the bed. Rotate to a different cover crop each year so your soil gets a varied diet rather than the same one over and over.
Buying Good Amendments Without Getting Burned
You can buy the same product in two grades and get very different results, so it’s worth knowing what to look for. Local sources — farms, garden centers, and municipal green-waste programs — often carry bulk compost cheaper than bags, usually somewhere in the range of a few tens of dollars a cubic yard, which is a fraction of the bagged price if you’ve got beds to fill. Give it the nose test before you load it: quality compost smells rich and earthy, and manure should smell like soil, never sharp or sour.
On bagged products, read the label the way you’d read one on food. Look for the OMRI or organic-certification seal if organic matters to you — it means the ingredients are non-GMO and tested clean. Check that the bag isn’t waterlogged or bone-dry, and that manure is labeled fully composted or aged, not fresh. And match what you’re buying to what your soil test actually asked for, rather than grabbing the biggest bag of whatever’s on sale. Good inputs are the cheapest insurance a vegetable bed can have; cutting corners here is where weed seeds and burned seedlings come from.
Working Amendments Into Raised Beds, Containers, and No-Dig Gardens
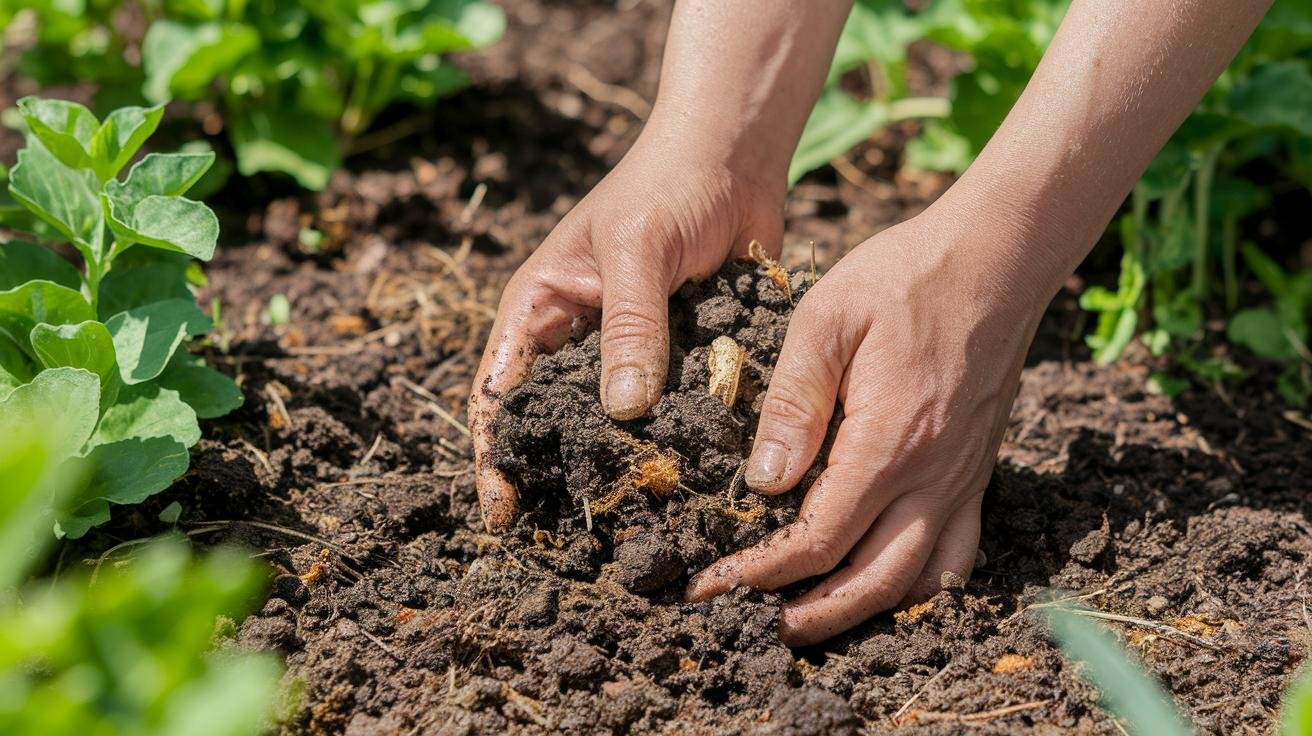
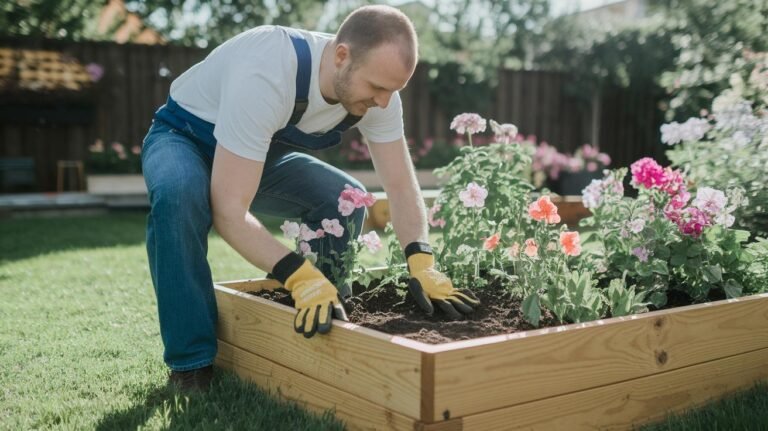
How you apply amendments changes with the kind of bed you’re feeding. In a raised bed, top up each season with 2 to 4 inches of compost forked into the base, and blend in a small share of charged biochar — around 5 percent by volume — to help the bed hold moisture through summer. That yearly refresh is what keeps a raised bed from slumping and going lifeless; if you’re building or filling one from scratch, our raised-bed soil recipe and the bed-planning guide both go deeper.
Containers ask for a mix that drains fast but still feeds, since pots dry out and deplete quicker than open ground. A blend that’s served me well runs roughly 40 percent compost, 30 percent coconut coir for moisture, 20 percent perlite for air space, and 10 percent aged manure for slow nitrogen. For heavy feeders in pots, work a spoon of bone meal or a little greensand into the mix at planting so the potassium and phosphorus are there when the plant hits its stride.
No-dig gardens take the least work and lean hardest on amendments doing their job on the surface. Instead of tilling, you lay a 1- to 2-inch blanket of compost or worm castings on top each season and let rain and earthworms carry it down, feeding the soil life without disturbing it. If a test shows you’re short on phosphorus or potassium, sprinkle bone meal or greensand right on the surface and let the next few rains work it in. It’s slower than digging it under, but on established beds it keeps the soil structure intact and the whole thing feeds itself with a little help from you.
Recommended organic amendments
As an Amazon Associate, Backyard Superstar earns from qualifying purchases at no extra cost to you.
- Start here — soil test — Soil Savvy Soil Test Kit ($). Mail-in lab read on nutrients and pH so you amend on data, not guesswork.
- Base builder (budget) — Wakefield Premium Compost ($). OMRI-listed, aged, ready to fork into a bed the day it arrives.
- Nitrogen + structure — Black Kow Composted Cow Manure ($). Fully composted, straw-free, won’t burn tender roots.
- Transplant boost (premium) — Wiggle Worm Pure Worm Castings ($$$). Concentrated, no fillers — a handful per planting hole.
- Phosphorus fix — Espoma Organic Bone Meal ($). Slow-release phosphorus and calcium for roots and fruit set.
- Potassium + trace minerals — Espoma Greensand ($$). Slow-release potassium for sturdy stems and better fruiting.
- Moisture + nutrient holding — Wakefield Premium Biochar ($$). Charge it first, then blend in to help sandy beds hold water and nutrients.
FAQ
What are the best organic soil amendments for a vegetable garden?
Compost and aged manure are the backbone for structure and biology, worm castings give a concentrated boost, and bone meal (phosphorus), greensand (potassium), and biochar (moisture and nutrient holding) target specific needs. Cover crops add fertility between plantings. Let a soil test tell you which your beds actually need.
Should I test my soil before adding amendments?
Yes. A mail-in lab kit or a pH meter tells you your nutrient levels and whether pH is in the 6.0–7.0 range most vegetables want. Testing first stops you from adding something the soil already has plenty of and missing the thing that’s actually holding your plants back.
How much amendment should I add and when?
As a rule, work 1–3 inches of compost into the top six inches two to four weeks before planting, 20–40 pounds of aged manure per 100 square feet three to six weeks ahead, and 5–10 pounds of bone meal or greensand per 100 square feet at planting. The lead time lets each one break down before roots reach it.
Can I use fresh manure in my vegetable beds?
No — fresh manure is too “hot” and will burn tender roots, and it can carry weed seeds and pathogens. Use only fully composted or aged manure, which smells earthy rather than sharp, and work it in a few weeks before planting.
How do cover crops improve soil?
Cover crops like buckwheat, crimson clover, and field peas build roots that loosen compaction and leaves that rot down into organic matter. Legumes also fix nitrogen from the air. You chop them down before they seed and fork them into the top few inches, then wait about two weeks before planting.
What’s the difference between a soil amendment and a fertilizer?
A fertilizer feeds the plant a dose of nutrients now; an amendment feeds the soil — improving texture, microbial life, and how well the ground holds water and nutrients over time. Organic amendments release slowly, so they build a better bed for the seasons ahead rather than delivering an instant hit.
Do amendments work differently in raised beds and containers?
Yes. Raised beds want a 2–4 inch compost top-up forked in each season; containers need a fast-draining mix (roughly compost, coir, perlite, and a little aged manure) because pots deplete quickly; and no-dig beds get a 1–2 inch compost or castings layer left on the surface for rain and worms to carry down.