How to Build a Pallet Wood Hammock Frame
A store-bought hammock stand can run you more than the hammock did. So before you spend that money, take a look at the free lumber sitting behind the local hardware store or feed shop: shipping pallets. With a handful of solid pallets, a box of screws, and about a half-day, you can build a pallet wood hammock frame that holds an adult comfortably for under $50. I’ve put a few of these together, split a board or two by rushing, and worked out a build sequence that goes up square and stays put. Here’s how I’d do it.
As an Amazon Associate, Backyard Superstar earns from qualifying purchases at no extra cost to you.
What You’ll Need: Pallets, Tools, and Hardware
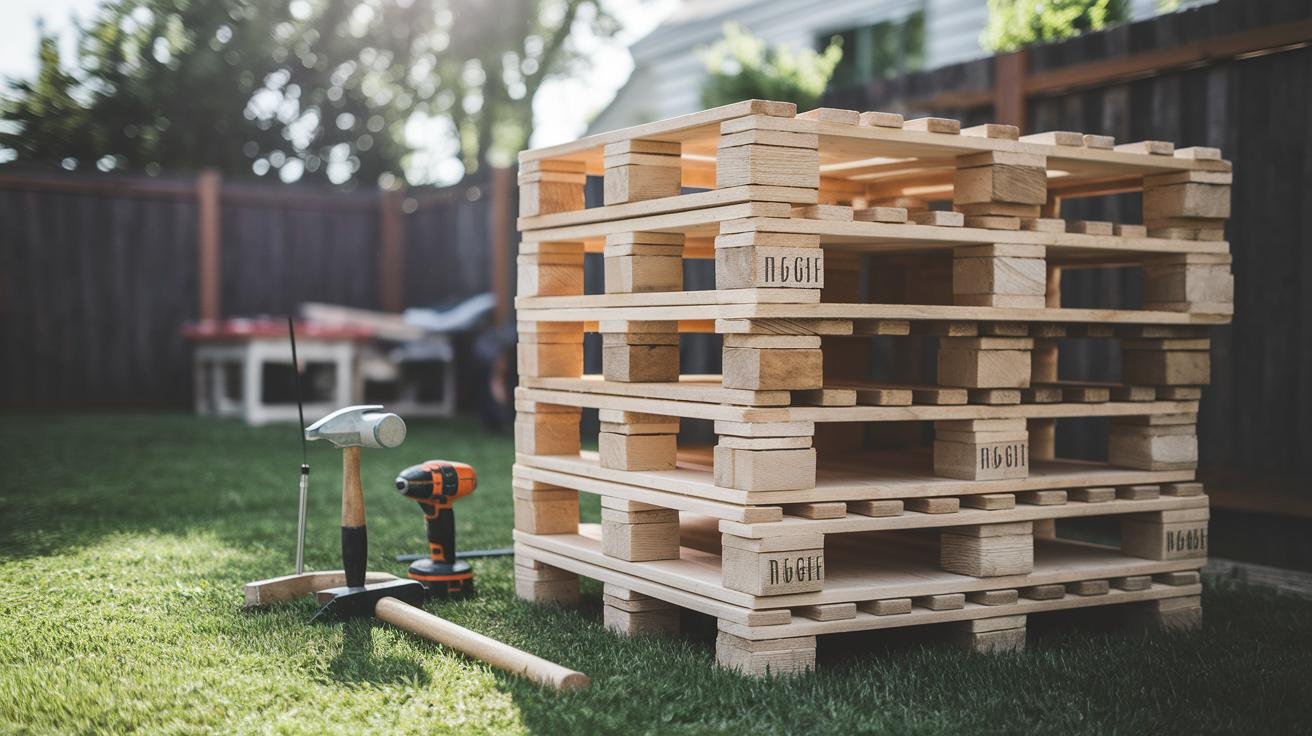
The frame lives or dies on the wood you start with, so be picky. Look for pallets stamped HT (heat-treated) rather than MB — MB means the wood was treated with methyl bromide, a chemical you don’t want to sand and handle. Run your hand down each board and skip anything soft, split, or peppered with bug holes. You want straight, tight-grained boards that feel firm under your thumb. For a frame, the thick stringer boards (the chunky 2×4-ish pieces that run the length of a pallet) are gold — those become your posts and beams.
Here are the tools worth having on hand before you start:
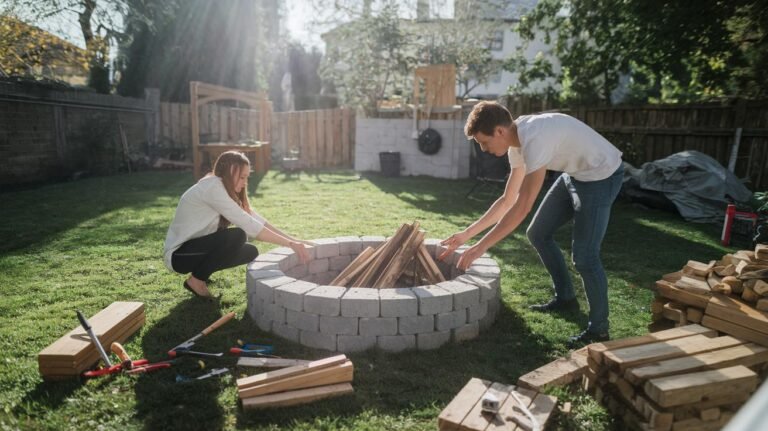
- A pry bar and a hammer for taking pallets apart without wrecking the boards
- A circular saw or a handsaw to cut boards to length
- A drill/driver with bits for pilot holes and screws
- A sander, or 80- and 120-grit sandpaper for hand-sanding
- A 4-foot level and a carpenter’s square to keep everything plumb and true
For hardware, this is where I’d spend the little money the project costs:
- Exterior structural screws rated for outdoor use, long enough to bite deep into the posts and beams
- Galvanized angle brackets to reinforce the joints
- Washers and exterior-rated lag bolts for the main load-bearing connections
- An exterior stain or sealer to weatherproof the finished frame
If you already own the basic power tools, the screws, brackets, and sealer together usually come in under $50 — which is the whole appeal of building from pallets instead of buying a stand.
How to Break Down Pallets Without Splitting the Boards
This is the step that frustrates people into quitting, because pallet nails are ring-shank nails built to never let go. Brute force just snaps the boards. The trick is leverage and patience.
A wide, flat pry bar is the right tool here. I use a Stanley Wonder Bar ($) — the thin, flat blade slips under a board where a claw hammer can’t, and the wide face spreads the load so the wood lifts instead of cracking. Work it under the board near each nail, not in the middle of the span, and lever a little at a time, moving along the board so it comes up evenly. Boards pulled this way stay usable; boards yanked from the center end up as firewood.
Once a board is free, knock the protruding nails back out from the underside with a hammer, then pull them with the pry bar’s nail slot or a pair of pliers. Don’t leave nails in — one forgotten ring-shank will chew up your saw blade or your hand. With the boards loose and de-nailed:
- Sort and measure. Set the thick stringers aside for posts and beams; the thinner deck boards become braces and trim. Measure twice before any cut.
- Cut to length. Mark both ends with a pencil and a square so every matching piece is the same length — four posts at roughly 6 feet, beams long enough to span them.
- Sand in two passes. Start with 80-grit to knock down splinters, old paint, and rough spots, then finish with 120-grit so nothing snags a hammock or your skin.
Building the Hammock Frame Step by Step
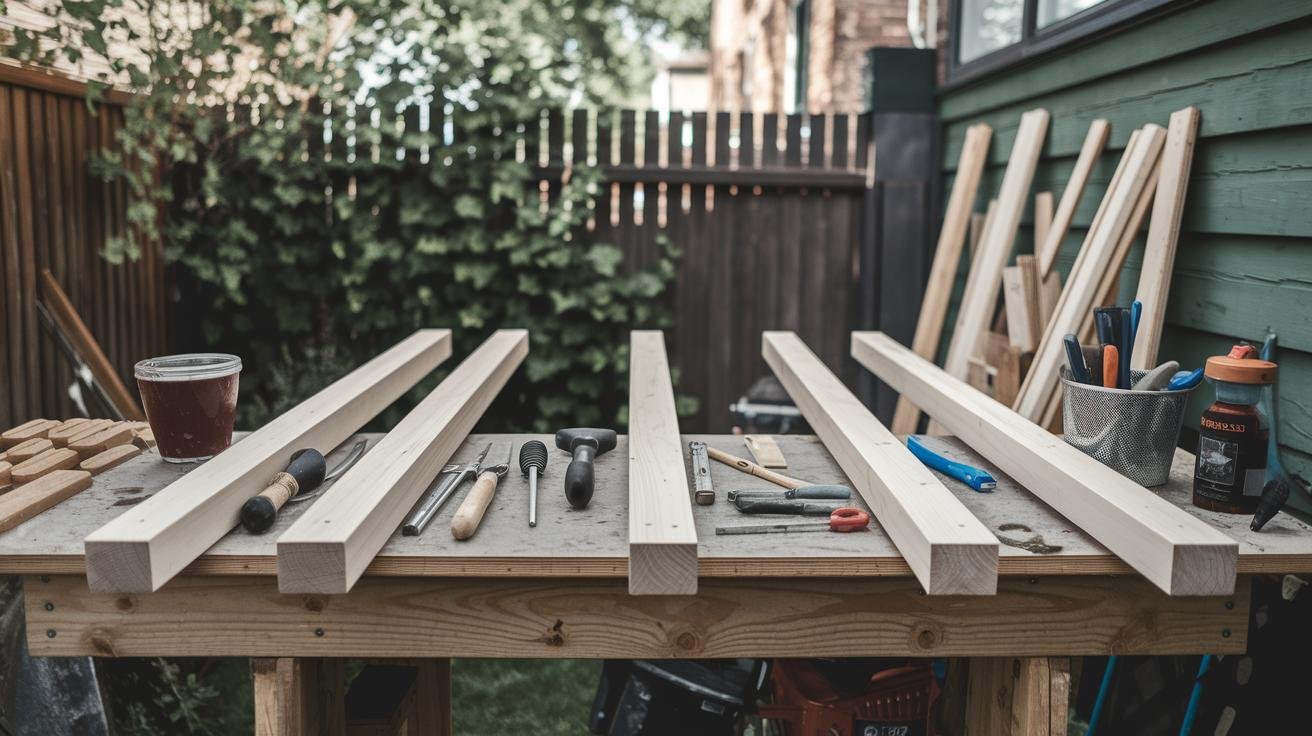
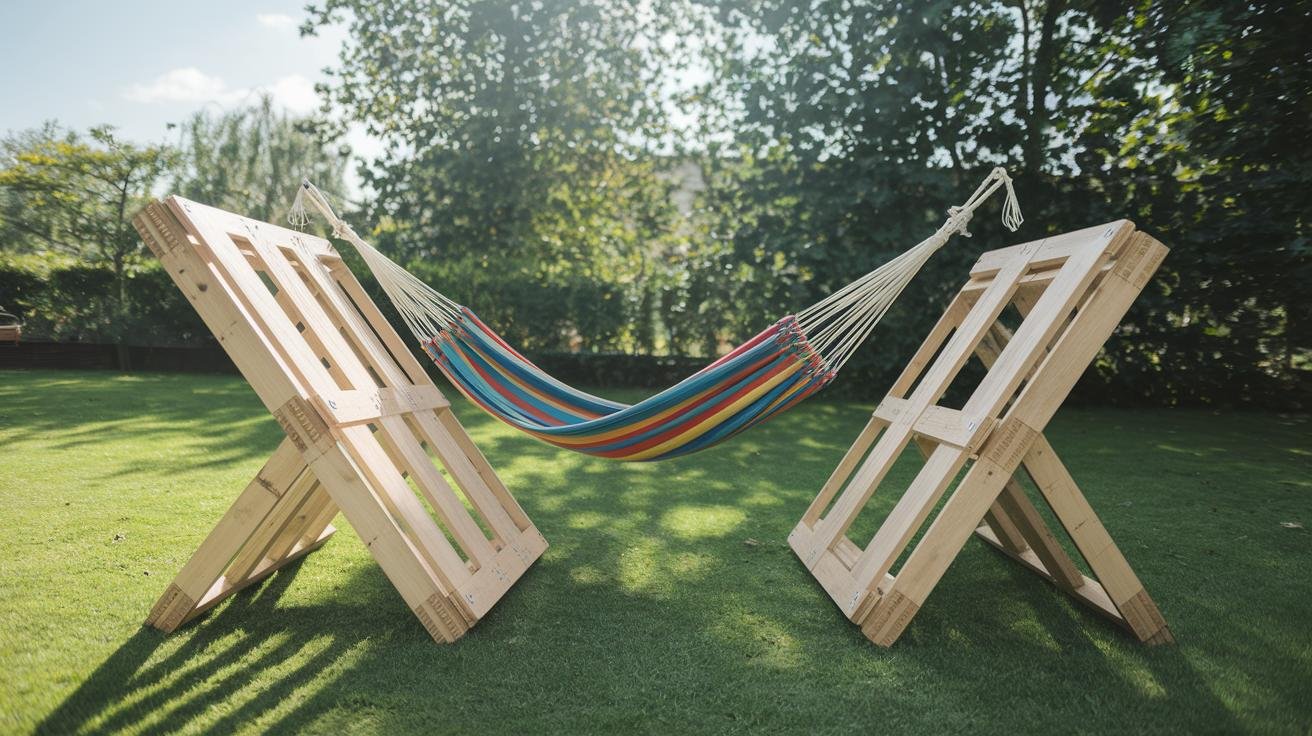
Lay your cut and sanded pieces out on a flat surface so you can see the whole frame before you drive a single screw. The frame is essentially two A-shaped or post-and-beam ends connected by long beams, with diagonal braces locking it square. Build it on level ground — a frame that goes up on a slope fights you the whole way.
Stand the Posts Plumb
Set your four roughly 6-foot posts where they’ll stand. Hold a level against each one and adjust until the bubble sits dead center, then clamp a temporary brace to hold it while you fasten it. “Plumb” just means truly vertical in both directions — check the front face and the side face, because a post can look straight from one angle and lean from the other. Get this right and the rest of the build falls into place; skip it and you’ll chase a wobble forever.
Bolt On the Horizontal Beams
Run a beam between two posts, line it up level, and mark your fastener points about 2 inches in from each end. Always drill a pilot hole first — a small starter hole keeps the dense pallet wood from splitting when the screw goes in. For the main connections, I reach for SPAX PowerLags structural lag screws ($$); they drive in with a regular impact driver, no pre-drilling for the lag itself, and they’re rated and code-recognized for structural wood-to-wood connections, which is exactly what a load-bearing hammock joint is. Space the top and bottom beams a few feet apart for a stable base.
Add the Diagonal Braces
Diagonal braces are what turn a wobbly box into a rigid frame. Cut a brace to fit at roughly 45 degrees between a post and a beam, and fasten both ends. For the joints that take the most stress, back up the screws with Simpson Strong-Tie galvanized angle brackets ($) — they tie the post and beam together across the corner so the connection doesn’t rely on screws in shear alone. Tighten everything down, then put the square and level on each corner one more time. When nothing moves when you lean on it, you’ve got your frame.
Making Sure the Frame Holds Your Weight
Before anybody climbs in, prove the frame will hold. Build to carry at least 250 to 300 pounds — more if two people will share the hammock — and make sure your screws, lag bolts, and brackets are all rated for that load. A good rule is to match the frame’s capacity to the hammock you plan to hang; it’s worth understanding how those numbers work, which I break down in the garden hammock weight capacity guide.
Do a bounce test before you trust it: grab the frame and give it a firm shake, then press your weight down where the hammock will hang. Listen for creaks and feel for any flex at the joints. Catching a loose connection now beats finding it when you’re already horizontal.
Gear to wear while you’re cutting and sanding, not after the fact: safety glasses to block flying chips, work gloves against splinters, and a dust mask so you’re not breathing sawdust. On soft or uneven ground, drive a spike anchor beside each post and tie the frame down with an eye bolt so a breeze can’t tip it — there’s more on anchoring tricks in the installation tips for uneven terrain.
With the frame solid, you just need something to hang. A Vivere double cotton hammock ($$) is an easy match — it’s rated to 450 pounds, wide enough for two, and the soft cotton weave is comfortable for an afternoon nap. If, partway through, you decide the build isn’t for you, a ready-made Best Choice Products steel hammock stand ($$$) sets up tool-free and holds up to 450 pounds — more expensive than pallets, but no sawdust. If you’d rather build a different style than this pallet frame, the DIY hammock stand plans walk through another approach.
Sealing the Wood So It Survives the Weather
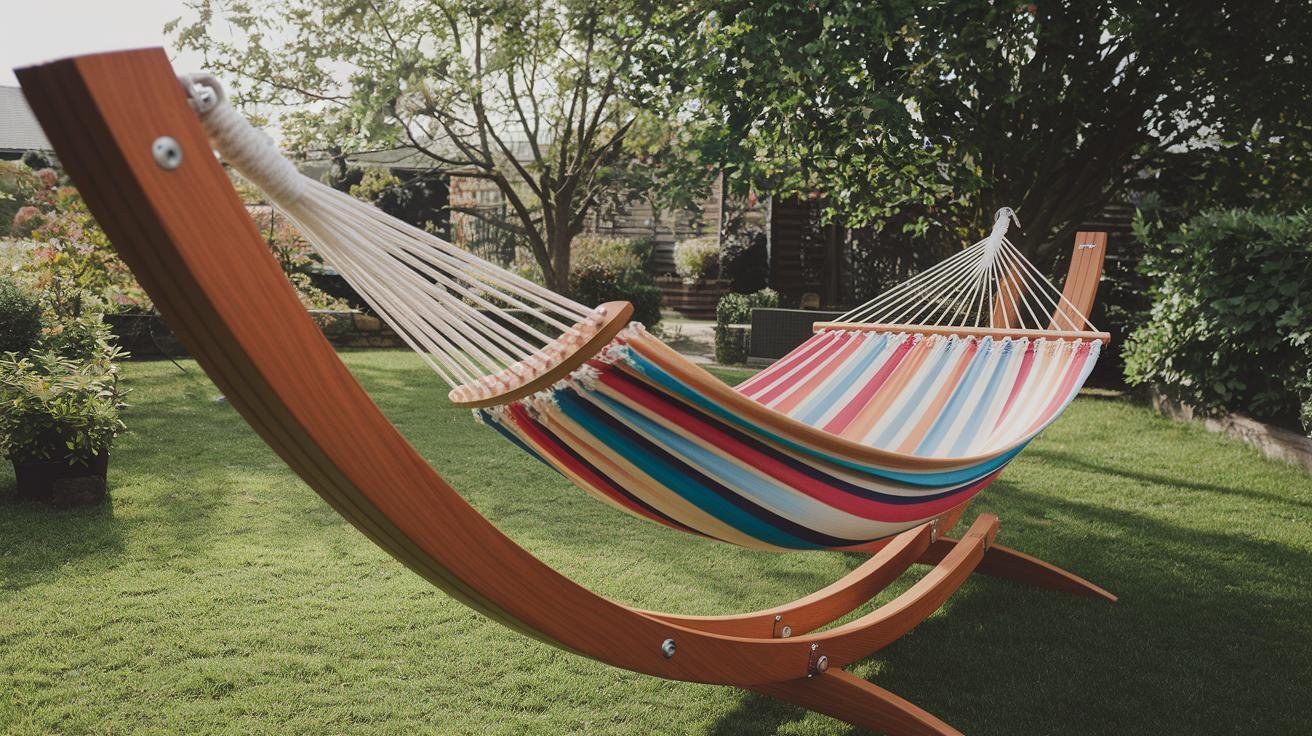
Pallet wood is usually untreated softwood, so left bare it’ll gray, swell, and rot within a couple of seasons. A finish is what makes the difference between a frame that lasts a summer and one that lasts years. Give every surface a light pass with 120-grit first so the finish grabs, then wipe off the dust.
For an outdoor frame, I like an all-in-one penetrating stain-and-sealer because it soaks in rather than forming a film that can peel later. Ready Seal exterior wood stain and sealer ($$) is the kind I’d grab — it brushes on without back-brushing or lap marks, carries its own UV protection, and adds color and water resistance in one step. Brush with the grain, get into every joint and bracket pocket, and don’t rush the corners.
Apply two coats for lasting protection, letting each coat dry fully before the next — usually a day, longer in humidity. Let the final coat cure before you hang any weight on the frame. Whatever finish you choose, the goal is the same: water should bead and run off the wood instead of soaking in.
Keeping the Frame Solid Season After Season
A pallet frame asks for very little once it’s built, but five minutes of upkeep a couple of times a year keeps it safe and good-looking.
Once a season, walk the frame with a screwdriver or wrench and snug up every fastener — wood expands and contracts with the weather, and a bolt that was tight in spring can back off by fall. While you’re at it, scan each board for new soft spots, cracks, or insect damage, and swap out any piece that’s gone spongy before it fails under load.
Reapply your sealer about once a year, or whenever water stops beading on the surface. In fall, brush off leaves and pollen so moisture doesn’t sit in the joints. When winter comes, move the frame under cover if you can, or drape a tarp loosely enough that air still circulates underneath — sealing it up tight just traps damp against the wood. The hammock itself comes down and stores indoors; a quick rundown on caring for it is in the hammock cleaning and maintenance guide. And if you want the spot to feel like a destination, planting around the frame does a lot of the work — the best plants to surround a hammock area rounds up easy options for shade and privacy.
Recommended gear for this project
As an Amazon Associate, Backyard Superstar earns from qualifying purchases at no extra cost to you.
- Pry the pallets apart — Stanley Wonder Bar ($). Flat blade slips under boards so they lift instead of splitting.
- Hold the frame together — SPAX PowerLags structural lag screws ($$). Code-rated for structural wood joints; drive with an impact driver.
- Brace the joints — Simpson Strong-Tie galvanized angle brackets ($). Tie post and beam across each corner so screws aren’t loaded in shear alone.
- Seal the wood — Ready Seal exterior stain and sealer ($$). Penetrating all-in-one finish with UV protection; no lap marks.
- The hammock to hang — Vivere double cotton hammock ($$). Soft cotton weave rated to 450 lb, wide enough for two.
- Skip the build (premium) — Best Choice Products steel hammock stand ($$$). Tool-free ready-made stand, 450 lb capacity, if pallets aren’t your thing.
FAQ
How much does a pallet wood hammock frame cost to build?
If you already own the basic power tools, a pallet wood hammock frame usually comes in under $50 — the cost is just the screws, brackets, and sealer, since the pallets themselves are often free.
How long does it take to build the frame?
Plan on about four to six hours, from sorting and breaking down pallets through cutting, sanding, assembly, and the first coat of sealer. The sealer then needs time to dry before you hang any weight.
Which pallets are safe to use?
Use pallets stamped HT (heat-treated). Avoid any stamped MB, which means they were treated with methyl bromide. Skip boards that are stained with chemicals, cracked, soft, or full of bug holes.
How do I take pallets apart without splitting the boards?
Use a wide flat pry bar and work it under the board right next to each nail, not in the middle of the span. Lever a little at a time along the board so it lifts evenly, then knock out and pull every nail.
How much weight will the frame hold?
Build it to carry at least 250 to 300 pounds, more for two people, using exterior structural screws or lag bolts and diagonal bracing. Match the frame’s capacity to your hammock’s rating, and do a bounce test before trusting it.
How do I weatherproof the finished frame?
Sand lightly with 120-grit, then brush on two coats of an exterior penetrating stain-and-sealer, working with the grain and into every joint. Let each coat dry fully so water beads off instead of soaking into the wood.