How to Build an Outdoor Fire Pit Step by Step
Building a backyard fire pit sounds like a job for a contractor and a fat invoice. It isn’t. I’ve built a few of these now, and the honest truth is that a solid stone-and-gravel pit is a one-weekend project with hand tools you probably already own. The first one I put in took me a Saturday of digging and a Sunday morning of stacking — and it’s still the spot everyone drifts to once the sun drops. This guide walks you through how to build an outdoor fire pit the way I actually do it: pick the right spot, get the base right so it drains, stack a wall that won’t wobble, and drop in a fire ring that keeps the heat off your stone. If you want inspiration before you commit to a shape or size, browse these backyard fire pit ideas first, then come back and build.
As an Amazon Associate, Backyard Superstar earns from qualifying purchases at no extra cost to you.
Choosing a Safe Spot for Your Fire Pit
Location makes or breaks a fire pit, and it’s the one decision that’s a pain to undo later. Keep the pit at least ten feet from your house, fence, shed, and any low tree branches — that’s the clearance most fire codes want, and it’s simply good sense once you’ve watched a stray ember catch a breeze. Before you fall in love with a spot, check what’s overhead too; a beautiful pit tucked under a maple is a beautiful mistake.
Drainage is the next thing I look at, and most people skip it. Pour a bucket of water where you’re planning to build and watch what happens. If it sits and puddles, that ground will trap water under your pit and heave it every winter — pick somewhere the water disappears, or plan to build up a proper base. You also want reasonably level ground, because a wall stacked on a slope leans a little more with every course until it’s a problem.
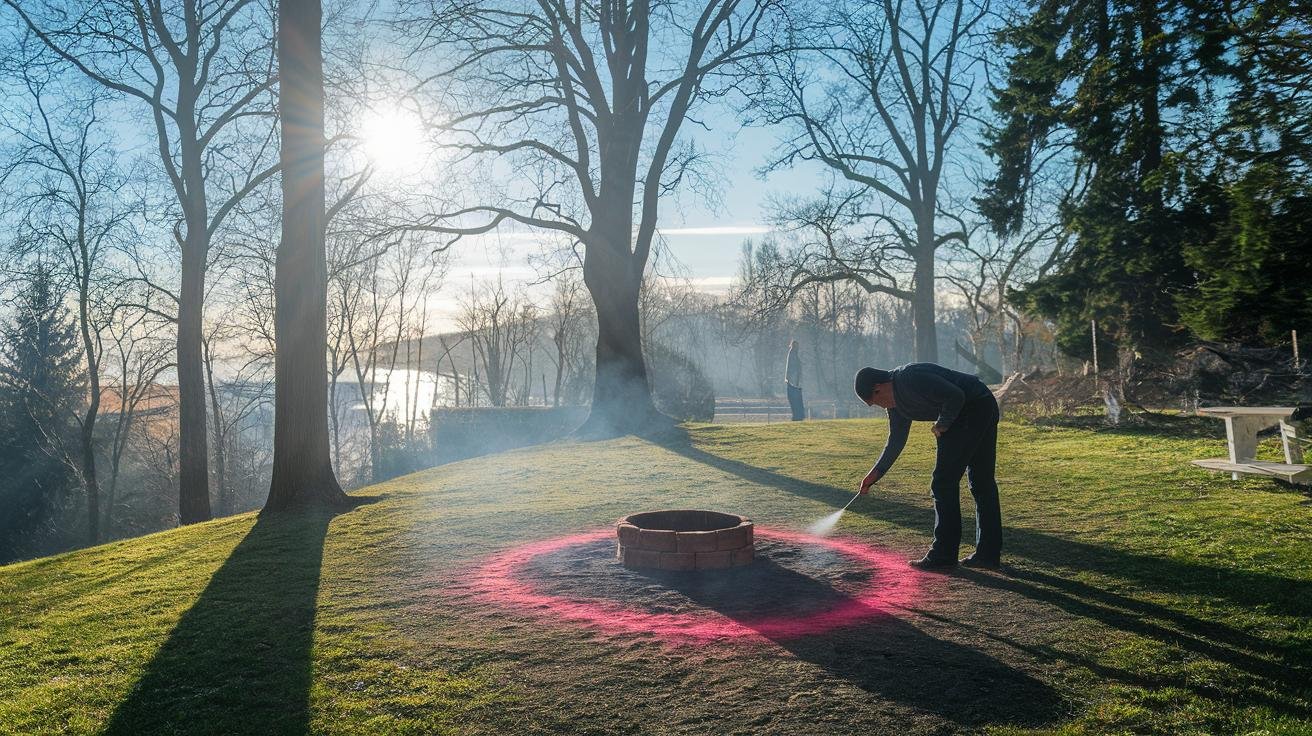
Once you’ve got your spot, mark the circle. I drive a stake in the center, tie a string to it at half the pit’s width, and swing it around with a can of marking paint or a trailing stick — instant perfect circle. A 36-to-44-inch outside diameter with a 24-inch fire area is a good all-purpose size; big enough to throw real heat, small enough that you’re not feeding a bonfire all night. One last step before a shovel touches dirt: call 811 to have your underground utility lines marked. It’s free, it takes a couple of days, and it beats putting a spade through a gas line. While you’re planning, it’s worth reading up on placement and safety clearances so you get the siting right the first time.
Digging and Leveling the Base
Here’s where a fire pit earns its longevity or its early grave. Strip the sod and topsoil inside your circle, then dig down six to twelve inches — and if you’re somewhere winters bite, go closer to eighteen to get below the frost line so freeze-thaw can’t lift your wall. Tamp the floor and sides firm; I use a hand tamper, but the back of a sturdy shovel works if you lean into it. The base needs to be dead flat, so lay a board across the hole with a level on top and shave the high spots until the bubble sits centered.
Now build your drainage layer, which is what separates a pit that shrugs off rain from one that’s a soggy mess every spring. Pour in three to four inches of gravel and rake it level — you’ll hear it lock together as you smooth it. On top of that, spread two to three inches of coarse sand and tamp it flat. That gravel-then-sand sandwich gives water somewhere to go and gives your first course of stone a stable, forgiving bed to sit on. Take your time getting this layer flat and firm; every wobble you leave here shows up multiplied three courses higher.
Stacking the Stone or Paver Wall
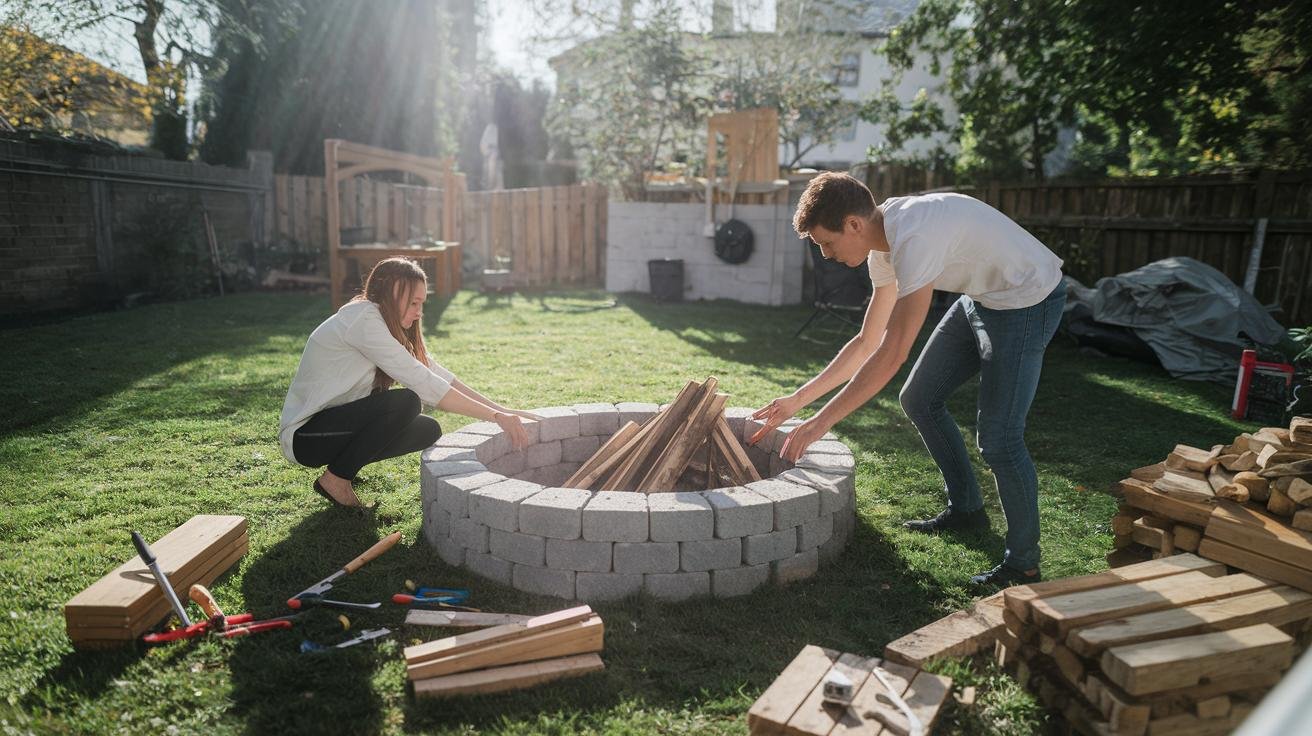
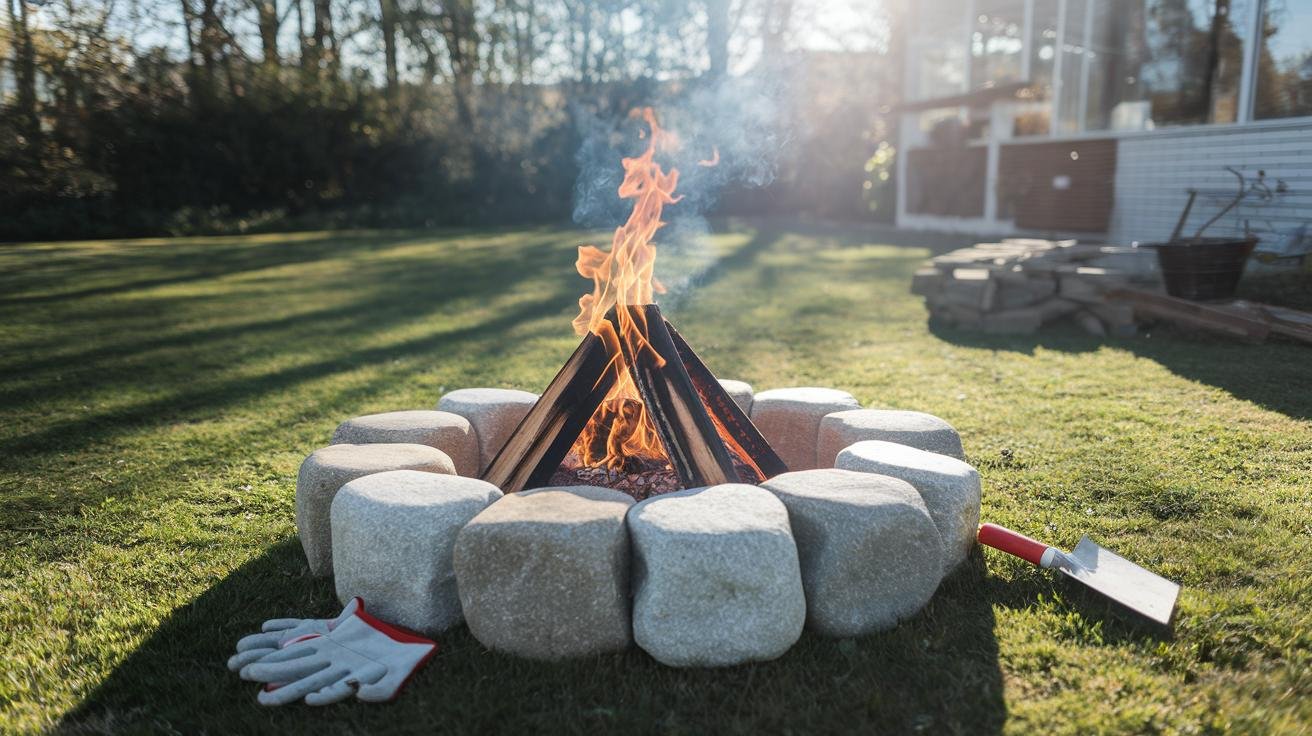
This is the fun part, and it goes faster than you’d think. Decide on your material first, because it changes the look and the cost. Natural fieldstone reads rustic and no two pits look alike; trapezoid retaining-wall blocks or fire pit “wedge” pavers snap into a clean circle almost by themselves. For a 24-inch inner pit you’re looking at roughly 40 to 48 wedge blocks per course, two to four courses high. Whatever you pick, wear a pair of heat- and cut-resistant leather gloves for this — stacking rough stone all afternoon shreds bare hands, and the same gloves handle logs and hot grates once the pit’s in service (budget range, $).
Set your first course right on the packed sand and press each block down, then run a level across opposite stones and tap the high ones down with a rubber mallet until the ring sits true. This bottom ring is your foundation — spend the extra ten minutes getting it perfectly level and the rest almost builds itself. Before you start the second course, lay a bead of masonry adhesive along the top of the first, then stagger the joints so no seam ever lines up with the one below it, exactly like laying brick. Those offset joints are what lock the wall together and stop it leaning.
Work up two to four courses, checking level as you go and gluing between each. If you want a ledge for drinks and marshmallow sticks, cap the top course with wide, flat coping stones set on another bead of adhesive. Don’t rush the glue-up; a lumpy bead or a course you didn’t tap level is the kind of thing you notice every time you sit down afterward. Step back every course or two and eyeball the wall against the horizon — it’s a lot easier to fix a lean now than after the adhesive cures.
Adding a Fire Ring or Gas Burner
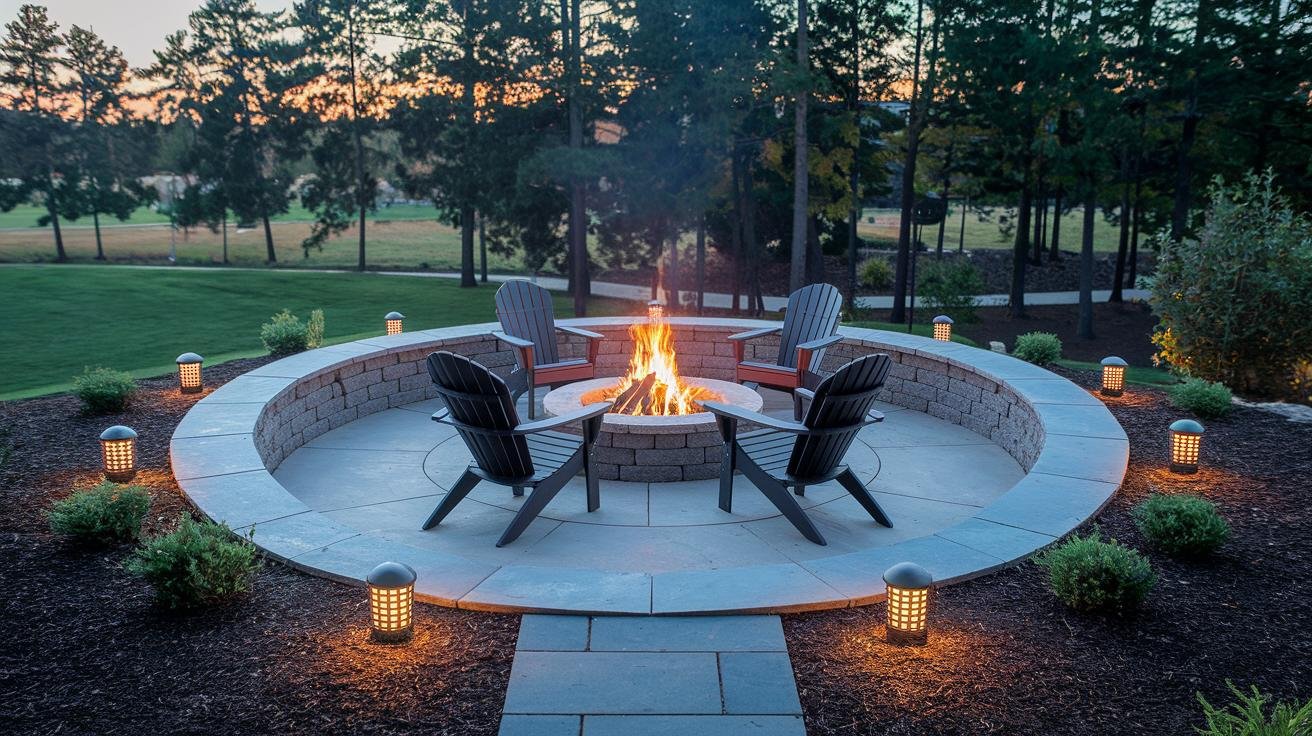
If you’re burning wood, do your stone a favor and drop a steel fire ring inside the wall. Direct flame and years of heat cycling will eventually spall and crack even good stone, and a liner takes that beating instead. A heavy-duty steel fire pit ring insert sized to your inner diameter is the single upgrade I’d never skip on a wood pit — it keeps the logs centered, shields the masonry, and makes the whole thing look finished (mid-range, $$). Set it in level and you’re basically done.
Prefer the flip-of-a-switch convenience of gas? That’s a different build, and it’s worth reading the full gas versus wood-burning comparison before you decide, because gas trades the crackle and campfire smell for zero smoke and instant control. If you go that route, a drop-in kit takes the guesswork out of the plumbing — a stainless-steel drop-in gas burner kit with a spark igniter comes with the pan, gas line, air mixer, and valve you need, and it rests on a ledge inside your wall (premium range, $$$). Have a licensed pro make the final gas connection — that part is not a DIY corner to cut. Top a gas burner with a couple of inches of natural lava rock to spread the heat and hide the burner (budget range, $). Skip river rock entirely, whether you burn gas or wood — trapped moisture inside those smooth stones can turn them into little steam grenades when they heat up.
Seating and Finishing Touches
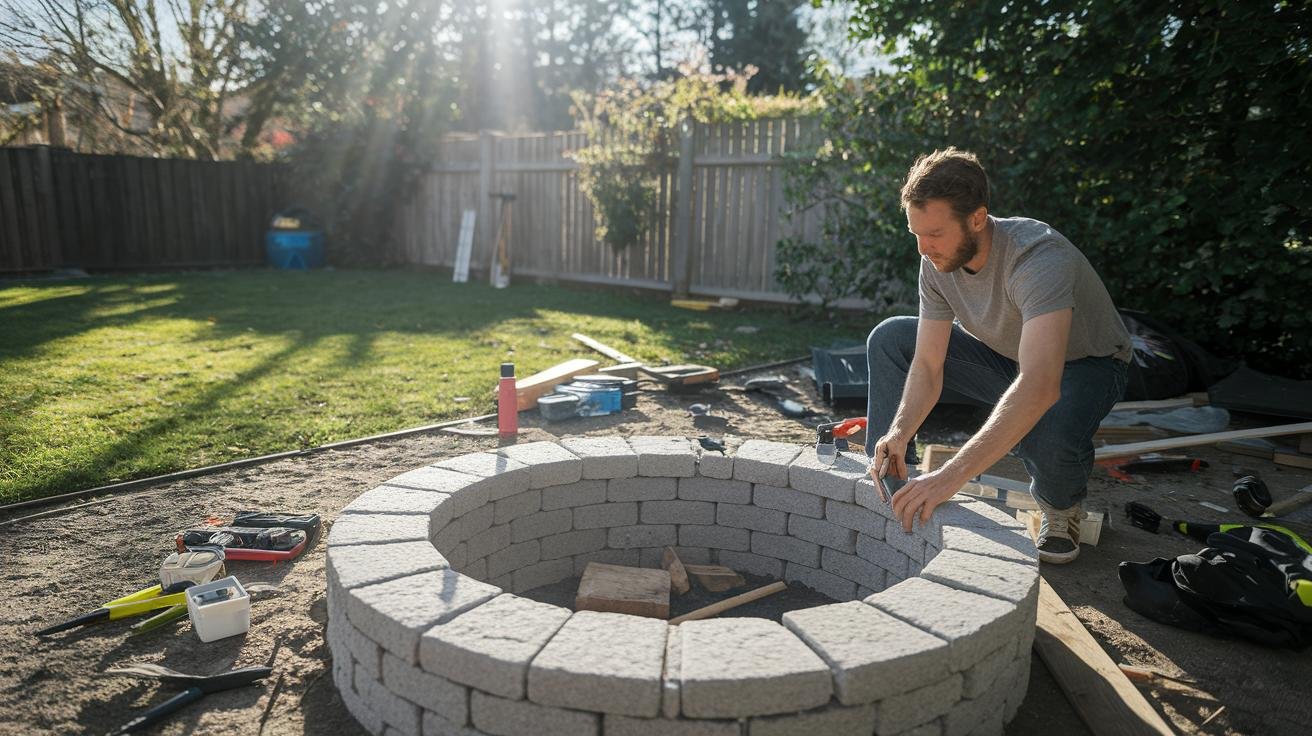
A pit is only as good as the circle of chairs around it. I like a couple of solid Adirondacks pulled in close, or a low curved bench if you’re building for a crowd — just keep the seating a comfortable few feet back from the ring so nobody’s toasting their shins. A ring of crushed gravel or pavers around the pit keeps grass from creeping in and gives chair legs something stable to sit on.
Two accessories do more than their price suggests. A mesh spark screen drops over the top and keeps embers from drifting onto the lawn or a kid’s sleeve — the ones with a hinged door let you feed logs without lifting the whole thing off (mid-range, $$). And the day the pit is finished, buy a cover for it. A waterproof fire pit cover is the cheapest insurance you’ll ever buy: it keeps rain and leaves out of the pit, which is exactly what stops rust and rot before they start (budget range, $). Throw in a few solar path lights leading up to the pit and you’ve got a spot that looks intentional instead of improvised.
Cost, Time, and Safety
Building your own stone or block pit usually runs a few hundred dollars in materials — pavers or stone, gravel, sand, adhesive, and a fire ring — which is a fraction of what a contractor charges once labor and permit fees land. A pre-made kit sits in the middle: less character, but you’re done in an afternoon. Here’s roughly how the three paths compare.
| Option | Typical cost | Time |
|---|---|---|
| DIY stone or block build | $–$$ | 1–2 weekends |
| Pre-made fire pit kit | $$ | 1 weekend |
| Contractor install | $$$ | Depends on crew |
Most DIY builds wrap up in a weekend, though hard or root-filled soil can stretch the digging into a second day — grab a friend and split it if your ground fights back. On the safety side, check your local fire codes and grab a permit if your area requires one before the first burn, and keep a bucket of water or an extinguisher within arm’s reach whenever there’s a flame. Once the pit’s in regular use, a little upkeep goes a long way; here’s how I handle cleaning and maintaining a fire pit, plus winterizing it before the cold sets in so it’s ready to go come spring.
Frequently Asked Questions
How do I build an outdoor fire pit on a budget?
Stick with a wood-burning stone pit: reclaimed brick or fieldstone, a gravel-and-sand base, and a simple steel fire ring keep the cost down. Skip the gas plumbing and you’ve cut the biggest expense right there.
What do you put in the bottom of a fire pit?
A three-to-four-inch layer of gravel for drainage, topped with two to three inches of coarse sand to level the base and protect the ring. For a gas pit, finish with lava rock over the burner.
How deep should a fire pit be?
Dig six to twelve inches for most builds, or closer to eighteen in cold-winter climates to get below the frost line so freeze-thaw doesn’t lift your wall.
Do I need a metal ring for my fire pit?
For a wood-burning pit, yes — a steel liner takes the direct heat that would otherwise crack and spall your stone over time, and it keeps the pit looking sharp for years.
Is it cheaper to build or buy a fire pit?
Building your own is almost always cheaper than buying a finished kit and far cheaper than hiring it out — and you get to size and shape it exactly to your yard.
Recommended gear for this project
As an Amazon Associate, Backyard Superstar earns from qualifying purchases at no extra cost to you.
- Top pick — Sunnydaze Steel Fire Pit Ring Insert ($$). Shields your stone from direct heat and keeps a wood pit looking finished — the one upgrade I never skip.
- Budget pick — RAPICCA Heat-Resistant Leather Gloves ($). Save your hands stacking rough stone, then use them for logs and hot grates once the pit’s lit.
- Spark control — Sunnydaze Mesh Spark Screen ($$). Keeps embers off the lawn; the hinged door lets you add wood without lifting it off.
- Weather protection — Sunnydaze Waterproof Fire Pit Cover ($). Cheapest insurance there is — keeps rain and leaves out so rust never gets started.
- Premium (gas build) — Stanbroil Drop-In Gas Burner Kit ($$$). Pan, gas line, and igniter in one kit for a smokeless, switch-on fire (final gas hookup by a licensed pro). Top it with natural lava rock ($).
That’s the whole build — site it smart, base it right, stack it level, and line it with steel. Do that and you’ll have a fire pit that outlasts most of the furniture around it, ready for the first cool evening you feel like lighting it up.