How to Start an Organic Vegetable Garden
There’s nothing quite like walking out the back door, brushing the dew off a tomato, and eating it warm from the vine. Starting an organic vegetable garden is how you get there, and it’s far more forgiving than most beginners expect. You don’t need perfect soil, fancy gear, or a green thumb you were born with — you need a sunny spot, a little compost, and the patience to let things grow. This guide walks you through the whole thing, from choosing where to dig to storing your harvest, the organic way: no synthetic pesticides, no guesswork, just steady, healthy growth.
As an Amazon Associate, Backyard Superstar earns from qualifying purchases at no extra cost to you.
Pick a Sunny, Well-Drained Spot
Sunlight is the one thing you can’t fake, so start there. Most vegetables — tomatoes, peppers, squash, beans — want six to eight hours of direct sun a day. Watch your yard for a day before you commit: note where the light lands in the morning and where the afternoon shade creeps in. A spot that wakes up with morning sun is ideal, because the early light dries the dew off your plants and cuts down on fungal trouble.
Drainage matters just as much. Steer clear of low corners where rain puddles sit, because soggy roots rot fast and few vegetables tolerate wet feet. A gently sloping spot lets excess water run off instead of pooling. If your only sunny ground is a low one, that’s exactly where raised beds earn their keep — more on those below.
One more practical thing I learned the hard way: put your garden within easy reach of a hose or rain barrel. Filling a watering can should be a quick stroll, not a hike across the yard, or you’ll water less often than your plants need.
Build Healthy, Living Soil with Compost
Organic gardening lives and dies by the soil. Feed the soil, and the soil feeds your plants — no synthetic fertilizer required. Before you plant anything, it’s worth finding out what you’re working with. A simple home test tells you your soil’s pH and roughly how much nitrogen, phosphorus, and potassium it holds. The Luster Leaf Rapitest Soil Test Kit runs about forty quick tests and costs only a few dollars (budget, $), which takes the guesswork out of feeding your garden. Most vegetables are happiest in a slightly acidic to neutral range, around 6.0 to 7.0 pH. If your results come back off, my guide to adjusting soil pH after testing walks through the organic fixes.
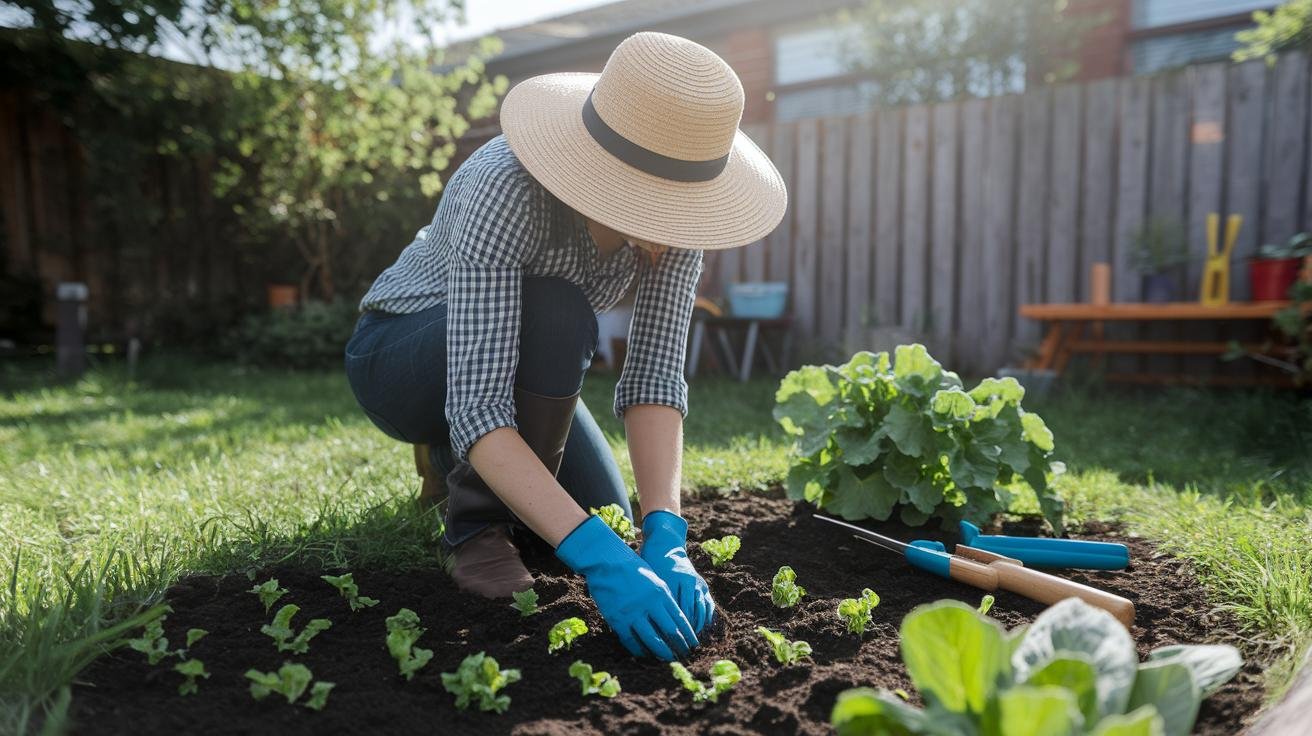
Whatever your starting point, compost makes it better. Spread two to three inches of well-rotted compost or aged manure over your bed and work it into the top six to eight inches with a fork. Good compost smells earthy, not sour, and it loosens heavy clay, gives sandy soil something to hold onto, and feeds the earthworms and microbes that do the real work underground. For a deeper look at feeding your beds, see my notes on organic soil amendments for vegetable gardening.
You can buy compost by the bag, but making your own from kitchen scraps and yard waste is cheaper and closes the loop on your garden. A tumbling bin keeps the process tidy and quick — the FCMP Outdoor IM4000 Dual Chamber Tumbling Composter has two sides, so you can let one batch finish while you keep adding scraps to the other, and a few cranks of the drum turns the pile without a pitchfork (mid-to-premium range, $$). Layer “greens” like vegetable peelings with “browns” like dry leaves in roughly equal amounts, give it a spin every few days, and you’ll have crumbly black compost in a matter of weeks.
Choose Organic Seeds and Seedlings
Once your bed is ready, decide what to grow and how to start it. Check your USDA plant hardiness zone first — it tells you how cold your winters get and which crops will actually thrive where you live. The back of every seed packet lists the days to maturity and the right planting window, so match that to your season.
For organic growing, look for seeds labeled certified organic, which means they were produced without synthetic pesticides. Heirloom varieties — old types passed down for flavor — are a joy to grow, and because they’re open-pollinated, you can save their seeds and grow the same plant again next year. Hybrids, on the other hand, are bred for disease resistance and steady yields; the trade-off is that their saved seed won’t grow true to the parent. There’s no wrong choice — many gardeners grow both.
Seeds are cheaper and give you far more variety, but they take time and attention. Starting with young seedlings from a local nursery costs more and gives you a head start, which is a fair trade if you’re nervous or short on time. Beginners often do best buying seedlings for slow starters like tomatoes and peppers while direct-sowing easy, fast crops like beans, radishes, and lettuce straight into the bed.
Set Up Raised Beds, Containers, and Vertical Supports
How you arrange your garden shapes how easy it is to tend. Sketch a rough plan first — even in the dirt — and leave wide paths so you can get a wheelbarrow through and weed without stepping on your soil. Compacted soil is the enemy of roots.
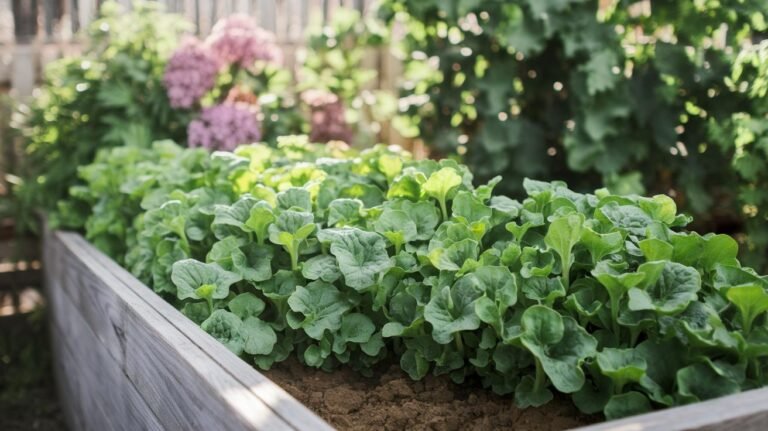
Raised beds are my favorite setup, especially over poor or poorly draining ground. They warm up earlier in spring, drain well, and keep your growing soil loose because you never walk on it. A metal kit like the Land Guard Galvanized Raised Garden Bed Kit bolts together in an afternoon, resists rot, and gives you a deep, defined bed for vegetables (premium range, $$$). Keep beds three to four feet wide so you can reach the middle from either side, and leave a couple of feet between them for airflow and tools.
Short on ground? Containers turn a patio or balcony into a productive little farm — use pots at least five gallons with drainage holes, filled with an organic potting mix. And don’t forget to grow up: a trellis or tomato cage for cucumbers, peas, beans, and tomatoes saves ground space and keeps fruit off the soil, where it stays cleaner and rots less.
Water Deeply, Then Mulch to Hold Moisture
Most vegetables want about one to one and a half inches of water a week, delivered to the roots rather than the leaves. Deep, less-frequent watering beats a daily sprinkle, because it pushes roots to grow down where the soil stays moist. Water in the morning so foliage dries quickly, and keep the spray off the leaves — wet leaves invite powdery mildew and other fungal problems.
Drip irrigation and soaker hoses do this better than you can by hand, and they waste far less water. A kit like the Raindrip Automatic Watering Kit with Timer puts water exactly at the root zone on a schedule, which is a quiet relief during a heat wave or a week away (mid-range, $$). Pair it with a rain barrel under a downspout and a lot of that water can be free.
Then mulch. A two-to-three-inch layer of straw, shredded leaves, or grass clippings locks moisture into the soil, keeps roots cool, and smothers most weed seeds before they sprout — which means a lot less weeding for you. Mulch is one of the highest-payoff habits in organic gardening; for the bigger picture on keeping beds tidy without chemicals, see my guide to organic weed control methods for vegetable gardens.
Control Pests and Disease the Organic Way
Pests will find your garden — that’s normal, and you don’t need harsh chemicals to handle them. Start with the gentlest tools. Handpick beetles and caterpillars into a bucket of soapy water, knock aphids off tender shoots with a firm spray of water, and drape lightweight row covers over young plants to block flea beetles and cabbage worms before they settle in.
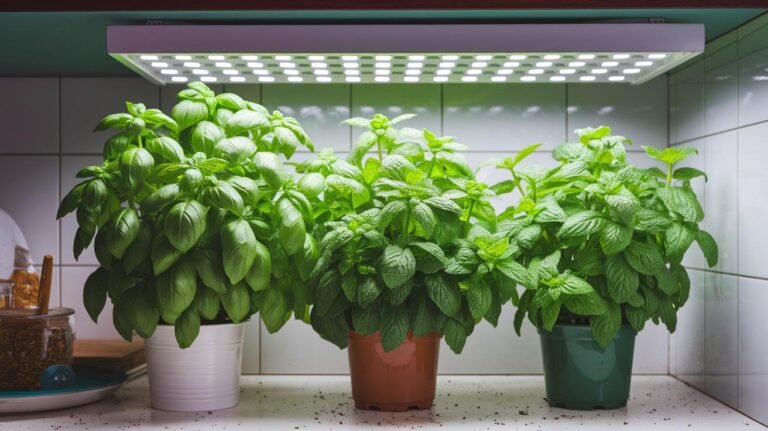
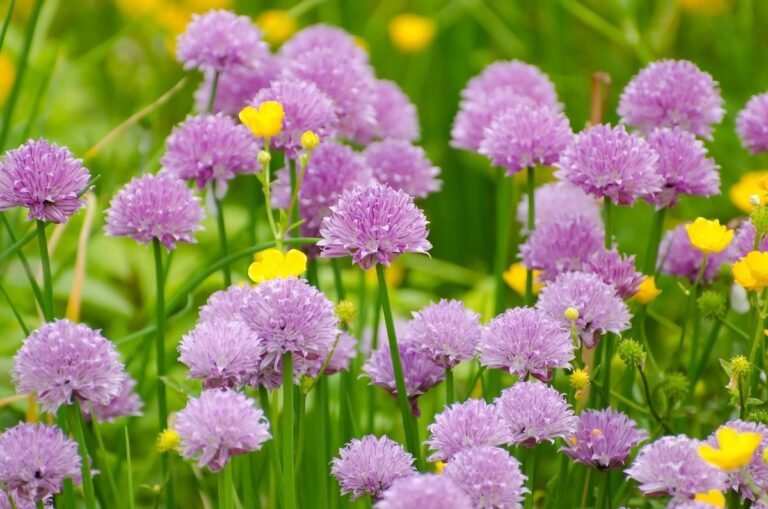
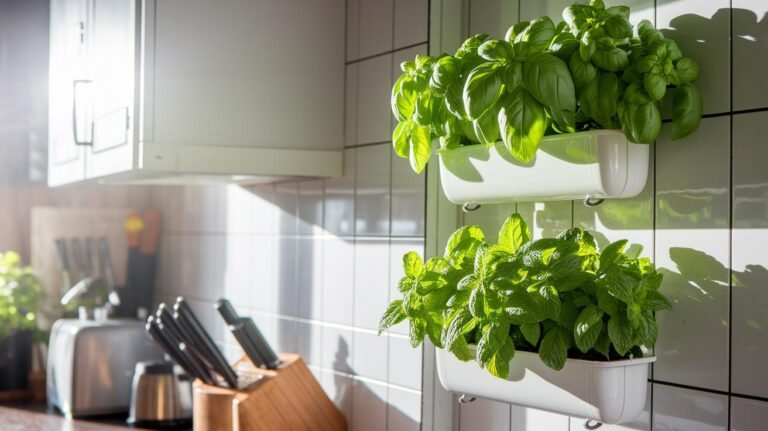
Companion planting helps, too. Tuck strongly scented basil or marigolds among your tomatoes to confuse aphids and whiteflies, and plant chives or nasturtiums near cabbage to throw off cabbage worms. Invite the good bugs by growing small flowers like alyssum, which draw in ladybugs and lacewings that eat pests for you.
When something stubborn slips through, an organic spray is your next step. Neem oil, made from the neem tree, handles a wide range of insects and fungal issues; a ready-to-use option like Bonide Captain Jack’s Neem Oil is approved for organic gardening and saves you mixing (budget, $). Spray in the cool of the morning or evening so you don’t scorch leaves or bother bees, and test one leaf first. For powdery mildew, a baking-soda spray on affected leaves helps slow it. For a fuller toolkit, my guide to organic pest control for vegetable gardens goes deeper.
Rotate Crops and Plant in Succession
A couple of simple habits keep an organic garden productive year after year. The first is crop rotation: don’t plant the same family in the same spot two seasons running. Follow heavy feeders like tomatoes and peppers with soil-building legumes like beans and peas, then leafy greens, then roots. Rotating this way starves soil-borne pests and diseases of their favorite hosts and keeps nutrients balanced.
The second is succession planting: instead of sowing all your lettuce or beans at once, sow a small batch every two or three weeks. You’ll harvest a steady supply all season instead of a single glut, and as one row fades you’ll have young plants coming up right behind it. In fall, sow a cover crop like clover or vetch over empty beds — it protects bare soil over winter and feeds it when you turn it under in spring. For the timing on all of this where you live, lean on my seasonal organic vegetable planting calendar.
Harvest and Store What You Grow
Picking at the right moment is half the reward. A ripe tomato glows and gives slightly under your fingers. Cucumbers are best at six to eight inches, before they turn seedy. Leafy greens you can cut a few outer leaves at a time and let the plant keep producing. The general rule with most vegetables: the more you pick, the more the plant makes.
For squash, peppers, and anything with a tough stem, snip rather than tug — a clean cut heals faster and keeps the plant producing. A pair of micro-tip garden snips like the Fiskars Micro-Tip Pruning Snips slips into a crowded plant and cuts cleanly without crushing the stem (budget, $).
Store leafy greens between damp paper towels in a sealed container in the fridge and they’ll stay crisp for about a week. Got more beans, peas, or carrots than you can eat? Blanch them in boiling water for a minute, plunge them into cold water, drain, and freeze — that locks in flavor and nutrients for months. Label everything with the date, and you’ll be eating your own organic harvest well past the growing season.
Recommended gear for this project
As an Amazon Associate, Backyard Superstar earns from qualifying purchases at no extra cost to you.
- Test your soil first — Luster Leaf Rapitest Soil Test Kit ($). Cheap, fast pH and nutrient readings so you feed the soil right.
- Make your own compost — FCMP Outdoor IM4000 Dual Chamber Tumbling Composter ($$). Two chambers turn scraps into finished compost in weeks.
- Build the bed — Land Guard Galvanized Raised Garden Bed Kit ($$$). Rot-proof, drains well, sets up in an afternoon.
- Water hands-free — Raindrip Automatic Watering Kit with Timer ($$). Drips water to the roots on a schedule, even when you’re away.
- Organic pest backup — Bonide Captain Jack’s Neem Oil ($). Ready-to-use, OMRI-style organic spray for bugs and mildew.
- Harvest clean — Fiskars Micro-Tip Pruning Snips ($). Precise cuts that keep plants producing.
FAQ
How do I start an organic vegetable garden as a beginner?
Pick a spot with six to eight hours of sun and good drainage, enrich the soil with two to three inches of compost, plant easy crops like beans, lettuce, and tomatoes, water at the roots, mulch, and manage pests with organic methods. Start small your first year.
What vegetables are easiest to grow organically for beginners?
Lettuce, radishes, bush beans, zucchini, and cherry tomatoes are forgiving and fast. They germinate easily, tolerate beginner mistakes, and give you a harvest quickly, which keeps you motivated.
Do I need to test my soil before planting?
It’s not required, but a quick home test saves a lot of trial and error. Knowing your pH and nutrient levels tells you whether to add compost, lime, or other organic amendments before you plant rather than after problems show up.
How often should I water a vegetable garden?
Aim for about one to one and a half inches of water per week, delivered deeply to the roots a couple of times rather than a little every day. Water in the morning and keep it off the leaves to prevent disease.
How do I keep pests away without chemicals?
Handpick larger pests, spray aphids off with water, use row covers and companion plants like marigolds and basil, invite beneficial insects, and reach for neem oil or insecticidal soap only when needed.
What’s the difference between heirloom and hybrid seeds?
Heirlooms are open-pollinated old varieties prized for flavor, and you can save their seed to grow the same plant again. Hybrids are bred for traits like disease resistance and uniform yield, but their saved seed won’t grow true to type.