Tower Garden Guide: Setup, Crops, and Kits
The first time I grew lettuce in a tower garden, the thing that got me wasn’t the novelty — it was the math on space. A footprint about the size of a bar stool was pushing out more salad greens than a four-foot row in my raised bed, and I never once picked up a hose or pulled a weed. That’s the pitch behind a tower garden, and for greens and herbs it mostly delivers. It won’t replace a real vegetable patch, and it’s not the effortless magic some sellers make it out to be, but for anyone short on ground and long on sun — a patio, a balcony, a bright kitchen corner — it’s one of the more genuinely useful growing tools I’ve tried.
Here’s how a tower garden actually works, what the parts do, how to decide between a ready-made kit and a DIY build, and how to keep one running once it’s full of plants.
As an Amazon Associate, Backyard Superstar earns from qualifying purchases at no extra cost to you.
What a Tower Garden Actually Is
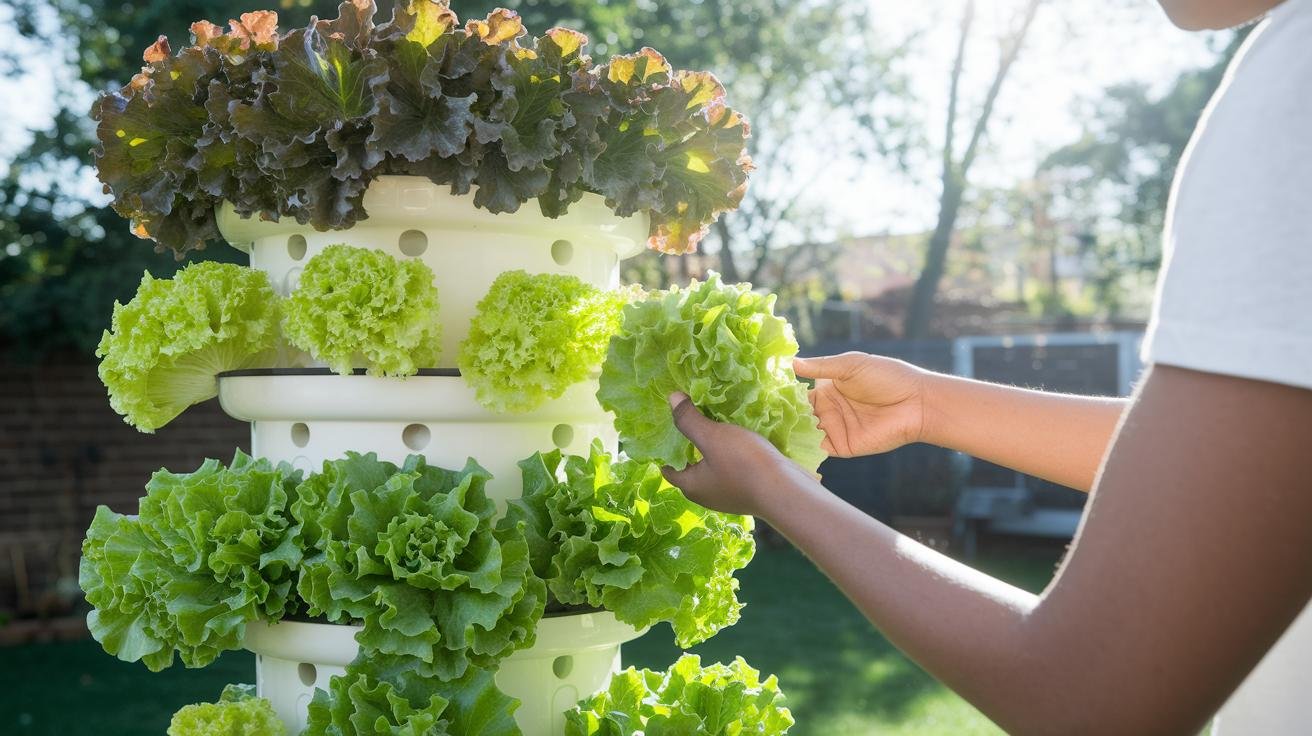
Strip away the marketing and a tower garden is a vertical hydroponic system — plants grow in a stack of columns with their roots hanging in an open central chamber instead of sitting in soil. A small pump in the base reservoir pushes nutrient-rich water up through the tower on a timer, and it trickles or mists back down over the roots before draining into the reservoir to be used again. Most home towers run on this drip-and-recirculate design; a few true aeroponic units fog the roots with a fine mist. Either way, the roots get water, dissolved nutrients, and plenty of oxygen all at once, which is the combination that makes plants in these systems grow noticeably faster than the same seedlings in dirt.
Two things make the design worth the trouble. The first is space: because the plants stack vertically and share one reservoir, you can grow twenty or thirty plants in a couple of square feet of floor. The second is water. A recirculating system reuses nearly everything it pumps, and studies of aeroponic and hydroponic growing regularly report water use up to around 90% lower than conventional in-ground gardening — because nothing soaks away into the soil or evaporates off a big bed. If you’ve done traditional pots, it’s a different animal from ordinary backyard container gardening, where the soil does the buffering; here, you’re the one managing the water chemistry, which is the trade-off for the speed.
The Parts of a Tower Garden System
Whether you buy a kit or build your own, every tower is the same handful of components, and it helps to know what each one is doing before you’re troubleshooting it at 9 p.m.
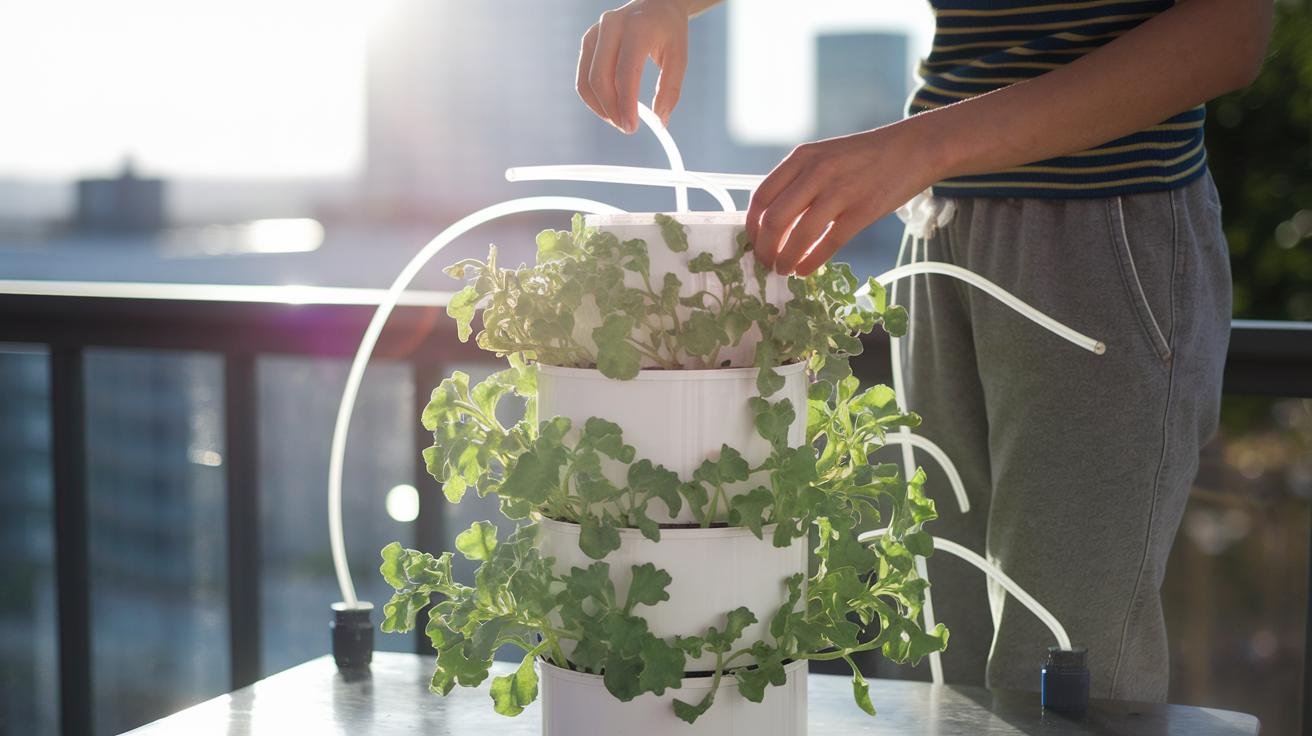
The reservoir is the tank in the base that holds the nutrient solution — usually a few gallons. The pump and timer are the heart of the thing: the pump lifts water to the top of the tower, and the timer cycles it on and off so the roots get regular waterings without staying soaked. The columns stack up to form the body, each one dotted with planting ports. Plants sit in those ports in net pots — little slotted cups that cradle the root ball while letting water and air through — and each seedling starts life in a growing plug, typically a rockwool or fiber cube that holds moisture around the seed. A starter set like these rockwool cubes and net pots covers both the seed-starting and the transplanting in one cheap bundle, and you’ll refill the plugs every planting cycle (budget pick, $).
Two optional parts matter depending on where the tower lives. Grow lights ring the tower for indoor or low-light spots — essential in winter or a dim room, unnecessary on a sunny patio. And plant supports or small cages help once fruiting crops like tomatoes get top-heavy. That’s the whole system. There’s no soil to amend, no bed to dig — which is exactly why it appeals to people growing on a hard balcony where the ideas in my guide to container plants for urban balconies would otherwise be the only option.
Choosing a Tower Garden: Kits vs. DIY
This is where most people get stuck, so here’s how I’d actually decide. A branded all-in-one kit costs more up front but arrives ready to run — pump, timer, columns, and often lights all matched and tested — and comes with support if something fails. If you want the shortest path from box to basil and you’re growing indoors year-round, a kit with integrated lights like this hydroponic growing tower with built-in LED lights is the least-fuss option, since the lighting is the part that’s fiddliest to add later (premium pick, $$$).
If your tower will live outside in real sun, you don’t need the lights, and a simpler outdoor kit gets you the same columns, pump, and timer for less. Something like this 36-pod vertical hydroponic tower is a solid patio or balcony starting point without paying for indoor hardware you won’t use (budget pick, $$).
The DIY route is the cheapest and the most satisfying if you like building things. A food-grade planter column or a stack of large net-pot buckets, a submersible pump, a cheap timer, some tubing, and a reservoir will get you a working tower for a fraction of a branded system. The catch is that you’re sourcing and matching parts yourself, and a mismatched pump or a leaky column will eat an afternoon. I’d only point a first-timer at DIY if the tinkering is part of the appeal; if you just want greens, buy the kit and spend your time growing. Whichever way you go, skip any listing that quotes a guaranteed harvest or a fixed dollar payback — real yields depend entirely on your light, your crops, and your attention.
Setting It Up: From Box to First Mist
Getting a tower running is genuinely a one-afternoon job. The columns snap or bolt together onto the reservoir base — assemble it where it’s going to live, because a full tower is heavy and awkward to move. Fill the reservoir with a few gallons of cool, clean water, then mix in your nutrients to the strength on the label.
Nutrients are the part soil growers underestimate: with no dirt to draw from, the solution is the plant’s entire diet, so it has to carry nitrogen, phosphorus, potassium, and the full set of micronutrients. A proven three-part hydroponic formula like the General Hydroponics Flora Series lets you mix the ratio to what you’re growing — more nitrogen for leafy greens, more of the bloom formula once tomatoes or peppers set flowers (mid-range, $$).
From there it’s quick: run the pump for a minute to prime the lines and wet the roots, then set the timer to cycle it on for short bursts through the day so the roots stay moist but never drowned — a common starting point is roughly fifteen seconds of misting every half hour, then adjust to your climate. Set the tower where it gets at least six hours of direct sun, or clip on the grow lights if you’re indoors. Finally, start your seeds in the plugs, wait until you see roots poking through the bottom, then drop each plug into a net pot and slot it into the column. That’s it — you’ve gone from box to growing in a single sitting.
What to Grow (and What to Skip)
Towers are brilliant at some crops and pointless for others, and knowing the difference saves you a wasted cycle. Fast, leafy, and shallow-rooted is the sweet spot. Lettuces are the easy win — loose-leaf, butterhead, and romaine all thrive, and you can start snipping baby leaves in about a month. Leafy greens like kale, spinach, chard, and bok choy do just as well, and herbs are outstanding: basil, oregano, thyme, sage, mint, and cilantro grow lush and fast, which is why a tower doubles as a bigger version of an indoor hydroponic herb garden. Microgreens are almost cheating — sow them thick on a top port and you’re harvesting spicy mustard or radish greens in a couple of weeks.
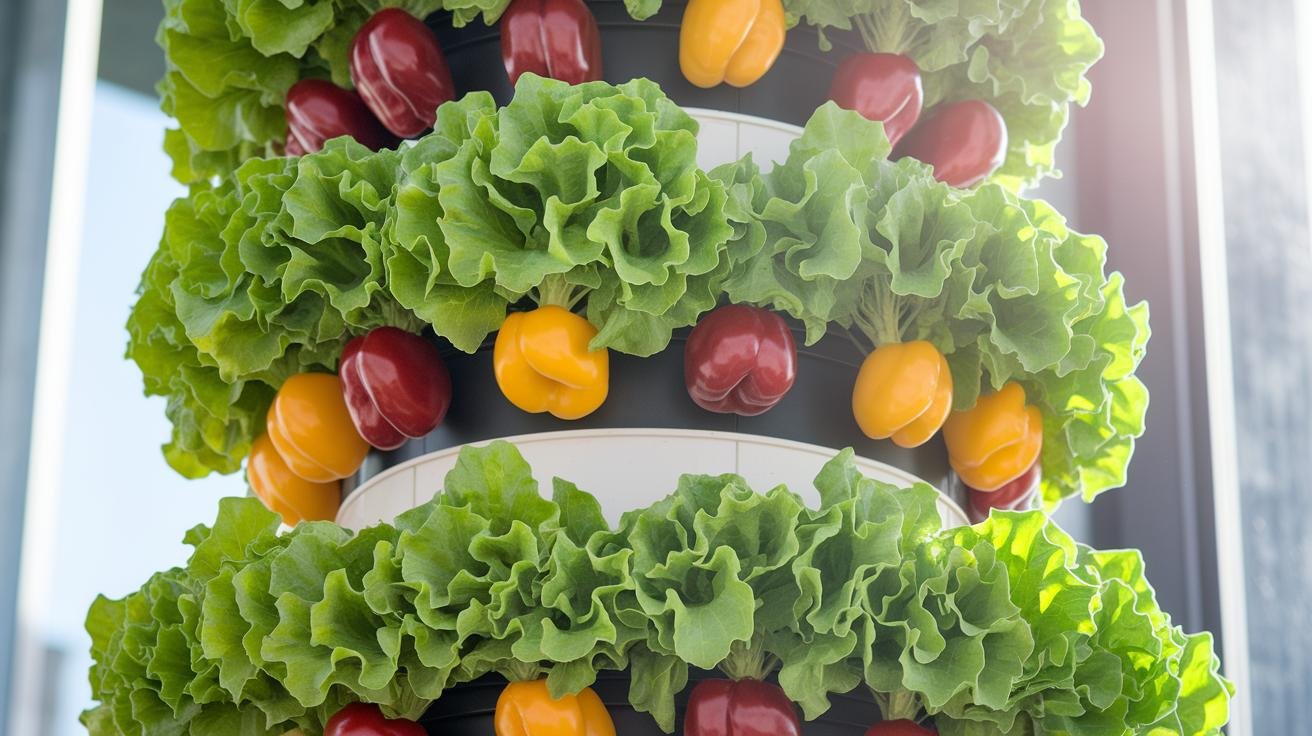
Fruiting crops work too, with a little help. Cherry tomatoes and bell peppers produce well in a tower, but they get heavy and need support, and indoors you’ll have to hand-pollinate or aim a small fan at the blossoms to shake the pollen loose. The plants that don’t belong in a tower are the ones that store their crop underground or grow huge — carrots, potatoes, beets, onions, and anything grain-like have no room to form in a shallow net pot. For those, you’re better off with the picks in my guide to vegetables that grow well in containers. Here’s a rough guide to spacing and timing for the crops that do thrive:
| Crop | Plants per port | Time to harvest |
|---|---|---|
| Lettuce & microgreens | 1–2 seeds | 30–40 days |
| Herbs & leafy greens | 1 seedling | 6–8 weeks |
| Tomatoes & peppers | 1 seedling | 10–12 weeks |
The real trick to a tower that never quits is succession planting: as you harvest an older plant, start a fresh plug so there’s always something coming up behind it. Stagger your sowings and a single tower keeps a steady trickle of greens on the counter instead of one big glut.
Keeping It Running: Water, pH, and Cleaning
A tower garden is low-effort, not no-effort, and the upkeep is mostly about the water rather than the plants. The single most important habit is checking pH. In a soilless system the roots can only absorb nutrients when the solution sits in a fairly narrow acidity band — roughly 5.5 to 6.2 for most crops — and if it drifts outside that, plants starve even with a full reservoir. A simple pH and TDS/EC meter lets you check both the acidity and the nutrient concentration in a few seconds, and you nudge the pH back with a few drops of pH-up or pH-down as needed (budget pick, $). If pH is a new idea to you, the basics carry straight over from my guide to how to test soil pH at home — same concept, just measured in water instead of dirt.
The rest is easy. Top off the reservoir as the plants drink it down, and once a month drain it completely, refill with fresh solution, and give the pump inlet and tubing a quick scrub with a soft brush to clear any mineral buildup. Keep light off the reservoir — a lid or a wrap — because sunlight on nutrient water grows algae fast, and algae fouls the pump. Point a small fan at the tower for a light breeze; it stiffens the plants, discourages mold, and helps fruiting blossoms set. And if aphids or mites show up, start with a plain water rinse and reach for a gentle, food-safe treatment only if you have to, since you’ll be eating everything on this thing.
Recommended Gear for a Tower Garden
The parts and tools that actually make a tower garden run well — all links carry our Amazon Associates tag.
- Hydroponic tower with built-in LED lights — view tower — ready-to-run all-in-one for indoor, year-round growing. Premium pick, $$$.
- 36-pod outdoor vertical tower — view tower — columns, pump, and timer for a sunny patio, no paid-for lights. Budget pick, $$.
- General Hydroponics Flora Series nutrients — view nutrients — three-part formula you mix to greens vs. fruiting crops. Nutrients, $$.
- Rockwool cubes & net pots set — view starter set — seed-starting plugs plus the cups that hold each plant. Budget supplies, $.
- pH and TDS/EC meter — view meter — checks acidity and nutrient strength so plants can actually feed. Budget tool, $.
Frequently Asked Questions
What is a tower garden and how does it work?
A tower garden is a vertical hydroponic system where plants grow in stacked columns with their roots in an open chamber instead of soil. A pump on a timer sends nutrient-rich water up from a base reservoir to trickle or mist over the roots and drain back down, giving plants water, nutrients, and oxygen at once for fast growth in a small footprint.
What can you grow in a tower garden?
Leafy, fast, shallow-rooted crops do best: lettuce, kale, spinach, chard, bok choy, most herbs, and microgreens. Cherry tomatoes and peppers work with support and, indoors, hand-pollination. Skip root crops like carrots, potatoes, beets, and onions, which need room to form underground.
Do tower gardens use a lot of water?
No — the opposite. Because the reservoir recirculates the same solution and little is lost to soil or evaporation, hydroponic and aeroponic towers are commonly reported to use up to around 90% less water than growing the same plants in the ground.
Do I need grow lights for a tower garden?
Only if it’s indoors or in a dim spot. Outdoors in six or more hours of direct sun, no lights are needed. Indoors or through winter, ring the tower with LED grow lights so leafy crops and herbs keep producing.
Can I build a DIY tower garden instead of buying a kit?
Yes. A food-grade planter column or stacked net-pot buckets, a submersible pump, a timer, tubing, and a reservoir make a working tower for far less than a branded kit. The trade-off is sourcing and matching the parts yourself; buy a kit if you’d rather skip the tinkering.
How often do I need to maintain a tower garden?
Check the pH and top off the reservoir every few days, keeping the solution around 5.5 to 6.2. Once a month, drain and refill with fresh nutrients and scrub the pump and tubing. Keep light off the reservoir to prevent algae, and run a small fan to deter mold and help fruit set.