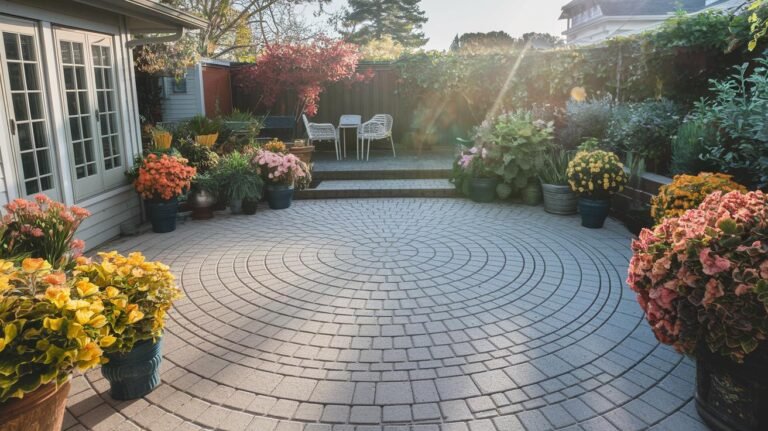
Backyard Landscaping Ideas on a Budget
You don’t need a five-figure contractor quote to make a backyard you actually want to sit in. Most of the yards I’ve helped fix up over the years came together for a few hundred dollars and a couple of free weekends — a gravel path here, a block fire ring there, a row of plants that come back on their own every spring. The trick to good backyard landscaping ideas on a budget isn’t spending nothing; it’s spending on the right things and doing the labor yourself. That’s where the real money hides.
As an Amazon Associate, Backyard Superstar earns from qualifying purchases at no extra cost to you.
What follows is the approach I actually use: set a number, walk the yard, then knock out the projects that give you the most yard for the least cash — plants, hardscape, a raised bed or two, some lighting, and the low-maintenance choices that keep you from spending again next year. None of it needs a permit or a skid steer.
Set a Budget, Then Walk the Yard Before You Buy Anything
Before a single bag of gravel goes in the cart, put a real number on this. I like to pick a ceiling — say $1,000 for a full corner makeover, or $300 if I’m just tackling one feature — and then decide what matters most: a place to sit by a fire, more color along the fence, or a low-water design that stops eating my Saturdays. Writing that down first is what keeps a “quick weekend project” from quietly ballooning into a $2,500 impulse buy at the garden center.
Then grab a tape measure and actually walk it. Note where the sun lands in the afternoon and where the shade sits, because that decides what you can plant and where you’ll want to sit. Watch where water pools after a storm — that’s where you don’t put a patio. A rough sketch on graph paper, even an ugly one, saves you from the most expensive mistake in landscaping: building something, hating where it is, and tearing it back out. Here’s a realistic picture of where the money tends to go on a budget job:
| Feature | DIY cost | What a pro would charge | Weekend difficulty |
|---|---|---|---|
| Pea gravel walkway (10–15 ft) | $$ | $$$ | Easy |
| Block-and-ring fire pit | $$ | $$$ | Easy |
| Metal raised garden bed | $ | $$ | Very easy |
| Solar path lighting | $ | $$$ (wired) | Very easy |
| Drip irrigation zone | $$ | $$$ | Moderate |
The pattern is hard to miss: the labor is the expensive part, and the labor is exactly what you’re supplying for free. That’s the whole game.
Cheap Plants That Earn Their Keep
Plants are where a budget yard lives or dies, and the mistake I made for years was buying big, thirsty annuals that looked great in May and were dead by August — so I got to pay for them all over again the next spring. The fix is boring and it works: lean on perennials and tough natives that come back on their own. Yes, a gallon-pot perennial costs a little more up front than a six-pack of annuals, but you buy it once and it’s still there in five years, a little bigger every season.
Drought-tolerant natives are the real bargain, because they sip water instead of guzzling it and they’ve already made peace with your local weather. Black-eyed Susans, coneflowers, ornamental grasses, and creeping thyme spreading between stepping stones will fill space for pennies and ask almost nothing of you. Groundcovers are the sleeper deal here — a few plugs of clover or creeping thyme knit together into a green carpet that chokes out weeds and never needs mowing, which is money and time you keep. If you want a fuller list of come-back-every-year options to build around, my rundown of low-maintenance perennial flowers is a good next stop, and if you’re leaning toward a design that barely needs the hose at all, the drought-tolerant, no-grass backyard approach is worth a look.
One more thing worth doing on purpose: plant a few things pollinators actually use. It costs the same as planting anything else, and a yard humming with bees and butterflies just feels alive in a way a tidy row of hostas never will. I keep the reasoning and plant picks in my guide to how to design a pollinator garden. Hunt for the plants themselves at end-of-season nursery sales, plant swaps, and neighbors dividing their overgrown clumps — that’s where I’ve gotten most of mine for free.
Hardscaping on the Cheap: Gravel, Block, and a Fire Ring
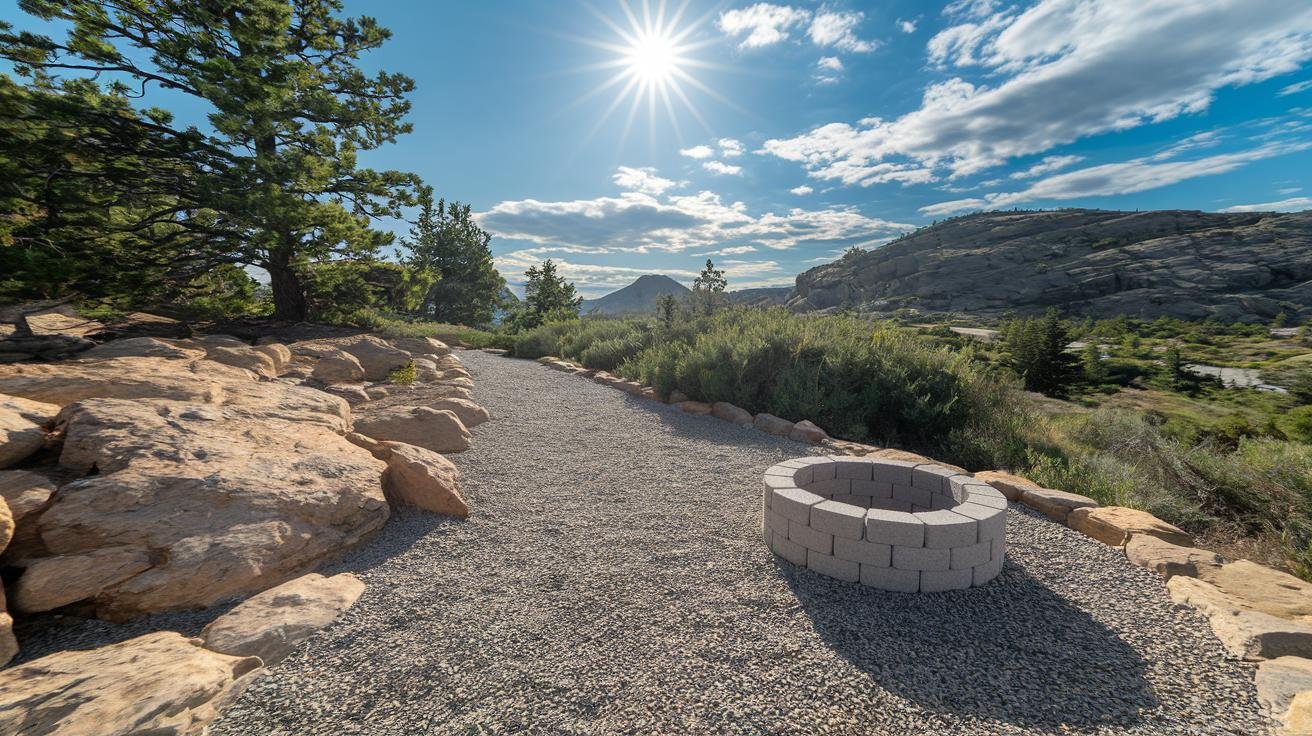
This is where people assume they need a mason and a loan, and they don’t. Poured concrete and cut flagstone get expensive fast, but loose materials and stacked block give you the same finished look for a fraction of the cost, and they’re forgiving to work with — no wet concrete clock ticking while you panic.
Start with a gravel path. Lay down landscape fabric so weeds don’t come up through it, spread two to three inches of pea gravel on top, and edge it with bigger stones or a few pavers to keep it from wandering into the lawn. That fabric step is the one most people skip and regret, because pulling weeds out of gravel is miserable work — a roll of ECOgardener premium landscape fabric (budget, $) under the stone does the boring job of keeping it clean for years while still letting water soak through. A path like this runs a small fraction of what installed pavers cost, and the crunch underfoot is honestly half the charm.
A fire pit is the feature that turns a yard into a hangout, and you can build one in an afternoon. The cheapest honest version is a ring of stacked landscape or cinder block set in a bed of gravel — level the base first, then dry-stack the block in a circle. If you want it to actually last and contain the heat, drop a steel liner inside; a Sunnydaze steel fire pit ring insert (mid-range, $$) keeps the block from cracking and scorching and makes the whole thing look intentional instead of thrown together. Give a fire feature a few feet of clearance from anything that burns, and keep it off wood decks. If you’d rather buy a finished unit and skip the block entirely, my breakdown of how smokeless fire pits work covers what you’re actually paying for.
The money-saving move on all of this is where you source the materials. Cinder block, leftover pavers, and gravel show up constantly on Facebook Marketplace and Craigslist for free or next to nothing, and tree-removal crews will often drop a load of wood chips or fill in your driveway just to avoid the dump fee. I’ve built entire beds out of block someone else was giving away.
Build a Raised Bed for Under $50
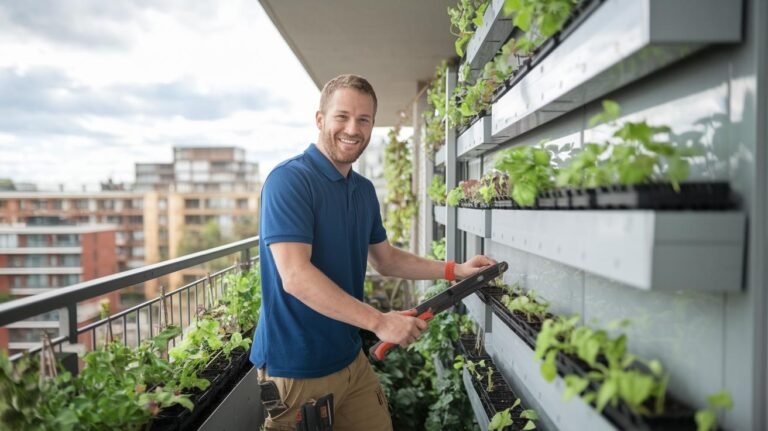
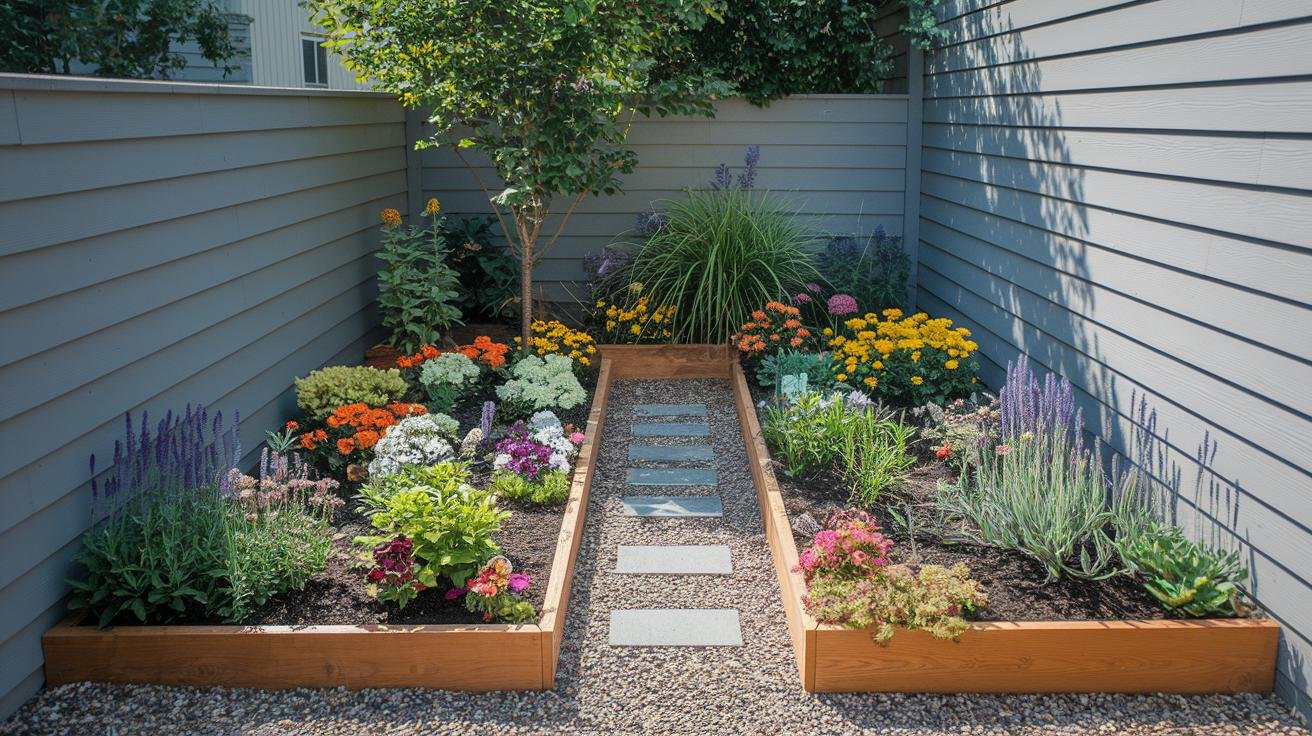
If you want to grow anything — vegetables, herbs, cut flowers — a raised bed is the highest-return project on this whole list. It gives you clean soil you control, it saves your back, and it instantly makes a scrappy corner look deliberate. You can screw one together from scrap lumber, but the metal kits have gotten cheap enough that they’re usually the better deal once you price out boards and hardware.
A galvanized bed like the Land Guard galvanized raised garden bed kit (budget, $) bolts together in about five minutes, won’t rot the way wood does, and shrugs off winters that split cedar frames. Set it on a patch of cardboard to smother the grass underneath, fill it with a mix of native soil and compost, and you’re planting the same day. The soil is where a raised bed actually succeeds or fails, so it’s worth getting the mix right the first time — I walk through proportions in my guide to the best soil for a raised bed. One bed this year, another next year, and before long you’ve got a little kitchen garden that cost less than a couple of restaurant dinners.
Upcycled Projects Worth a Weekend
Some of the best-looking things in my yard started as somebody’s trash. Upcycling is where a budget backyard gets personality, and none of these need more than basic tools and a coat of paint.
Pallet furniture is the classic for a reason. Sand two pallets smooth, stack one for a seat and stand another up for the back, screw them together, and throw a couple of outdoor cushions on top — you’ve got a bench for the cost of the screws if you scored the pallets free behind a hardware store. An old tire scrubbed clean and painted a bright color makes a surprisingly good planter for under twenty bucks in supplies. And homemade stepping stones are almost too easy: mix a bag of quick-set concrete to oatmeal thickness, spoon it into a cake pan or plastic tray, let it cure a day, and pop out a stone. A single bag makes four to six, so a whole shade path costs about the price of one store-bought stepping stone.
If you want the sound of water without the four-figure pond, a small container fountain does it. Drop a $25 submersible pump into a glazed pot or half-barrel you already own, stack a few stones so the water trickles over them, and plug it in. The gentle splash covers street noise and turns a plain corner into the spot you carry your coffee to in the morning.
Lighting and Focal Points That Don’t Cost Much
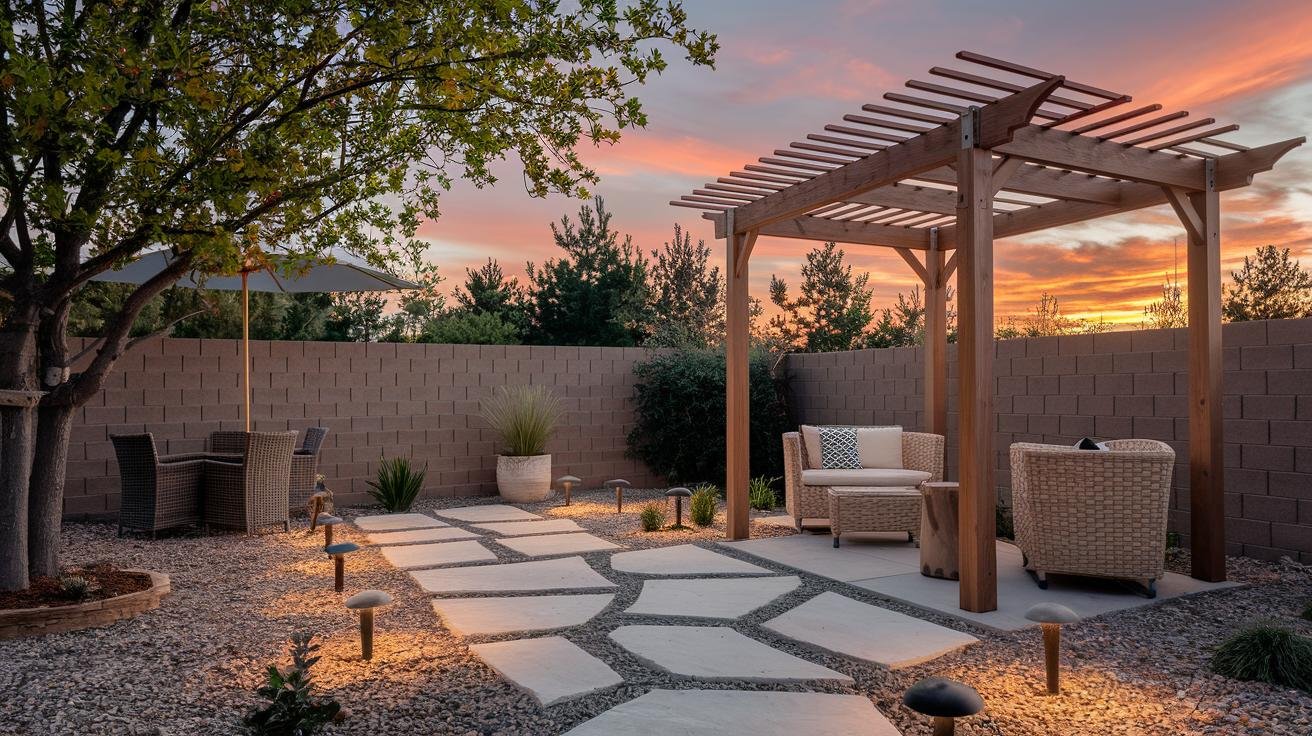
Lighting is the cheapest upgrade with the biggest payoff, because it’s the difference between a yard you use until dusk and one you use all evening. The best part is you can skip the electrician entirely. Solar path lights charge all day and glow on their own at night — a set like these BEAU JARDIN solar path lights (budget, $) pushes straight into the ground along a walkway with no wiring and no monthly draw on your bill. Space them six to eight feet apart and they light a path plenty well for safe footing.
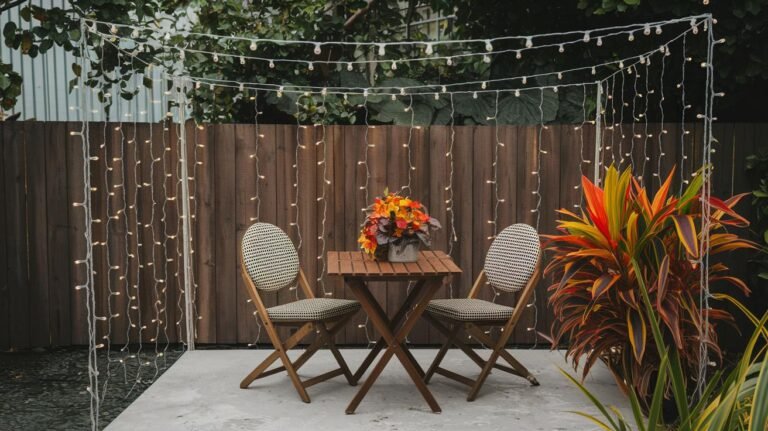
For atmosphere over a patio or seating nook, nothing beats overhead string lights. A run of addlon LED outdoor string lights (mid-range, $$) with shatterproof bulbs strung between the house and a post or tree instantly makes a space feel finished, and the LEDs sip so little power you’ll forget they’re on. If you’ve got a fence or pergola to work with, that’s your anchor point.
Beyond lights, a few cheap focal-point tricks punch above their price. An outdoor mirror on a fence doubles the apparent size of a small yard and reflects the greenery back at you. A prefab arbor or pergola kit — the snap-together kind — gives you height and a spot for climbing vines for a couple hundred dollars instead of a custom build. And a roll of bamboo screening or lattice buys you privacy for a fraction of what a new fence costs. Layer a few of these and the yard reads “designed,” not “cheap.”
Low-Maintenance Choices That Save You Money Later
The cheapest yard over the long run is the one that doesn’t need constant babysitting, and a few choices up front decide that. Water is the big one. Hand-watering wastes water and time, and a sprinkler throws half of it on the fence — but a simple drip line puts water right at the roots where it counts. A kit like the Rain Bird drip irrigation kit (mid-range, $$) connects to an outdoor faucet, snakes through the beds, and cuts your watering by a big margin while your plants actually grow better on the steady, even moisture. Put it on a cheap timer and you’ve basically automated the one chore everyone forgets on the hottest week of summer.
Mulch is the other quiet money-saver. A two-to-three-inch layer of shredded bark or leaves holds moisture in the soil, keeps the roots cool, and smothers weeds before they start — which means less watering, less weeding, and fewer plants lost to a dry spell. You can often get it free from tree services, and my roundup of the best organic mulch for weed suppression covers which type to use where. Refresh it once or twice a year and it does more work than any tool in the shed. Pair generous mulch with those groundcovers and drought-tolerant plants from earlier, and you’ve built a yard that mostly takes care of itself.
Common Budget-Landscaping Mistakes to Avoid
Most of the money wasted on a budget yard goes to a handful of avoidable errors, and I’ve made every one of them at least once:
- Skipping the plan and buying on impulse. A cart full of pretty plants with nowhere to go is how budgets blow up. Measure and sketch first.
- Laying gravel or mulch without a weed barrier. You’ll be pulling weeds out of it forever. The fabric costs little and saves hours.
- Buying annuals every year instead of perennials. It feels cheaper in spring and costs more by the third season.
- Ignoring free materials. Marketplace, plant swaps, and tree crews are stocked with the exact stuff you’re about to overpay for.
- Overplanting for the space. Crowded beds look great for one season, then fight each other. Give plants their mature size.
Recommended gear for a budget backyard
As an Amazon Associate, Backyard Superstar earns from qualifying purchases at no extra cost to you.
- Cheapest big win — Land Guard Galvanized Raised Garden Bed Kit ($). Bolts together in minutes, won’t rot, and turns a scrappy corner into a kitchen garden.
- Under the gravel — ECOgardener Premium Landscape Fabric ($). Keeps weeds out of paths and beds for years while still letting water through.
- Fire pit core — Sunnydaze Steel Fire Pit Ring Insert ($$). Drop it inside stacked block so the pit contains heat and doesn’t crack.
- No-wiring lighting — BEAU JARDIN Solar Path Lights ($). Push into the ground along a path; charge by day, glow by night, no electric bill.
- Patio ambiance — addlon LED Outdoor String Lights ($$). Shatterproof bulbs that make a seating area feel finished for a few dollars of power.
- Water smarter — Rain Bird Drip Irrigation Kit ($$). Delivers water to the roots, cuts waste, and pairs with a timer to run itself.
Frequently Asked Questions
What’s the cheapest way to landscape a backyard?
Do the labor yourself and lean on loose materials: pea gravel paths over landscape fabric, stacked-block features, perennials instead of annuals, and free or reclaimed materials from Marketplace and tree crews. Most of the cost in professional landscaping is labor, so supplying that yourself is the single biggest saving.
How much does a budget backyard makeover cost?
A single feature like a gravel path, a raised bed, or a block fire pit can land in the low hundreds of dollars in materials. A fuller corner makeover with plants, hardscape, and lighting usually runs somewhere between a few hundred and a couple thousand, depending on size and how much you source secondhand.
What are cheap backyard ideas without grass?
Swap turf for pea gravel, bark mulch, or spreading groundcovers like clover and creeping thyme, then add raised beds or a paver seating zone for structure. A no-grass design cuts mowing and watering and often costs less to maintain than a lawn.
What plants give the most value on a budget?
Perennials, ornamental grasses, and drought-tolerant natives cost a little more than annuals up front but come back every year, so you buy them once. Groundcovers are the best deal of all, spreading to fill space and crowd out weeds.
Can I build a fire pit cheaply?
Yes. Dry-stack landscape or cinder block in a circle over a level bed of gravel, and drop a steel ring liner inside to contain the heat and protect the block. It’s an afternoon project, and free or secondhand block makes it cheaper still.
Pick one project this weekend — a gravel path, a raised bed, a string of lights over the patio — and build from there. A budget backyard doesn’t come together in a single expensive push; it comes together one cheap, satisfying weekend at a time.