Best Vertical Herb Garden Kits for Your Home
The first vertical herb kit I hung went on a shady, north-facing balcony wall, and it taught me something fast: the kit itself matters far less than how well it matches your light, your watering habits, and the wall you’re actually working with. A good vertical herb garden kit lets you grow basil, thyme, parsley, and a dozen other culinary herbs on a wall, fence, or freestanding tower — no garden bed required. The right one for your space comes down to a handful of specific things: material, how many plants it holds, how it mounts, how it’s watered, and price. This guide compares the four kit styles I keep coming back to, walks through what to look for before you buy, and covers the install and care that keeps a kit producing all season. If you’d rather build than buy, our walkthrough of how to build an herb wall garden at home covers that path instead.
As an Amazon Associate, Backyard Superstar earns from qualifying purchases at no extra cost to you.
The Quick Picks: Four Vertical Herb Garden Kits
These four styles cover almost every reasonable budget and use case. I use simple price tiers throughout — $ for entry-level, $$ for mid-range, $$$ for premium or smart systems — because the actual sticker prices bounce around too much to quote. Here’s the fast comparison; the details follow underneath.
| Kit style | Material | Capacity | Price tier | Best for |
|---|---|---|---|---|
| Cedar-wood pocket planter | Cedar (rot-resistant softwood) | 6–8 grow pockets | $$ | Wood-aesthetic outdoor walls; modest indoor use |
| Felt-pocket garden | UV-treated felt fabric | 12–16 slots | $ | Tight spaces; renter-friendly install |
| Stackable plastic pots | Modular plastic tiers | 9–20 pots | $ | Easy reconfigure; freestanding tower |
| Self-watering 5-tier tower | Recycled plastic with water reservoir | Up to 30 pockets | $$ | Maximum herb capacity; built-in self-watering |
Cedar-wood pocket planter: The prettiest of the four, and the one I reach for when the wall is on display. Cedar’s natural oils shrug off pests and rot, so an untreated cedar planter lasts years outdoors with very little fuss — a coat of sealer once a year buys you even more. It holds six to eight small herbs in cut-out pockets, but it’s heavy, especially once the soil is wet, so it needs sturdy mounting into studs or a solid fence rail. If you want that wood look without hunting down cedar specifically, an off-the-shelf fir-wood tiered planter (I cover a good one in the materials section below) is far easier to find.
Felt-pocket garden: The lightest, most flexible way in. Felt breathes, so roots get more air than they do in solid plastic, and the whole thing hangs from grommets in a couple of minutes. The Meiwo 7-Pocket Hanging Vertical Wall Planter ($) is a solid budget example of the style — rugged felt, seven roomy pockets, adjustable ties for a railing. The honest catch: that same breathability means it dries fast, so in a hot spell you’ll be watering nearly every day. I have the best luck with felt on an indoor sunny wall or a north/east-facing outdoor wall where the sun is gentler.
Stackable plastic pots: The most adaptable option, and a great first kit. The Mr. Stacky 5-Tier Stackable Planter ($) is the classic here — five tiers stack on a center column, you water the top and it trickles down, and you can add or drop tiers to match your space. It stands freestanding on a patio or tucks against a wall. It looks more utilitarian than cedar or felt, so it’s my pick when function matters more than the photo.
Self-watering 5-tier tower: The best capacity for the money, and the one I recommend most for people who actually cook a lot. The GreenStalk 5-Tier Vertical Planter ($$) holds up to 30 small plants and feeds every tier from a single reservoir at the top, so daily watering turns into a weekly refill. One habit to build: give the tower a quarter-turn each week so the shaded back side gets its share of sun, or the herbs behind the front row sulk.
Material and Design Options Compared
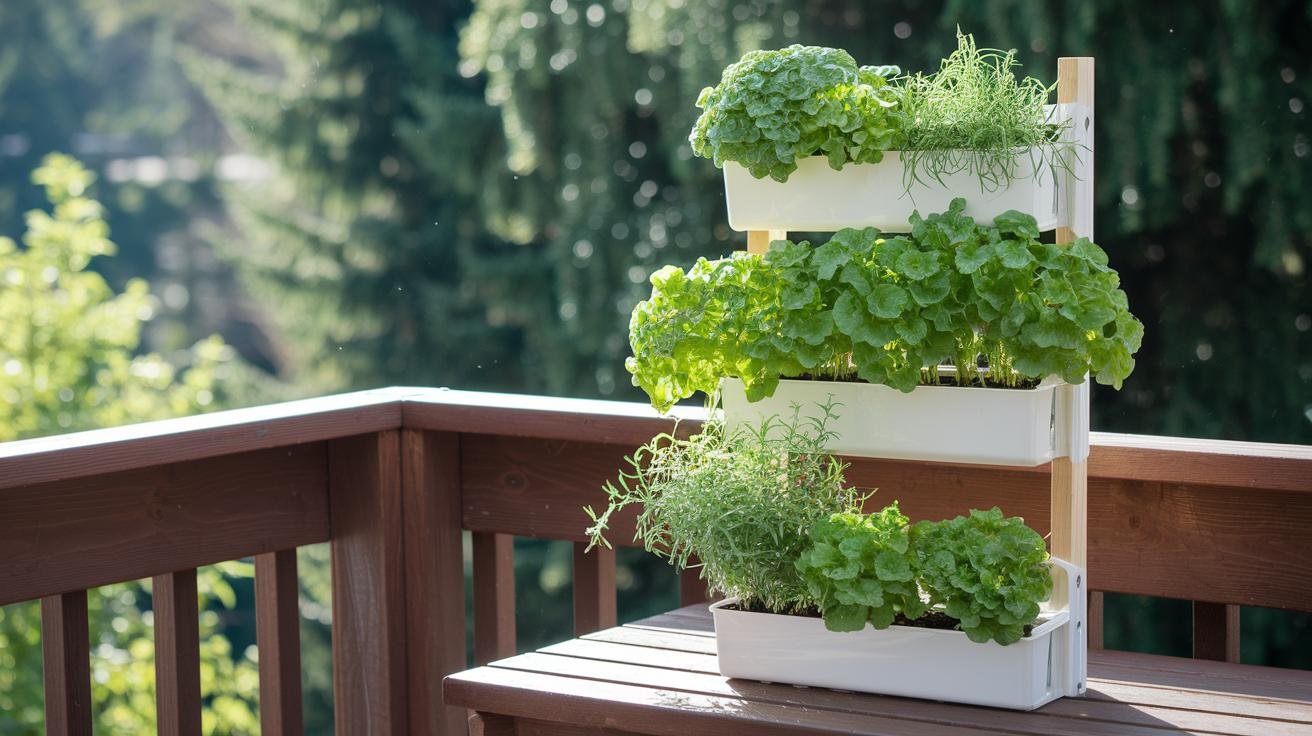
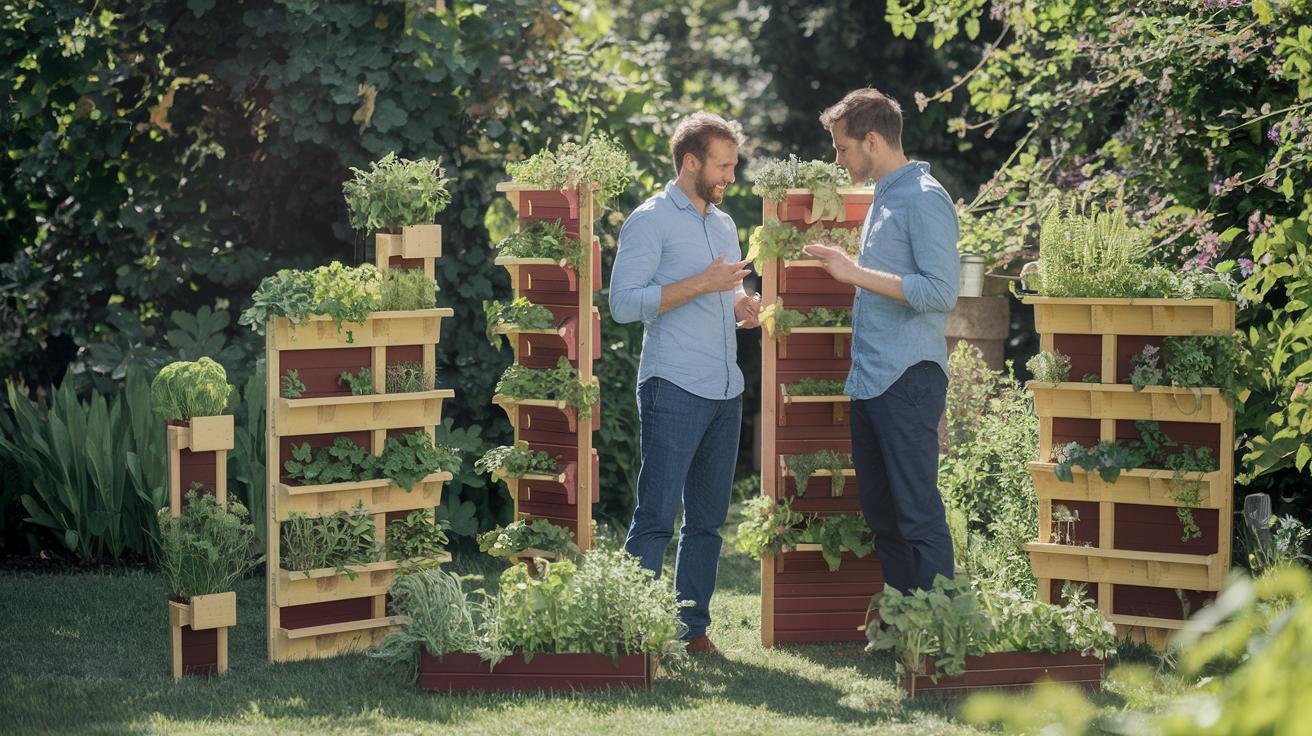
Beyond those four named kits, the market really breaks into a few broad design families — hydroponic columns, fabric-pocket systems, and rigid wood or plastic frames. Each comes with trade-offs worth knowing before you spend.
| Design | Pros | Cons |
|---|---|---|
| Hydroponic column | Steady water flow; no daily watering; works under grow lights indoors | Needs a pump and power; highest upfront cost ($$$) |
| Fabric pocket (soil-based) | Breathable roots; lightweight; easy to install | Dries fast; fabric degrades in UV; can weep water spots |
| Cedar or fir wood frame | Attractive; durable; doesn’t bake the soil in heat | Heavy when wet; needs annual sealing outdoors |
| Modular / recycled plastic | Lightweight; durable; affordable; easy to clean | Less handsome than wood; can warp in extreme heat |
Hydroponic systems are the most plug-and-play and the most expensive. They take the daily watering decisions — the thing that quietly kills most indoor herb gardens — off your plate entirely, but they want electricity and the occasional pump cleaning. Smart-garden systems like Click & Grow fold hydroponic growing together with a built-in LED grow light, which makes them genuinely hands-off for anyone who travels.
Soil-based systems — fabric pockets, wood pockets, modular plastic — cost less up front and grow a wider range of herbs than most hydroponic units handle. Among the rigid frames, a fir-wood tiered planter like the Best Choice Products 3-Tier Fir Wood Raised Bed ($$) is the easiest wood option to buy off the shelf: stack the three beds for a vertical footprint or spread them flat, and give the untreated fir a yearly coat of sealer to hold up outdoors. The trade-off for all soil-based kits is simply more watering attention, especially in summer or with thirsty fabric pockets.
Installation and Mounting Basics
Most vertical herb kits arrive with basic mounting hardware. It’s usually fine for drywall over studs, and usually not enough for masonry, tile, or a rental with restrictions — so plan to supplement. Here’s what I keep on hand beyond the kit itself.
- Power drill with bits matched to your wall (wood bit for studs, masonry bit for brick or concrete, tile bit for tile).
- A 4-foot level — a little torpedo level isn’t long enough to true up a multi-pocket kit.
- Screwdriver bits, a pencil, and a tape measure.
- Heavy-duty drywall anchors (toggle or molly bolts) if you’re mounting on drywall without hitting a stud. The plastic anchors in the box usually aren’t rated for a fully water-loaded kit.
The sequence I follow every time:
- Mark the mounting spots in pencil, and use the level to check the top of the planter will hang horizontal.
- Drill pilot holes sized for your wall material.
- Set anchors if you need them, then drive in the support screws or brackets.
- Hang the kit and test it — press firmly on the planter, and it shouldn’t flex against the wall.
- Slide a catch tray under the bottom tier if the kit doesn’t include one. Drips happen no matter how careful you are.
- Fill with potting mix and plant.
Renting? 3M Command strips rated for 5+ lbs handle a very light felt-pocket kit, tension rods work in a narrow gap between two walls, and a freestanding tower like the GreenStalk needs no wall mounting at all — it just wants a flat spot on the floor.
Maintenance: Watering, Feeding, and Refreshing Soil
The single biggest difference between kit styles is how often they ask for your attention. Match the kit to the life you actually live, not the one you wish you had:
- Hand-watered small pots (cedar pockets, modular plastic): check the soil by feel every 1–2 days in peak season, and water when the top inch is dry.
- Felt pockets: every 1–2 days minimum, sometimes daily in hot, dry weather — that lovely breathability cuts both ways.
- Self-watering reservoir kits (GreenStalk-style): top off the central reservoir weekly, and check monthly that water is reaching every tier evenly.
- Drip-irrigation upgrade: to put a hand-watered kit on autopilot, a plug-and-play kit like the Raindrip R560DP Automatic Drip Watering Kit ($) bundles a faucet timer and twenty drippers — enough to automate most rigid planter systems. If you’d rather skip the power and plumbing entirely, see our walkthrough of a self-watering vertical herb garden setup.
Feeding is easy to overdo. Most herbs are light feeders that do best with a monthly dose of diluted liquid fertilizer during active growth — a fish-and-kelp emulsion or compost tea is my go-to. Go heavy on nitrogen and you’ll get a lot of soft leaves with weaker flavor, so keep it light. For a feeding rhythm built specifically for vertical setups, our fertilization schedule for vertical herb gardens lays out the timing.
Don’t skip the soil refresh. Potting mix compacts and runs out of steam after a single season, so I top up the top inch every 4–6 months during active growing and swap the mix out entirely once a year. The spent mix isn’t waste — it goes straight into a garden bed or the compost pile.
Price and Space Suitability
Most vertical herb garden kits sit in the budget-to-mid range, with smart hydroponic systems anchoring the premium end. Price scales mainly with capacity and how much of the watering the kit automates for you:
| Price tier | What you typically get |
|---|---|
| $ (budget) | Basic felt or modular plastic; smaller plant capacity; hand-watering only |
| $$ (mid-range) | Cedar or fir wood, or larger plastic systems; bigger capacity; sometimes a self-watering reservoir |
| $$$ (premium / smart) | Tiered self-watering towers and hydroponic kits with built-in LED lights and app monitoring |
Space matters as much as price:
- Short kit (about 2 ft tall, 6–8 pockets): fits a windowsill, a narrow indoor wall, or a balcony rail.
- Medium kit (3–4 ft tall, 10–16 pockets): a standard interior wall or fence section — the sweet spot for most kitchen-adjacent setups.
- Tall kit (4–5 ft tall, 20+ pockets): an outdoor wall with full sun, or a patio for a freestanding tower. Maximum capacity for serious cooks.
If you like to chase the light, look for a kit with caster wheels or one that fits on a rolling cart. Being able to wheel the herbs into the morning sun and back out of the way when you’re entertaining is more useful than it sounds.
Best Herbs to Grow in a Vertical Kit
Not every herb is happy in the small soil volumes of a vertical kit. These are the ones I trust to earn their pocket.
Compact and forgiving:
- Basil (Genovese, Thai, lemon) — heat-loving; pinch the flower buds to keep it pushing out leaves.
- Parsley (flat-leaf or curly) — cold-tolerant, generous, and content in moderate light.
- Chives — the easiest of all; they bounce right back from a heavy harvest.
- Cilantro — fast, but it bolts in heat, so sow small successive batches.
- Thyme — drought-tolerant and perfect for upper pockets where water drains quickly.
- Oregano — slow, drought-tolerant, and a natural partner for thyme.
Wants more room; use the larger pockets:
- Mint — runs like it owns the place; always give it its own pocket so it doesn’t strangle its neighbors.
- Rosemary — craves bright light and sharp drainage; happiest in an upper pocket.
- Sage — slow but dependable; one plant produces for months.
Two arrangement rules save the most grief: group herbs with similar thirst together — drought-tolerant thyme and rosemary up top, moisture-lovers like basil and parsley in the middle and bottom — and quarantine the mint in its own pocket. For winter growing indoors, light becomes the real constraint. Chives, parsley, and thyme are the most forgiving of dim rooms, while basil and rosemary usually need a supplemental grow light through the dark months. Our guide to how to grow fresh herbs indoors all winter covers the setup, and it applies just as well to kit-based gardens as to DIY ones.
Buying Guide: How to Choose Your Kit
Here’s the framework that gets most people to the right kit on the first try, without the buy-twice regret:
- Measure your spot. Width and height of the wall, fence, or floor area, plus any obstacles. Know whether you’re mounting on wood, drywall, masonry, or nothing at all.
- Read your light. Most herbs want 4–6 hours of direct sun. If your spot falls short, plan on grow lights or choose a hydroponic kit with built-in LEDs.
- Be honest about your attention budget. Happy to water daily? Felt pockets are fine. Want a weekly job? A self-watering reservoir. Want hands-off? A smart hydroponic kit.
- Match the style to all three. Cross-reference your space, light, and attention budget against the comparison tables above.
- Check the warranty and returns. Most reputable kits carry a 1–3 year warranty and a 30-day return window. Bulky kits are pricey to ship back, so read the policy before you order.
- Read recent reviews for your specific kit — especially notes on durability after six-plus months and how responsive the seller is.
For most home cooks, the right entry point is either a felt-pocket kit like the Meiwo (cheapest and most flexible) or the GreenStalk 5-tier (the most capacity per dollar, with self-watering built in). And if the goal is the lowest possible daily commitment, the Click & Grow Smart Garden 9 ($$$) is genuinely set-it-and-forget-it — patented soil pods, a built-in grow light, and a reservoir you top off every couple of weeks — just at a premium price.
Picking the Right Kit for Your Home
The best vertical herb garden kit is the one you’ll actually keep using a year from now. If you’re new to herb gardening, start smaller than you think you want to — the urge to buy the biggest kit you can afford is exactly how people end up overwhelmed and staring at abandoned herbs by month three. A six-to-eight-pocket kit gives you basil, thyme, chives, parsley, and a specialty herb or two: plenty for real cooking without becoming a chore.
By your second year, you’ll know which herbs you reach for and how much time you honestly have for upkeep. That’s the moment to scale up with confidence. A wall garden gets more useful the more you tune it to how you actually cook — not less.
Recommended gear for a vertical herb garden
As an Amazon Associate, Backyard Superstar earns from qualifying purchases at no extra cost to you.
- Top pick — GreenStalk 5-Tier Vertical Planter ($$). Most herbs per dollar, and its internal reservoir turns daily watering into a weekly refill.
- Budget pick — Meiwo 7-Pocket Felt Wall Planter ($). Lightweight, renter-friendly, and hangs in minutes — just plan on frequent watering.
- Stackable pick — Mr. Stacky 5-Tier Stackable Planter ($). Add or drop tiers to fit your space; freestanding or against a wall.
- Wood pick — Best Choice Products 3-Tier Fir Wood Raised Bed ($$). The easiest off-the-shelf wood look; stack it tall or spread it flat.
- Premium / smart pick — Click & Grow Smart Garden 9 ($$$). Built-in grow light and self-watering pods — the truly hands-off choice.
- Watering upgrade — Raindrip R560DP Automatic Drip Kit ($). Faucet timer plus twenty drippers to put a hand-watered kit on autopilot.
Common Questions About Vertical Herb Garden Kits
What are the best vertical herb garden kits?
Four styles cover most needs: cedar-wood pocket planters ($$) for an attractive outdoor wall, felt-pocket gardens ($) for renter-friendly installs, stackable plastic pots ($) for flexible reconfiguration, and a self-watering 5-tier tower like the GreenStalk ($$) for the most capacity with built-in watering.
How much do vertical herb garden kits cost?
Budget kits ($) are basic felt or modular plastic with hand-watering only. Mid-range kits ($$) are cedar or fir wood or larger plastic systems, sometimes with a self-watering reservoir. Premium and smart hydroponic kits ($$$) add tiered self-watering towers or built-in LED grow lights and app monitoring. Exact prices shift often, so it’s worth checking the current listing before you buy.
What herbs grow best in a vertical garden kit?
The most reliable picks are basil, parsley, chives, cilantro, thyme, and oregano — all compact enough for small pockets and forgiving of beginner care. Give mint its own dedicated pocket, since its runners crowd out neighbors. Rosemary and sage do best in upper pockets with the sharpest drainage.
How often do I need to water a vertical herb garden kit?
Felt-pocket kits need near-daily watering in peak season because the breathable fabric dries fast. Hand-watered rigid kits (cedar, modular plastic) want water every 1–2 days. Self-watering kits with a reservoir need only a weekly refill, and smart hydroponic kits like Click & Grow handle watering for you.
Can I install a vertical herb garden kit in a rental?
Yes. Use 3M Command strips rated for 5+ lbs for a very light felt-pocket kit, tension rods in a narrow gap between two walls, or a freestanding floor tower like the GreenStalk that needs no wall mounting at all. Check your lease before any drilling.
How do I install a vertical herb garden kit?
Most kits include hardware that’s fine for stud-mounted drywall. For masonry, tile, or anchor-only drywall, supplement with the right drill bits and heavy-duty anchors. Mark your points with a level, drill pilot holes, set anchors and brackets, hang the kit, slide a drip tray underneath, fill with potting mix, and plant.
What size vertical herb garden kit do I need?
Short kits (about 2 ft, 6–8 pockets) fit a windowsill, narrow wall, or balcony rail. Medium kits (3–4 ft, 10–16 pockets) suit a standard interior wall or fence section. Tall kits (4–5 ft, 20+ pockets) want an outdoor wall with full sun or a patio for a freestanding tower.
How do hydroponic vertical herb garden kits work?
Hydroponic kits move nutrient-rich water past the roots through stacked growing channels, so plants get oxygen and food without soil. A reservoir holds water mixed with liquid nutrients, and a timed pump cycles it past the roots. Most smart kits like Click & Grow add built-in LED grow lights and timed watering, so you only refill the reservoir weekly.