Patio Fire Pit Placement and Safety Distances
Where you put a fire pit matters more than which pit you buy. An expensive pit in the wrong spot is a hazard; a budget pit in the right spot is safe and useful for years. This guide covers the horizontal, vertical, and foliage clearances every fire pit needs, what to put underneath it, where landscaping should and shouldn’t be near it, the safety gear worth keeping nearby, how to store and handle fuel safely, and the seasonal checks that keep the whole installation safe over time.
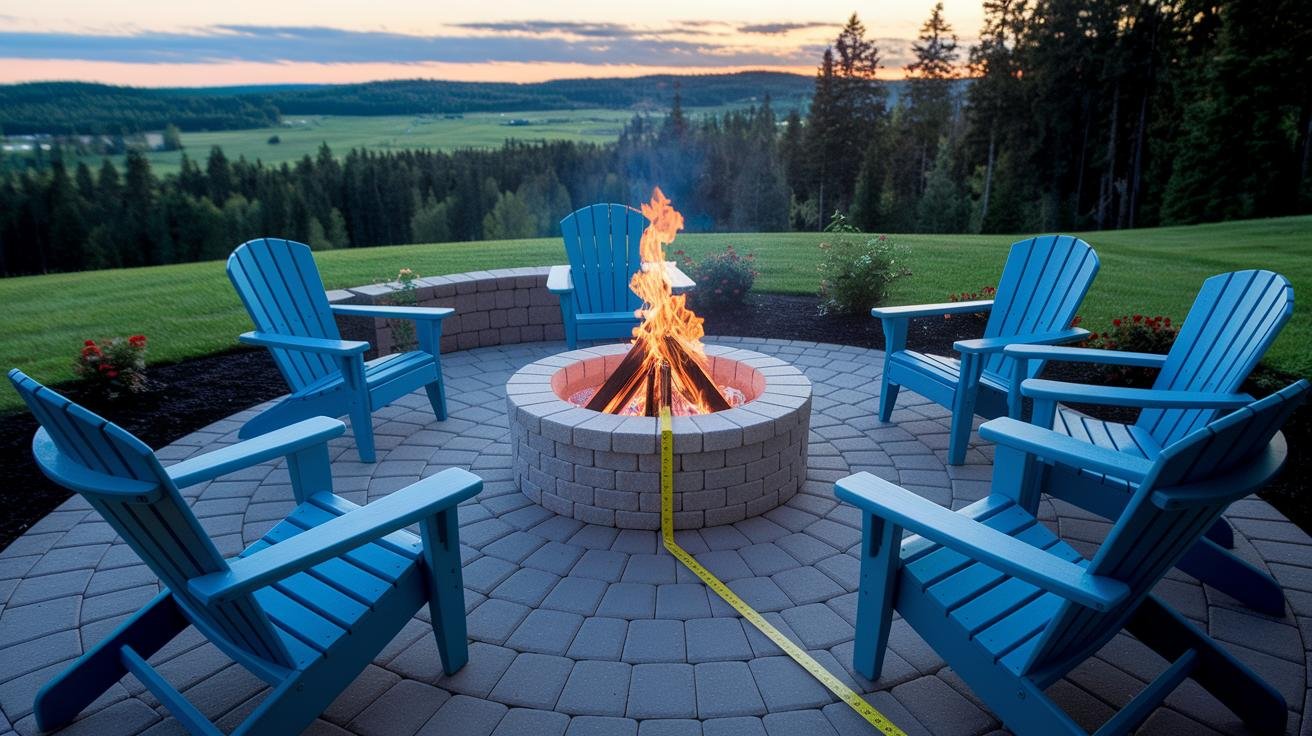
Horizontal, Vertical, and Foliage Clearances
Three clearance distances matter for any fire pit installation. Hit all three and the pit is positioned safely; miss any one and you’ve got a hazard.
Horizontal clearance to combustible structures:
- House, garage, shed, fence: 10 feet minimum from any wall, especially walls with siding, eaves, or vinyl trim that can melt or ignite from radiant heat.
- Property line: 5–10 feet depending on local code. Many municipalities have specific setbacks for permanent fire features.
- Walkways and seating: 3 feet of non-combustible buffer between the pit edge and where people sit or walk. Closer than that and sparks become a real injury risk.
Vertical clearance overhead:
- Pergola, gazebo, deck overhang, tree branches: 8 feet minimum above the rim of the pit for open-flame wood-burning. 10 feet is safer if the overhead structure is combustible wood or fabric.
- Gas fire pits need less vertical clearance than wood because they produce less radiant heat and no flying embers — typically 6 feet for low-flame models. Check the manufacturer’s spec on the specific pit.
- Awnings and retractable shades: Same 8-foot minimum but never use a fire pit directly under fabric overhead — radiant heat can damage even pulled-back awnings over time.
Foliage clearance:
- Bushes, ornamental grasses, mulch beds: 3 feet from the edge of the pit. Dry foliage and mulch are the most common fire-spread pathways from a backyard pit.
- Tree canopy: The 8-foot vertical clearance applies to overhanging branches too, not just structures.
- Garden beds with combustible mulch: Pull back rubber mulch, wood chips, or bark mulch at least 3 feet from the pit base. Replace with gravel or stone in the immediate ring.
Most fire pit injuries come from violating the foliage clearance — dry mulch ignites from a single ember and the fire spreads laterally before anyone notices. The 3-foot foliage buffer is the single most-important clearance for residential pits.
Noncombustible Base Materials
What’s under the pit determines whether a stray ember turns into a problem. Five base materials work:
Concrete pavers. The standard residential choice. Look for pavers rated for fire pit use — some decorative pavers can crack from heat cycles. Standard concrete pavers from any landscape supply work for the area under and immediately around the pit.
Natural stone (flagstone, slate, fieldstone). Handles heat well, looks substantial, lasts indefinitely. Avoid limestone if you want long-term wear resistance — limestone can spall (chip off in flakes) under repeated heat cycles.
Brick. Fire brick (refractory brick) is rated for high-temperature applications. Regular construction brick works for the area outside the pit’s hot zone but can crack under direct flame exposure. Use fire brick for any brick that contacts the pit base or the actual fire chamber.
Poured concrete. A poured concrete slab handles fire pits well. Concrete can spall under sudden extreme temperature changes, so use slow-burning fires (no accelerants) and don’t dump cold water on a hot slab.
Gravel. Pea gravel or larger gravel works as a base under a fire pit, especially for portable steel pits. Doesn’t catch embers, doesn’t trap heat, drains well. The least expensive option and works for most installations.
What to avoid:
- Wood decking under any fire pit — even raised pits get hot underneath and embers fall through gaps in deck boards. Always use a fireproof deck mat or pull the pit off the deck onto patio or gravel.
- Bare grass — sparks ignite dry grass quickly and the fire spreads underneath the pit where you can’t see it.
- Composite decking — melts and warps from radiant heat even when actual flame doesn’t touch it.
- Sealed asphalt — softens under fire pit heat and shows permanent damage.
The base should extend at least 3 feet beyond the pit edge in every direction for spark protection. For broader patio surface decisions that include fire pit zones, the paver patio layout guide covers material choice for the surrounding area.
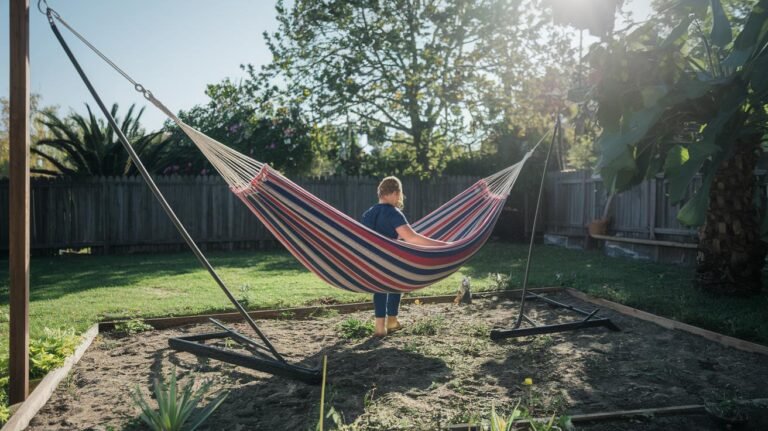
Landscaping Buffers and Wind Direction
Beyond raw distance, two other landscaping considerations matter: what’s between the pit and combustibles, and how prevailing wind moves smoke and sparks.
Buffer plantings. If you can’t pull foliage back to a full 3 feet, plant low-flammability species in the closer zones. Succulents (sedum, sempervivum, agave) hold high moisture content and resist ignition. Pull tall ornamental grasses, juniper, cedar shrubs, and any conifer-family plants further back — these contain volatile oils that ignite easily.
Wind direction. Check your yard’s prevailing wind direction before final pit placement. The smoke and embers blow downwind, which means:
- Seating should be upwind of the pit (smoke blows away from people, not at them).
- Combustible features (sheds, woodpiles, fences) should be upwind so embers blow away from them.
- Neighbor windows and outdoor seating should be considered for smoke direction too — courtesy as well as safety.
Wind speed. Most jurisdictions have burn bans during high-wind conditions (typically 15+ mph sustained). Check local rules and don’t use a fire pit when wind would carry embers more than 6–8 feet from the pit. Steady moderate wind is fine; gusty unpredictable wind is when ember-spread risk peaks.
Slope considerations. A fire pit on a slope sends embers downhill and away from any spark screen. Position on level ground whenever possible. If your only available spot has a slope, build up a level pad rather than working with the existing grade.
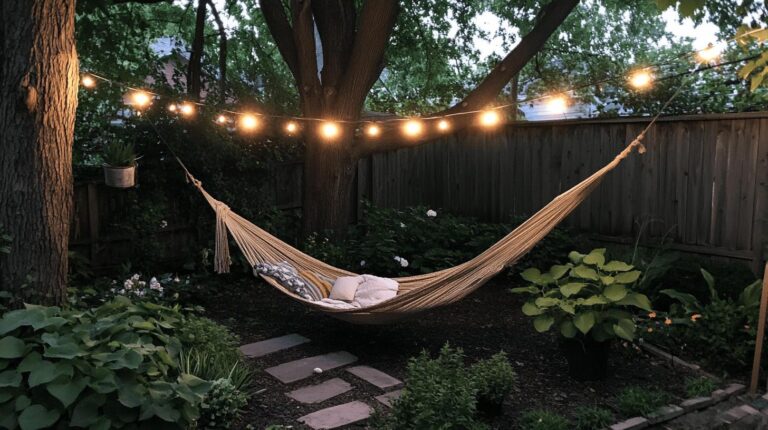
Lighting and visibility. Position the pit so it’s visible from the house — kitchen window, family room, back deck — for after-dark monitoring. A fire pit you can’t easily see is one you’ll forget to monitor as it dies down.
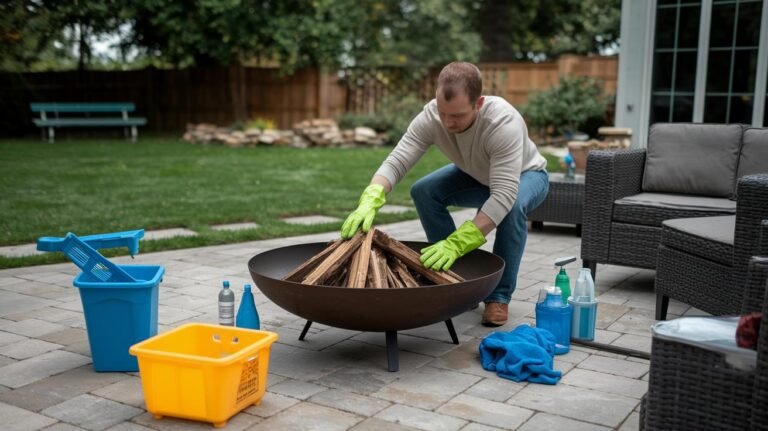
Safety Gear and Emergency Prep
Three items belong within 6 feet of any active fire pit. Keep them outside in a weatherproof storage box so they’re always there.
- Fire extinguisher. Rated 2A:10B:C minimum (covers wood, liquid, and electrical fires). Pressurized water types work for wood-burning pits; ABC dry chemical extinguishers cover gas pits too. Check the pressure gauge monthly during use season.
- Garden hose connected to water supply. Pre-connected, with the spigot on, so you can reach the pit immediately without running for connection. A 50-foot hose covers most residential placements.
- Fireproof shovel and bucket. For moving hot coals if you need to relocate them or smother them in the bucket. A metal bucket — never plastic — for any ash or ember containment.
Spark screen. Required equipment for any wood-burning pit. Mesh-top covers catch flying embers before they leave the pit. Look for screens rated for the pit’s diameter — undersized screens leave gaps.
Long-handled tools. Fire poker (24+ inches), tongs, and a small shovel keep your hands away from heat during use. Cast iron handles get hot too — pick wood handles or insulated grip designs.
Emergency procedure worth establishing:
- If an ember spreads, douse it immediately with the hose — don’t run to call for help first.
- If the fire spreads beyond control, call 911 before any further extinguishing attempts.
- For grease or gas-leak fires, do not use water — use the dry chemical extinguisher or smother the flame source.
- For person catching fire: stop, drop, and roll. Keep a fire blanket nearby if you have older or less mobile family members who use the patio.
Phone within reach. Don’t bury your phone in a pocket — keep it visible and accessible. In a fire emergency, every 30 seconds matters.
Fuel Storage and Safe Operation
Different fuel types have different storage and use requirements.
Firewood. Store at least 10 feet from the fire pit — closer and the radiant heat dries wood progressively, increasing fire risk to the woodpile. Off-ground storage on a rack with a cover prevents rot and keeps wood ready to burn. Season hardwood at least 6 months before burning; wet wood produces more smoke and creosote.
Kindling and fire starters. Store in a dry sealed container at least 10 feet from the pit. Never store accelerants (gasoline, kerosene, lighter fluid) anywhere near a fire pit. Use a chimney starter or paraffin fire starter for ignition — both are safer than liquid accelerants and produce less smoke.
Propane tanks. For propane fire pits, store the tank in a well-ventilated outdoor location. Standard 20-pound propane tanks can be stored at the base of the fire feature when integrated into a permanent design, but spare tanks belong in a shed or garage at least 20 feet from any ignition source. Check tank valves and hose connections for leaks before each use (apply soapy water; bubbles indicate a leak).
Natural gas connections. Permanent natural gas fire features need a shut-off valve within reach of the pit (not behind it). Check valve operation before each use. Annual professional inspection of the gas line is appropriate for any built-in installation.
What to never burn:
- Painted, stained, or pressure-treated lumber — releases toxic fumes including arsenic, chromium, and lead compounds.
- Plywood, particleboard, or MDF — the adhesives produce formaldehyde when burned.
- Trash, paper trash with printed inks, or anything plastic — toxic fumes and unpredictable burn behavior.
- Christmas tree wood (after the tree has dried) — burns extremely hot and produces flying embers.
- Pine, fir, or other softwoods as primary fuel — burns hot but produces excessive creosote and pops embers more than hardwoods.
For the broader fuel-type decision (gas vs. wood), see the gas vs. wood-burning fire pit comparison.
Seasonal Safety Checks
A short seasonal routine catches developing issues before they become safety problems.
Spring (opening of use season). Inspect the pit for cracks, rust, or warped metal. Check screen mesh for tears. Test gas valve operation if applicable. Verify fire extinguisher charge level. Check that the hose is operational and reaches the pit. Top up gravel buffer if it’s washed out over winter. Confirm overhead branches haven’t grown into clearance zones.
Summer (active use season). Visual check before each use — clear any debris that’s blown into the pit, check for any cracks that have developed, verify spark screen is in place. Watch for foliage growing back into the 3-foot buffer zone. Trim aggressive plants before they encroach on clearance.
Fall (close of season prep). Clean accumulated ash thoroughly (cold ash only; freshly burned can still contain coals 24+ hours later). For wood-burning pits, inspect the inner walls for cracks or burnout spots. Apply rust inhibitor to any exposed steel. Cover the pit with a weatherproof cover designed for the model.
Winter storage. In freezing climates, prevent water from pooling and freezing inside the pit (cracks any masonry). Tilt portable steel pits to drain. For built-in pits, ensure drainage and consider covering throughout winter. Don’t store anything combustible inside the pit even if dormant.
After every use:
- Let the fire burn down completely; don’t leave it smoldering unattended.
- Douse coals with water if you need the pit cool before leaving (use enough water to fully soak the ash bed).
- Wait at least 24 hours before disposing of ash — hot coals can persist in ash longer than expected.
- Dispose of cold ash in a metal container, never directly into bags or trash that could combust.
For deeper guidance on ongoing pit care, cleaning, and rust prevention, see the fire pit maintenance guide. For broader patio context including fire pit zones in overall yard design, see the outdoor living area planning guide.
FAQ
What horizontal clearance is required between my fire pit and buildings?
10 feet minimum from any wall, especially walls with siding, eaves, or vinyl trim. 5–10 feet from property lines depending on local code (check with the local building department for specifics). 3 feet of non-combustible buffer between the pit edge and where people sit or walk.
What materials work best under a fire pit?
Concrete pavers, natural stone (flagstone, slate, fieldstone), fire brick, poured concrete, or gravel all work. The base should extend at least 3 feet beyond the pit edge for spark protection. Avoid wood decking, bare grass, composite decking, and sealed asphalt — all are damaged or ignited by fire pit heat and embers.
How high should I keep my fire pit below an awning or pergola?
8 feet minimum vertical clearance for wood-burning pits with open flame; 10 feet is safer if the overhead structure is combustible wood or fabric. Gas pits need less (typically 6 feet for low-flame models). Never use a fire pit directly under fabric awnings — radiant heat damages awnings even when not extended.
How far do trees and mulch need to be from the fire pit?
3 feet from the pit edge for bushes, ornamental grasses, mulch beds, and any plants that ignite easily. 8 feet of vertical clearance to overhanging tree branches. Pull back rubber mulch, wood chips, or bark mulch at least 3 feet from the pit base and replace with gravel or stone in the immediate ring.
What safety gear should I have on hand for fire pit use?
Fire extinguisher rated 2A:10B:C minimum, garden hose pre-connected to the spigot, fireproof shovel and metal bucket, spark screen sized to the pit, and long-handled tools (poker, tongs, small shovel). Keep all of it within 6 feet of the pit in a weatherproof storage container.
How should I store firewood and propane tanks safely?
Firewood at least 10 feet from the pit, ideally off-ground on a covered rack. Spare propane tanks in a well-ventilated outdoor location at least 20 feet from any ignition source — never inside the house or attached garage. Never store accelerants (gasoline, kerosene) anywhere near a fire feature.
What seasonal checks keep my fire pit safe year-round?
Spring: inspect for cracks, test gas valves, verify safety gear is operational. Summer: visual check before each use, trim foliage from buffer zones. Fall: clean ash thoroughly, apply rust inhibitor, cover for winter. Winter: prevent water pooling and freezing inside the pit. After each use: let the fire burn down completely or douse with water, wait 24 hours before disposing of ash.
Do I need a permit for a backyard fire pit?
Portable steel fire pits typically don’t require permits. Built-in masonry fire features, gas-line installations, and any pit larger than 36 inches in diameter usually do require local permits — and sometimes inspections during construction. Check with your local building department before any built-in install. Some jurisdictions also require burn permits for actual fire use during high fire-risk seasons.