How to Install a Gas Patio Fire Pit
You don’t need a contractor and a four-figure invoice to put a gas fire pit on your patio. What you need is a weekend, a level pad, and enough respect for the gas line to do that part by the book. I’ve plumbed a couple of these now, and the work itself is straightforward — the difference between a pit that lights on the first click and one that gives you trouble comes down to how carefully you prep the base and how honestly you leak-test the fittings. This guide walks through how to install a gas patio fire pit the way I actually do it: pick a safe spot, pour a solid foundation, run the fuel line, set the burner, and prove there are no leaks before a single flame touches it. If you’re still weighing fuel types before you commit, the gas versus wood-burning breakdown is worth a read first.
As an Amazon Associate, Backyard Superstar earns from qualifying purchases at no extra cost to you.
Where to Put a Gas Fire Pit
Location is the one call that’s a genuine pain to undo, so I spend real time on it before a shovel moves. Keep the pit at least ten feet from your house, fence, shed, and any low branches — that’s the clearance most fire codes expect, and it’s plain common sense once you’ve watched a breeze push heat and the occasional ember sideways. Look up, too. A gas pit throws almost no sparks, but it throws serious heat, and an overhanging eave or a patio umbrella directly above it will scorch faster than you’d guess.
Next I check how the ground drains, because water is what wrecks a fire pit over the long haul. Pour a bucket where you’re planning to build and watch it. If it puddles and sits, that spot will trap moisture under your pad and heave it every freeze-thaw cycle, so either pick better ground or plan to build the base up properly. You also want the area reasonably flat — a burner that sits even slightly off-level gives you a lopsided flame and pools condensation on one side. For the finer points of setback and heat clearances, our guide to fire pit placement and safety distances covers the numbers in more detail.
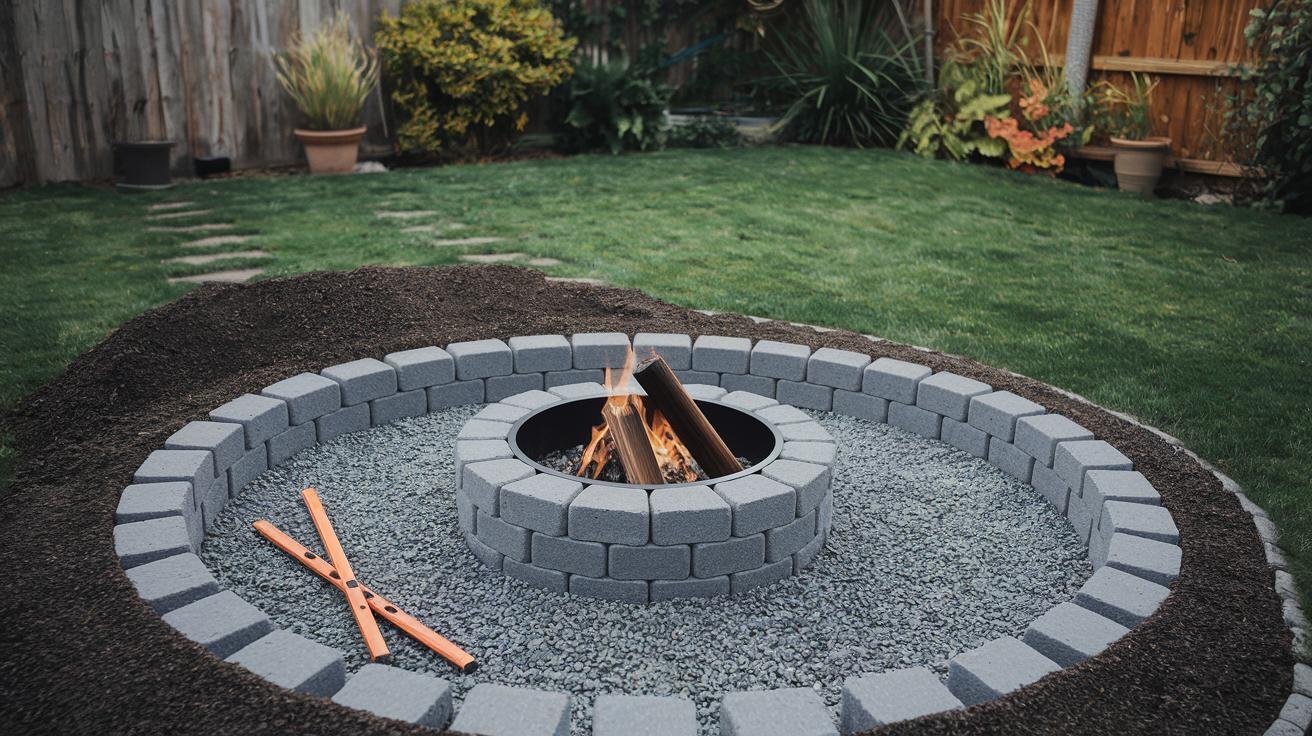
Once the spot’s settled, prep the pad. Strip the sod and about four inches of topsoil inside your footprint, tamp the floor firm, then lay down two inches of gravel or coarse sand and level it so water has somewhere to drain. For anything heavier than a light metal bowl, I pour a four-inch concrete pad on top of that base, screed it flat with a straight board, and check it both directions with a level. Give concrete a full twenty-four hours to cure before you set anything on it — rushing that step is how you end up with a hairline crack under a two-hundred-pound pit.
Tools and Materials You’ll Need
Getting everything to the patio before you start saves the mid-build trip to the hardware store that always seems to happen at closing time. The heart of the job is the burner. If you’re building your own enclosure or retrofitting an old wood pit, a drop-in pan is the simplest path — a Stanbroil round drop-in fire pit burner pan in 304 stainless drops straight into a masonry or metal surround and gives you a clean burner ring to plumb into ($$). If you’d rather skip the match and have push-button starts, a Stanbroil drop-in kit with a spark ignition bundles the pan and igniter together so there’s less to source separately ($$$).
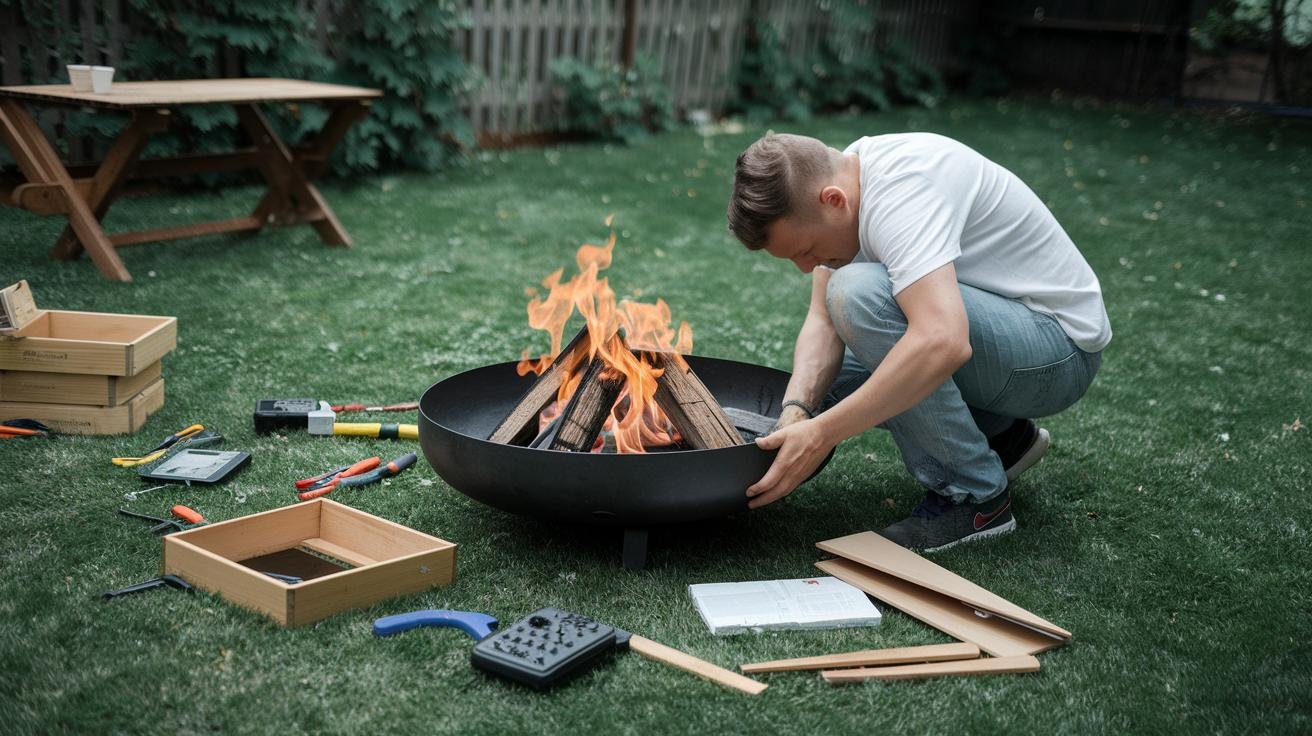
Beyond the burner, keep this within reach: an approved gas hose or rigid pipe rated for fuel, a regulator sized to your fuel type, a manual shutoff valve you can mount within six feet of the pit, gas-rated thread sealant or PTFE tape, and fire-safe media to top the burner. On the tool side you want a pipe wrench and an adjustable wrench for the fittings, a drill with masonry bits if you’re anchoring into concrete, and a good level. Round it out with sturdy work gloves and eye protection — gas fittings tighten hard, and you don’t want a slipped wrench catching a knuckle. Lay the parts out against the kit diagram and confirm nothing’s missing before you thread the first joint; a forgotten gasket is a lot cheaper to catch now than after the burner’s bolted down.
Running the Gas Line: Propane vs Natural Gas
This is the section where care matters most, so slow down and match your parts to your fuel. The two setups diverge right at the source, and mixing up components is the most common way people end up with a weak or unsafe flame.
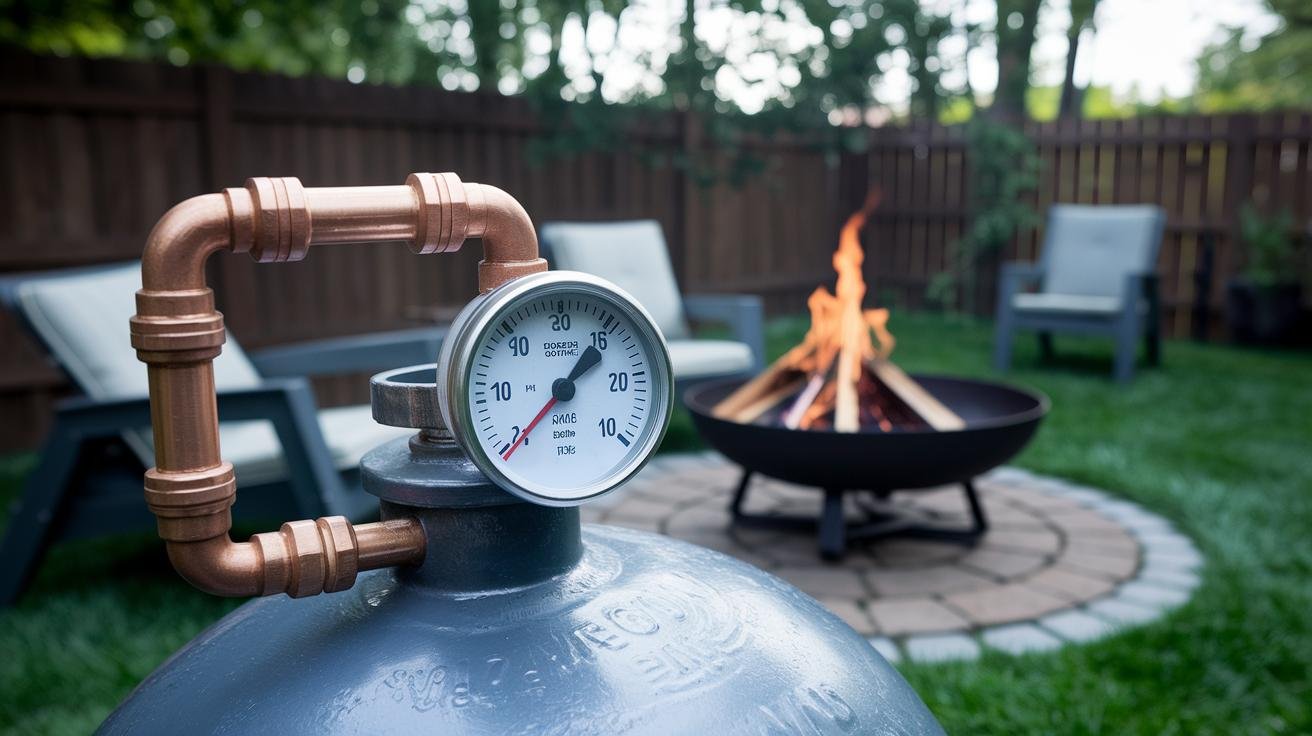
For propane, the fuel comes off a tank under high pressure, so you regulate it down before it ever reaches the burner. I run an adjustable propane regulator with a stainless-braided hose from the tank valve to the burner inlet — the adjustable dial lets you dial the flame height in instead of being stuck with whatever a fixed regulator hands you ($). Thread it on by hand first so you know the threads aren’t cross-started, then finish with a wrench until it’s snug. Tight enough to seal, not so tight you crush the fitting — over-torquing a brass fitting is how you crack it.
Natural gas is a different animal. It arrives at low pressure through a fixed supply line, usually around seven inches of water column, so you skip the tank regulator and instead tie into your home’s gas stub with rigid pipe or fuel-rated copper. Where the line crosses a wall or runs under a structure, sleeve it in steel conduit so nothing can nick or crush it. And here’s the part I won’t soften: a permanent natural-gas tie-in is the piece to hand to a licensed pro. Running a new branch off your home supply usually requires a permit and an inspection, and it’s not the corner to cut to save a service call.
Whichever fuel you run, install the manual shutoff valve within six feet of the pit at a height you can reach fast, and label it clearly so anyone can cut the gas in the dark. That one valve is the difference between a minor annoyance and a real problem.
| Consideration | Propane (LP) | Natural gas (NG) |
|---|---|---|
| Fuel source | Refillable tank on site | Fixed line from home supply |
| Pressure handling | Tank regulator required | Low-pressure; no tank regulator |
| Portability | Move the pit anywhere | Fixed to the tie-in point |
| Refueling | Swap or refill the tank | Never runs out mid-evening |
| Install effort | Often DIY-friendly | Pro tie-in + permit typical |
Setting the Burner Pan and Fire Media
With the pad cured and the fuel plan settled, set the burner. Rest the pan on the pad or ledge, level it side to side and front to back, and only then bolt or clip it down — a burner that tilts pools condensation and burns unevenly. Thread the burner’s inlet to your gas line by hand into the brass fitting, then finish with a wrench, and route any igniter wires along the base where a bolt or bracket can’t pinch them. Give every connector a gentle tug once it’s in; a wire that looks seated but isn’t is the reason a spark igniter clicks without lighting.
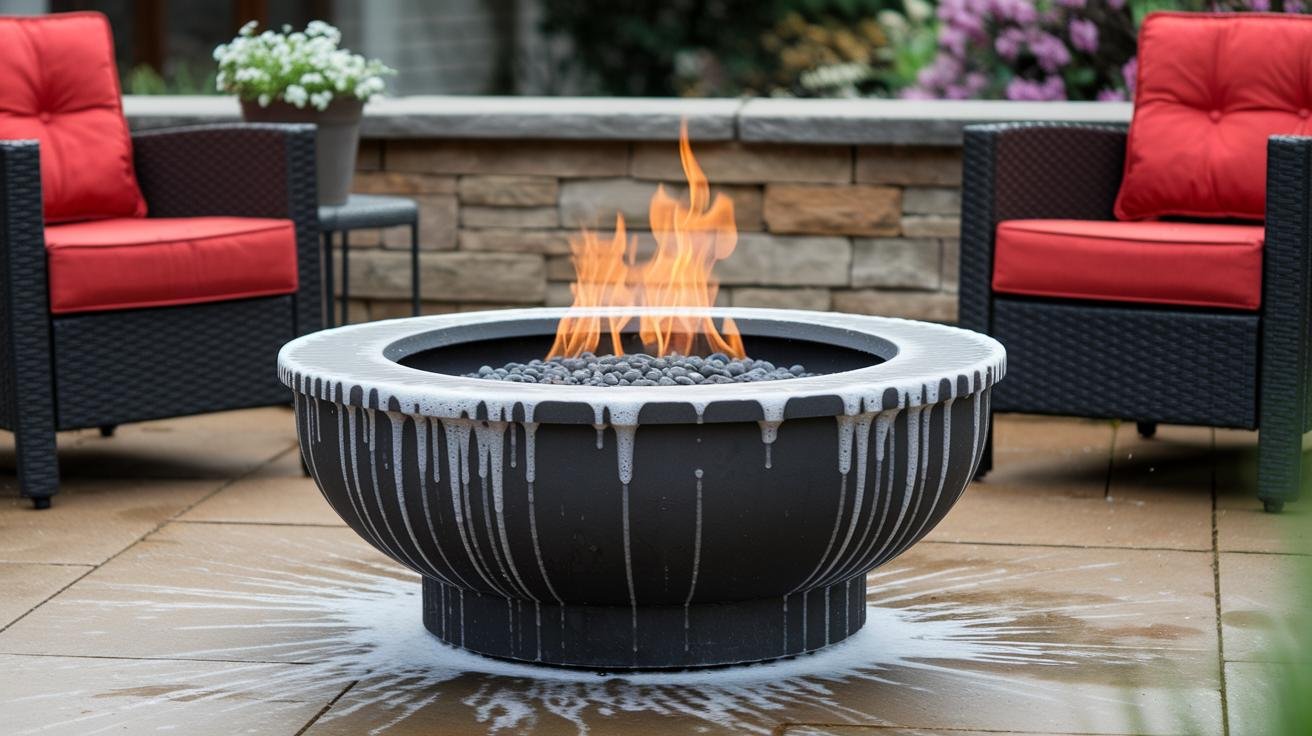
Once the burner’s plumbed and secured, top it with fire media. A couple of inches of natural lava rock spreads the heat across the pan, hides the burner ring, and diffuses the flame into something that actually looks like a fire instead of a row of jets ($). Spread it evenly and keep it clear of the burner ports so the gas flows freely. One hard rule regardless of media: never use river rock or any smooth, water-formed stone. Trapped moisture inside those stones can flash to steam when they heat and pop — lava rock and rated fire glass are porous and safe, and that’s the whole reason to use them.
Leak-Testing and Lighting It the First Time
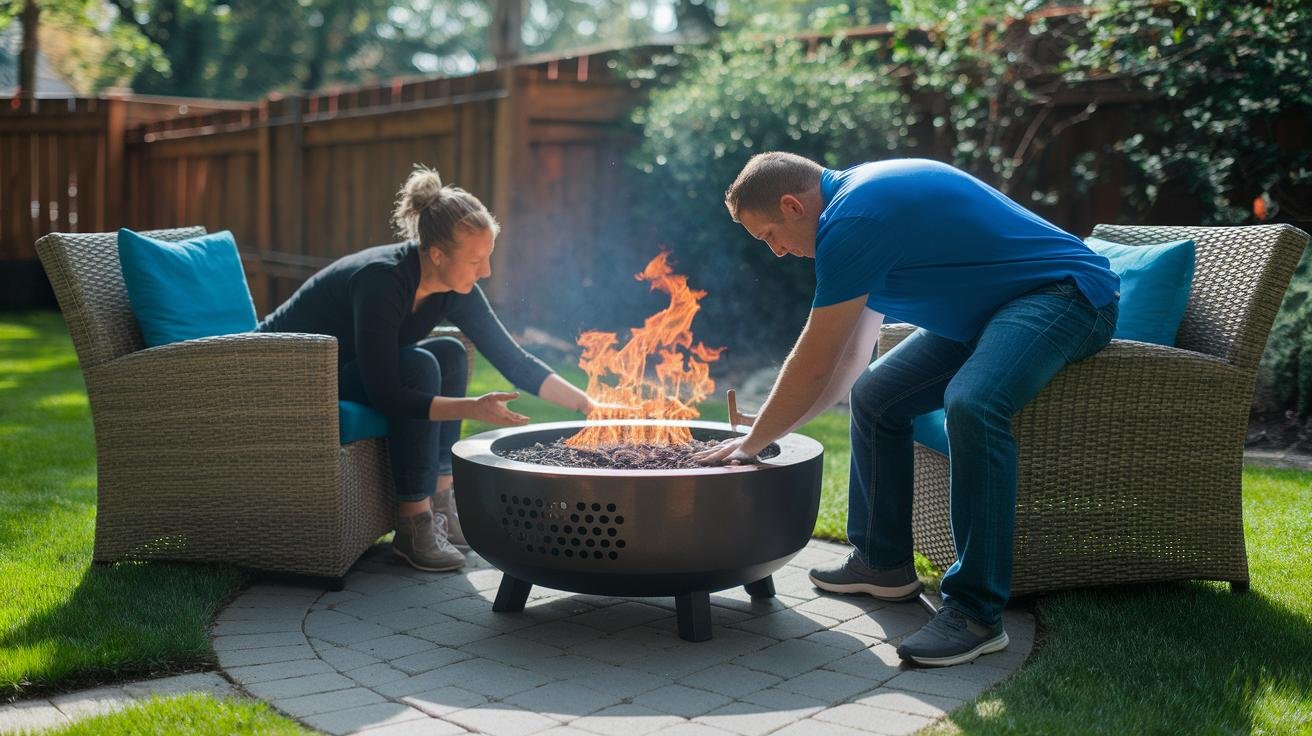
Before you ever hit the igniter, you prove the system is tight. This step is non-negotiable, and it takes ten minutes. Mix a little dish soap with water, or use a purpose-made gas leak detector solution that clings longer and holds bigger bubbles than soapy water does ($). Brush it over every valve, joint, and fitting from the fuel source to the burner.
Now open the gas slowly — just crack the valve — and watch the connections. Bubbles mean gas is escaping. If you see them, shut the gas off, tighten or reseal that fitting, and test it again. Keep going until you can open the valve and every joint stays perfectly still, no growing bubbles anywhere. If you’ve got a manometer or pressure gauge, better still: hook it to the shutoff port, open the valve, and watch the reading hold steady for a minute. A needle that drifts down means a leak you haven’t found yet.
Only once it passes clean do you light it. Open the gas, press the igniter a few times, and listen for the click and watch for the spark. If it won’t catch or the flame dances unevenly, shut it down and check three things: the igniter battery, debris in the burner ports, and the wiring clips. Clear a port that’s blocked, swap a dead battery, reseat a loose wire, and try again. When you’ve got a bright, even flame across the whole burner, you’re done — and that first steady glow is a good feeling after a day of fittings.
Permits, Codes, and Safe Clearances
The paperwork is nobody’s favorite part, but it’s quick and it protects you. A short call to your local building department or fire marshal tells you exactly what your area allows — where a gas pit can sit, how the line has to run, and whether a homeowner can make the connection or a licensed pro is required. Rules vary a lot from town to town, so ask before you build rather than after.
A permit usually means a simple form, a modest fee, and a wait of a week or two for approval and inspection. Your local code will spell out the approved pipe type, how deep any buried line must sit, and what the inspector checks off. Follow it in order and the sign-off is a formality. On clearances, hold that ten-foot gap between the pit and anything flammable — walls, fences, overhangs, plantings — and keep grass and mulch trimmed back from the base. Save your permit copy and any inspection notes in a folder; if you ever sell the house, proof the pit was built to code is worth having.
Maintenance, Winterizing, and a Cover
A gas pit asks for very little upkeep, but the little it asks keeps it lighting cleanly for years. Once a month during the season, run the same soapy-water check over the fittings — thirty seconds tells you if anything’s loosened. Once a year, brush the burner ports clear of soot and debris so the flame stays even, and hit the control valve with a light silicone spray so the knob keeps turning smoothly instead of seizing on the first cold night.
When the season winds down, shut off the gas at the valve and cover the pit. A heavy-duty waterproof fire pit cover in polyester-backed PVC keeps rain, snow, and leaf litter out of the burner and off the metal, which is exactly what stops rust and spider nests from taking hold over winter ($). It’s the cheapest insurance on the whole project. If the flame ever goes weak or patchy, the culprit is almost always a clogged port or a spider web in the burner tube — open the gas fully, clear the obstruction, and it comes right back. A little attention twice a year, and the pit stays the spot everyone drifts to once the sun drops. Once it’s dialed in, it pairs naturally with the rest of a comfortable patio seating setup, and there’s plenty more backyard fire pit inspiration if you’re planning the surround.
Frequently Asked Questions
How long does it take to install a gas patio fire pit?
Most DIY-friendly propane installs come together in a single day, though pouring and curing a concrete pad adds a day of waiting before you set the burner. A natural-gas tie-in takes longer once you factor in the permit and inspection.
Do I need a permit to install a gas fire pit?
Often, yes — especially for a natural-gas connection to your home supply. Rules vary by town, so call your local building department or fire marshal before you build. Many areas require a licensed pro for the gas tie-in.
Can I install the gas line myself?
For a portable propane setup with a regulator and hose, many homeowners handle it themselves. A permanent natural-gas line tapped into your home supply is a job for a licensed professional, and your local code will usually require it.
What do I put on top of a gas fire pit burner?
Lava rock or rated fire glass. Both are porous and safe under heat. Never use river rock or other smooth, water-formed stone — trapped moisture can flash to steam and pop the stone.
How do I test a gas fire pit for leaks?
Brush soapy water or a leak-detector solution over every fitting, open the gas slowly, and watch for bubbles. Tighten or reseal any joint that bubbles, then retest until every connection stays still before you light the pit.
How far should a gas fire pit be from the house?
Keep at least ten feet between the pit and anything flammable — walls, fences, overhangs, and plants — and confirm the exact setback your local fire code requires, since some areas ask for more.
Recommended gear for this project
As an Amazon Associate, Backyard Superstar earns from qualifying purchases at no extra cost to you.
- Top pick (DIY burner) — Stanbroil Round Drop-In Fire Pit Burner Pan ($$). 304 stainless pan that drops into a masonry or metal surround and gives you a clean burner to plumb.
- Fuel hookup — DOZYANT Adjustable Propane Regulator + Braided Hose ($). Dials flame height in on a propane setup; stainless hose resists kinks.
- Leak test — Nu-Calgon Cal-Blue Gas Leak Detector ($). Clings to fittings and holds bigger bubbles than plain soapy water — catches the small leaks.
- Fire media — Midwest Hearth Natural Lava Rock ($). Spreads the heat, hides the burner, and is safe under flame — unlike river rock.
- Weather protection — Sunnydaze Waterproof Fire Pit Cover ($). Keeps rain, snow, and spiders out of the burner over the off-season.
- Premium (push-button) — Stanbroil Drop-In Kit with Spark Ignition ($$$). Bundles the burner pan and igniter so there’s less to source and no match required.
That’s the whole install — site it smart, pour a level pad, match your fuel to your parts, leak-test until it’s dead tight, and only then light it up. Do the gas connection by the book and you’ll have a pit that lights on the first click for years, ready the next cool evening you feel like a fire.