How to Plan a Paver Patio for Your Backyard
A paver patio is the kind of backyard project that pays off for twenty years if you get the planning right, and falls apart in two seasons if you don’t. The pavers themselves are the easy part. What separates a patio that stays flat from one that sinks, tilts, or sprouts weeds between every stone is what happens before the first paver goes down: how you measure the site, how you grade for drainage, and how deep and how compacted your base is. I learned that the honest way — the first small patio I helped lay skipped half the base prep, and by the second spring the corner by the downspout had settled into a puddle-catcher.
This guide walks through the full planning process — site evaluation, pattern selection, base prep, installation steps, cost factors, and long-term care — so you can decide whether to DIY the whole thing or hand off the heavy parts to a contractor with a clear picture of what you’re paying for.
As an Amazon Associate, Backyard Superstar earns from qualifying purchases at no extra cost to you.
Start with the Site: Measuring and Grading
Before you pick patterns or buy a single paver, walk the spot you have in mind and answer two questions: how much space is actually usable, and where does water want to go when it rains?
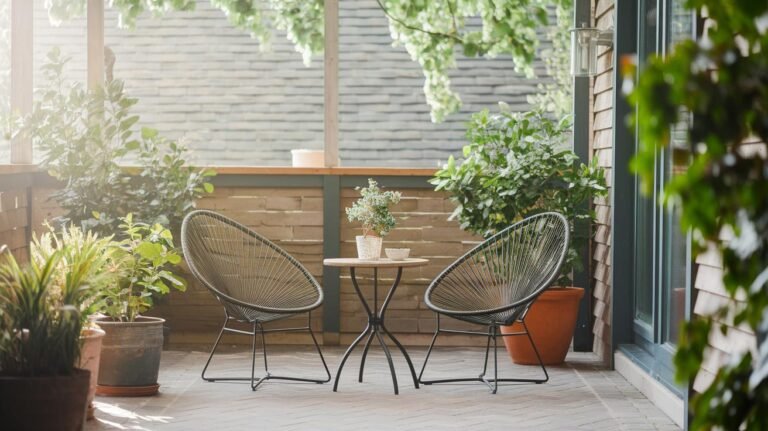
Grab a tape measure and graph paper, and sketch the space to scale. A 10×10-foot patio fits a small bistro set or a fire pit with two chairs. A 12×16 holds a dining table for six. A 16×20 starts to feel like a real outdoor room — sectional, grill, fire feature, side tables, the whole layout. Once you have the footprint drawn, sketch in the furniture you want and check that there’s at least 36 inches of clear space around each chair pulled out from the table. Patios that look generous on paper get cramped fast when the chairs come out.
Drainage is the part most DIY guides skim over, and it’s the part that decides whether your patio lasts. The slope rule: the surface should drop a quarter inch per foot away from the house. On a 16-foot patio, that’s a 4-inch drop from the high edge against the house to the low edge at the lawn. Mark the high and low points with stakes or spray paint before you dig. If the ground already tilts toward the house — common around foundations that have settled — you have a real problem to solve before pavers go anywhere near that spot, because water that pools against the foundation finds the basement.
Before the shovel comes out, do these four things in order:
- Measure the footprint and mark the edges with paint or stakes.
- Draw a scale layout on graph paper that includes furniture and traffic paths.
- Plan a quarter-inch-per-foot drop away from the house.
- Note any existing slopes — toward or away from the foundation — before excavating.
For more on shaping the full outdoor space around the patio (seating zones, fire features, pathways), see my guide on patio layout ideas.
Pick a Pattern That Fits the Use
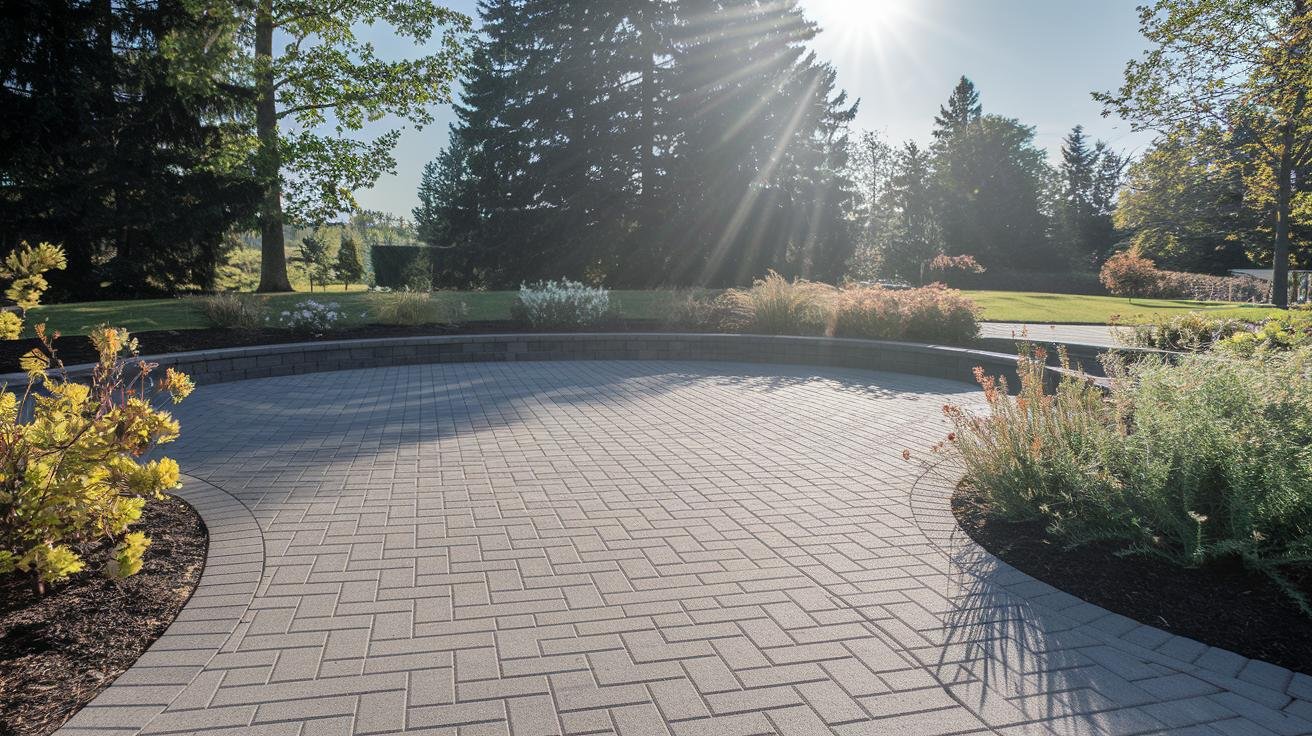
Pattern choice is part aesthetics, part engineering. Some patterns hold up to heavy traffic better than others. Most paver shapes — 4×8-inch rectangles, 6×6-inch squares, larger 12×12 or 12×24 format pieces — work in any of the patterns below, but the right combination depends on how the patio will be used.
Herringbone
Tiny rectangles set at 45 or 90 degrees, leaning into each other in a zigzag. Herringbone has the strongest interlock of any common pattern, which means it resists shifting under heavy loads — grill carts, hot tubs, vehicle traffic if your patio sees a delivery now and then. If you want one pattern that handles anything, this is it. Slightly slower to lay than running bond because every cut at the edge is a 45-degree angle.
Basketweave
Two rectangles side by side, then two more standing perpendicular, then back to side-by-side. Reads like a woven placemat. Lower interlock strength than herringbone, so it’s better suited to lighter traffic — seating areas, walkways, garden patios. The visual rhythm is gentler and more traditional than herringbone, and it’s the one I keep coming back to for garden-adjacent spaces.
Running Bond
The classic offset brick pattern. Each row is shifted by half a paver from the row above. Fastest to lay (most cuts are simple half-pavers), easiest to keep straight with a chalk line, and the lowest-skill pattern for a first-time DIY install. Holds up fine in light to medium traffic. For high-traffic areas, run the long axis perpendicular to the main direction of travel for slightly better interlock.
Circular
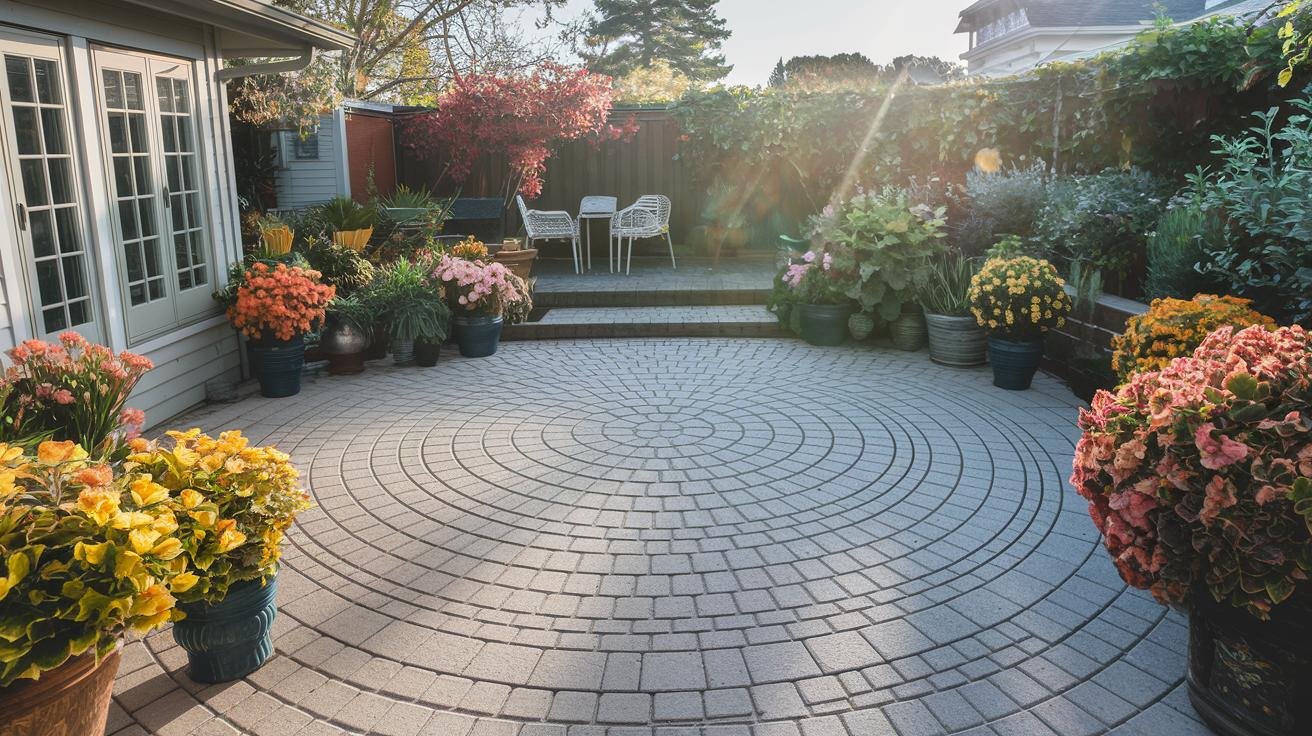
Pavers arranged in concentric rings around a center point. Circular layouts work best as a focal point — fire pit, bistro set, water feature — rather than as the whole patio. You typically buy a pre-cut circular kit that includes wedge-shaped pieces of multiple sizes; eyeballing the rings from rectangular pavers leaves ugly gaps.
Mixing patterns is where small patios get personality. A running bond border around a herringbone field gives a clean picture-frame effect. A circular medallion under the fire pit, with running bond filling the rest, defines zones without walls. Use a contrasting color for the border and the layout reads as deliberate design rather than busy improvisation.
Prepare the Base (This Is Where Patios Fail or Last)
Skip ahead in this section and your patio will sink within five years. Pour these layers right and it’ll stay flat for twenty.
The work happens in three layers. Start by excavating 6 to 8 inches below where the finished paver surface will sit. On a 10×10 patio, that’s about 2 cubic yards of soil to remove — more than you’d expect, and a real workout. Renting a small skid steer or hiring this part out is reasonable.
Next, dump in 4 to 6 inches of crushed gravel (Class 5 or ¾-inch minus, depending on what your local supplier calls it). Spread it evenly and run a plate compactor over it in passes that overlap by 50%. The gravel should feel rock-solid underfoot when you’re done. This layer is the structural base — it spreads weight and drains water away.
On top of the gravel, screed a 1-inch layer of bedding sand (concrete sand or coarse sand — not play sand, which is too fine). The sand isn’t structural; it’s just a cushion that lets you tap each paver into final position with a rubber mallet. Some pros use stone dust instead of sand for slightly better lock; either works.
| Layer | Depth | Job |
|---|---|---|
| Crushed gravel (Class 5) | 4–6 inches | Structural sub-base, water drainage |
| Concrete sand or stone dust | 1 inch | Leveling bed for pavers |
| Pavers | 1.5–2.5 inches typical | Finished surface |
Compact each layer separately before the next goes on. A rented plate compactor is the right tool for big areas, and most rental shops carry them at a reasonable daily rate. If you have more hardscape on your wish list — a walkway next spring, a fire pit pad after that — owning something like the Tomahawk 5.5 HP Honda-powered plate compactor ($$$) starts to make sense instead of renting twice. For tight corners and up against walls, a hand tamper does the work — the Truper 10×10-inch cast iron tamper ($) is the simple, heavy, no-moving-parts version of the tool, and mine has outlived two pairs of work gloves.
Edge restraints — rigid strips that pin the perimeter — are non-negotiable. Without them, pavers slowly migrate sideways, joints open, and the patio loosens at the edges. A kit like the Dimex EasyFlex 24-foot aluminum paver edging kit ($$) comes with 10-inch steel spiral spikes and flexes around curves without kinking; anchor it into the gravel base with a spike every 12 inches. For decorative edging that doubles as a planter border, see my guide to garden edging options.
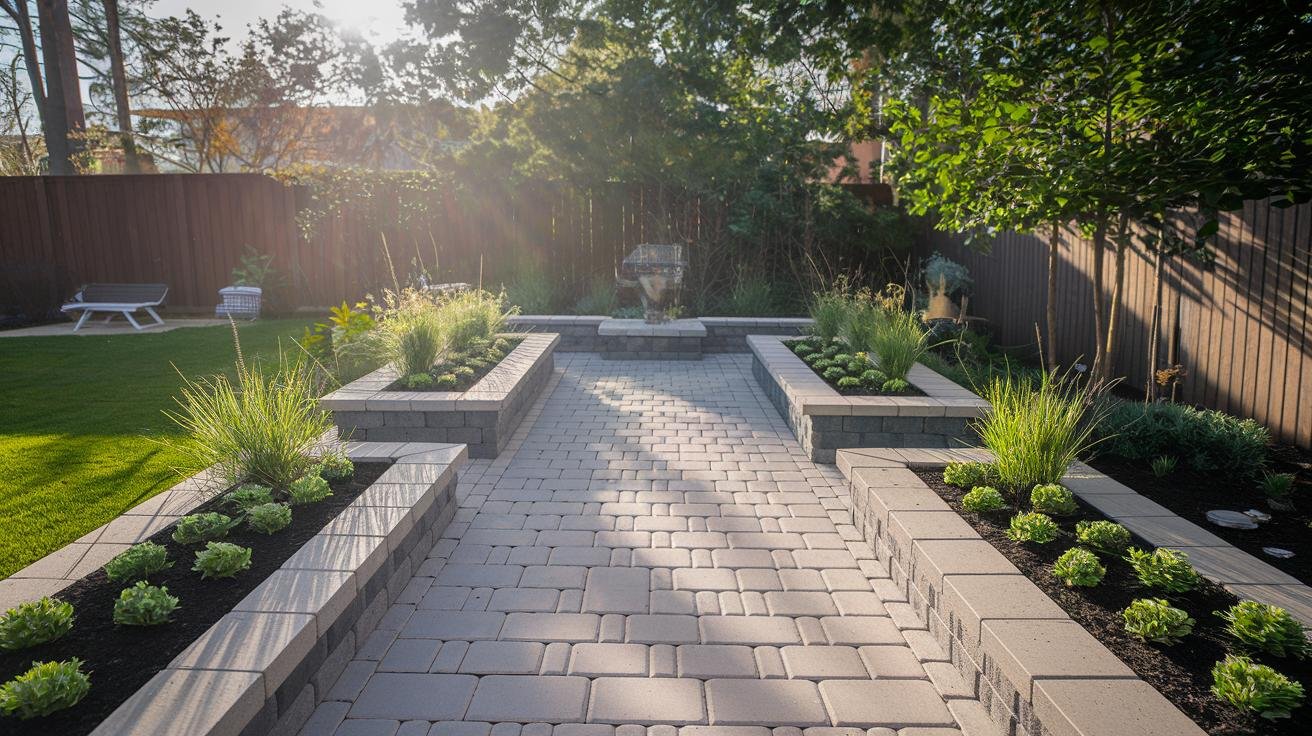
Installation Step by Step
With the base compacted and the layout marked, the actual paver setting goes faster than you’d expect. Gather your tools first: plate compactor, rubber mallet, four-foot level, tape measure, chalk line, masonry string, stakes, and a wet saw or paver splitter for cutting edge pieces. The mallet matters more than it looks — a TEKTON 32 oz. fiberglass-handle rubber mallet ($) has enough head weight to seat a paver in two or three taps without scuffing the surface.
Set up the layout
- Drive wooden stakes at each corner of the patio area.
- Tie a braided mason’s line ($) between stakes at the height your finished pavers should sit. This is your reference for every paver.
- Snap chalk lines between stakes to mark straight edges on the sand bed.
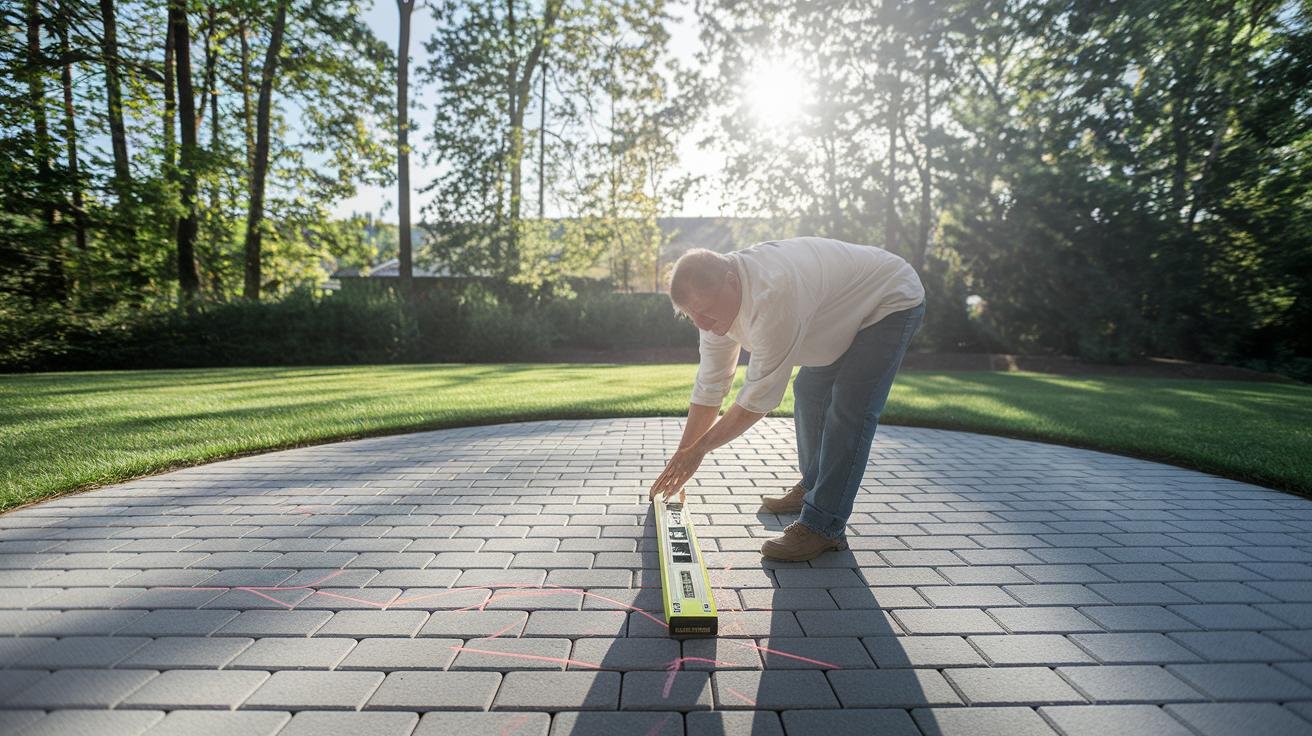
- Double-check the slope — quarter inch per foot away from the house — with a long level on a straight board.
Place and cut pavers
- Start in one corner against your string line. Place the first paver and check it against the string for height and against the chalk line for position.
- Set each adjacent paver tight against its neighbor. Tap with the rubber mallet until it sits flush with the string.
- Every 4 to 6 pavers, run the level across the surface. If one wobbles, lift it, scoop or add sand underneath, and reset.
- At the edges, measure the gap and mark each cut paver. Score the line with the wet saw or splitter and cut for a clean finish. Wear safety glasses — paver cuts throw chips.
Fill joints and lock the edges
- Sweep polymeric sand into all the joints with a stiff push broom. Polymeric sand contains a binder that hardens when wet — it locks pavers together and keeps weeds from sprouting. I use DOMINATOR polymeric sand ($$) because the cement-free formula sweeps into joints cleanly and rinses off the paver faces without leaving a haze.
- Brush the surface clean. Any polymeric sand left on top of pavers will harden into a haze that’s a pain to remove.
- Mist the patio with water from a hose set to a fine spray. Don’t blast it — too much pressure washes the sand back out of the joints. Mist three or four times over an hour, letting the sand set between passes.
- Snap edge restraints into place around the perimeter and spike them into the gravel base.
- Run the plate compactor over the whole patio one final time, with a piece of plywood between the compactor and the pavers to protect the surface. This settles each paver firmly into the sand bed.
What Determines the Cost
Paver patios span a wide budget range, and the spread comes down to three things. First, paver choice: standard concrete pavers sit at the affordable end ($), premium concrete with stamped or tumbled finishes costs noticeably more ($$), and natural stone — bluestone, travertine, flagstone — is the luxury tier ($$$). Second, pattern complexity: running bond is the cheapest to lay, herringbone adds roughly 15 to 25 percent in labor for the extra cuts, and circular or mixed-pattern fields with contrasting borders add more still. Third, site prep: a flat, easy-to-access yard is the best case, while a sloped site, a yard the truck can’t reach, or excavation through tree roots adds hours to the job.
Doing it yourself roughly halves the cost of a contractor install, but adds your time plus tool rental for the plate compactor, wet saw, and possibly a small skid steer for excavation. A 200-square-foot patio is a realistic weekend-and-a-half project for two reasonably fit people.
Two budget items people forget: permits and contingency. Many municipalities require a permit for paver patios over a certain size or within a setback from the property line — check with your local building department before you start, and expect a modest fee. And set aside 5 to 10 percent of your materials budget for the inevitable: a paver cracked while cutting, an extra bag of polymeric sand, a settling repair in year two. Budget for it now and you won’t be surprised.
Long-Term Care
A well-installed paver patio asks for very little. The annual care list:
- Weekly: Sweep off leaves, dirt, and debris with a stiff broom. Organic matter left on pavers stains and feeds moss.
- As-needed: Spot-clean stains with mild dish soap and warm water. For grease (from a grill drip pan), use a degreaser made for masonry. Avoid bleach, which can fade colored pavers.
- Once a year: Power-wash the surface in spring or fall. Use a fan tip, not a pencil jet, and hold the wand 12 inches from the surface to avoid blowing polymeric sand out of the joints.
- After power-washing: Top off any joints where sand washed out. Sweep new polymeric sand in and mist to lock.
- Every two to three years: Reseal with a clear paver sealer. Sealing slows fading from UV, prevents oil stains from soaking in, and keeps polymeric sand intact longer. Two coats, dry day, no rain in the forecast.
If a paver cracks or shifts, the fix is straightforward: pry it up with a flat bar, level the sand bed underneath, drop in a new paver, sweep in fresh polymeric sand, mist. The modular nature of pavers is the big advantage over poured concrete — repairs are local and nearly invisible.
For ideas on furnishing the finished patio — lounge seating, dining sets, weatherproof storage — see my guide on durable outdoor furniture. If you’re adding a fire pit as the focal point, my guide to fire pit placement and safety distances covers safe clearances and seating arrangements.
Plan the layout once, pour the base right, and the patio you build this summer will still be the place you sit in twenty summers from now.
Recommended gear for this project
As an Amazon Associate, Backyard Superstar earns from qualifying purchases at no extra cost to you.
- Top pick — DOMINATOR Polymeric Sand ($$). Cement-free formula sweeps in clean and locks joints without hazing the paver faces.
- Budget pick — TEKTON 32 oz. Fiberglass-Handle Rubber Mallet ($). Seats pavers in a couple of taps without scuffing the surface.
- Premium pick — Tomahawk 5.5 HP Honda Plate Compactor ($$$). Worth owning if more hardscape projects are on your list.
- Edge restraint — Dimex EasyFlex 24-ft Aluminum Paver Edging Kit ($$). Includes 10-inch steel spikes; flexes around curves without kinking.
- Hand tamper — Truper 10×10-in. Cast Iron Tamper ($). For corners and edges the plate compactor can’t reach.
- Layout string — Braided mason’s line ($). The straight-line reference every paver gets checked against.
Paver Patio Planning FAQ
How do you grade a paver patio for drainage?
Grade a paver patio with a quarter-inch drop per foot of length, sloping away from the house. On a 16-foot patio, that means a 4-inch fall from the edge against the house to the far edge. Check the slope with a long level on a straight board before laying pavers.
What is the best paver pattern for a high-traffic patio?
Herringbone is the strongest paver pattern for high-traffic areas because the 45- or 90-degree zigzag layout creates the most interlock, resisting shifting under heavy loads like grill carts or hot tubs. Running bond and basketweave work well for lighter-traffic seating areas.
How deep should the base be for a paver patio?
Excavate 6 to 8 inches below the finished paver surface. Fill with 4 to 6 inches of compacted crushed gravel (Class 5 or 3/4-inch minus) for structural support and drainage, then a 1-inch layer of concrete sand or stone dust as a leveling bed. Each layer must be compacted before the next.
What determines the cost of a paver patio?
Three things drive paver patio cost: paver material (standard concrete is the budget tier, premium finishes cost more, and natural stone is the luxury tier), pattern complexity (herringbone adds roughly 15 to 25 percent in labor over running bond), and site prep. DIY installation cuts the total roughly in half but adds time and tool rental.
How often should you reseal a paver patio?
Reseal a paver patio every two to three years with a clear paver sealer. Sealing slows UV fading, prevents oil and grease stains from soaking in, and helps polymeric sand in the joints last longer. Apply two coats on a dry day with no rain in the forecast for 24 hours.
Do you need a permit to build a paver patio?
Permit requirements depend on your local building code. Many municipalities require permits for paver patios over a certain size or within a property setback. Check with your local building department before excavating — the fee is modest and it protects you from fines and rebuild orders.