How to Test Soil pH at Home with 4 Methods
Soil pH determines whether plants can actually absorb the nutrients in the soil — wrong pH and even fertilized beds underperform. Four testing methods cover everything from a pantry-cupboard quick check to lab-grade precision. This guide walks through how to collect a proper soil sample, all four testing methods with cost and accuracy comparisons, how to read the results, and how to adjust pH if your test reveals a problem.
Four Ways to Test Soil pH at Home
Each method trades cost against accuracy. Match the method to how precise you actually need the result.
| Method | Cost | Accuracy | Best For |
|---|---|---|---|
| Pantry test (baking soda + vinegar) | $0 (already in your kitchen) | ±1.0 pH point | Quick first check; identifying clearly acidic or alkaline soil |
| Paper test strips | $8–$15 for 50–100 strips | ±0.5 pH point | Routine checks; multiple samples on a budget |
| Chemical color-change kits | $10–$25 | ±0.5 pH point | Slightly more reliable color reads than paper strips |
| Digital pH meter | $15–$100+ | ±0.2 pH point (if calibrated) | Repeated testing, multiple beds, ongoing monitoring |
| Lab analysis (mail-in) | $15–$50 per sample | ±0.1 pH point | Annual baseline test; troubleshooting persistent issues |
For most home gardeners, a paper test strip or chemical kit hits the right balance — accurate enough to make planting decisions, cheap enough to test multiple beds, and no equipment to maintain. Upgrade to a digital meter if you test repeatedly across the season or have multiple distinct beds with different needs.
For target pH ranges by specific vegetables and how to interpret your reading once you have it, the ideal soil pH range for vegetable gardens guide covers crop-by-crop preferences.
How to Collect a Soil Sample
The single biggest cause of unreliable pH readings is poor sample collection. Get this step right and any of the four testing methods produces useful results.
When to sample:
- Avoid sampling within 6 weeks of fertilizing, liming, or adding compost — the amendments skew readings.
- Sample when soil is moist but not waterlogged. After a rain followed by 1–2 dry days is ideal.
- Avoid sampling in extreme temperatures — frozen soil and bone-dry summer soil both read inconsistently.
Where to sample:
- Test each distinct garden area separately — front lawn, back lawn, vegetable bed, perennial border. Soil pH varies more across a yard than people expect.
- Within each area, collect 5–10 small samples from different spots and mix them in a clean container. A single sample can be misleading because soil pH varies a foot or two laterally.
- Sample at root depth — 4–6 inches for lawns, 6–8 inches for vegetable beds, 8–12 inches for shrub or tree beds.
Collection process:
- Push aside any surface mulch or grass.
- Dig a small hole to the appropriate depth.
- Take a thin vertical slice from the side of the hole with a clean trowel — this captures soil from the full depth, not just the surface.
- Place samples in a clean plastic container (not metal, which can affect readings).
- Repeat 5–10 times across the area.
- Remove rocks, roots, leaves, and debris from the combined sample.
- Mix thoroughly. Let air-dry on a clean paper plate for 1–2 hours before testing.
Air-drying matters more than people realize — soaked soil samples produce inconsistent readings with any test method. A short drying period brings the sample to a workable moisture level without baking out the chemistry.
DIY Pantry Tests (Baking Soda + Vinegar)
The cheapest possible pH check uses ingredients you already have. Not precise, but identifies clearly acidic or alkaline soil and signals whether further testing is needed.
Vinegar test (for alkaline soil):
- Place 2 tablespoons of dried soil in a clean container.
- Pour 1/4 cup of white vinegar (5% acetic acid) over it.
- Watch for fizzing or bubbling within 10 seconds.
- Strong fizz = alkaline soil (pH above 7.0, often above 7.5).
- No fizz = not alkaline (could be neutral or acidic).
Baking soda test (for acidic soil):
- Place 2 tablespoons of dried soil in a clean container.
- Add enough distilled water to make a thin slurry.
- Sprinkle 1 teaspoon of baking soda over the slurry.
- Watch for fizzing or bubbling within 10 seconds.
- Strong fizz = acidic soil (pH below 7.0, often below 6.0).
- No fizz = not acidic (could be neutral or alkaline).
What this tells you: The pantry tests identify whether soil is clearly off-neutral in one direction. They can’t tell you the actual pH value, just whether to expect a reading above 7, below 7, or near neutral. If both tests show no reaction, the soil is roughly neutral (pH 6.5–7.5) — most plants tolerate that range without intervention.
When this is enough: For general lawns, mixed flower beds, and any garden where you’re not chasing specific crop pH needs, the pantry test plus visual plant health observation covers most decisions. For vegetable gardens and acid-loving plants (blueberries, azaleas), move to one of the more precise methods.
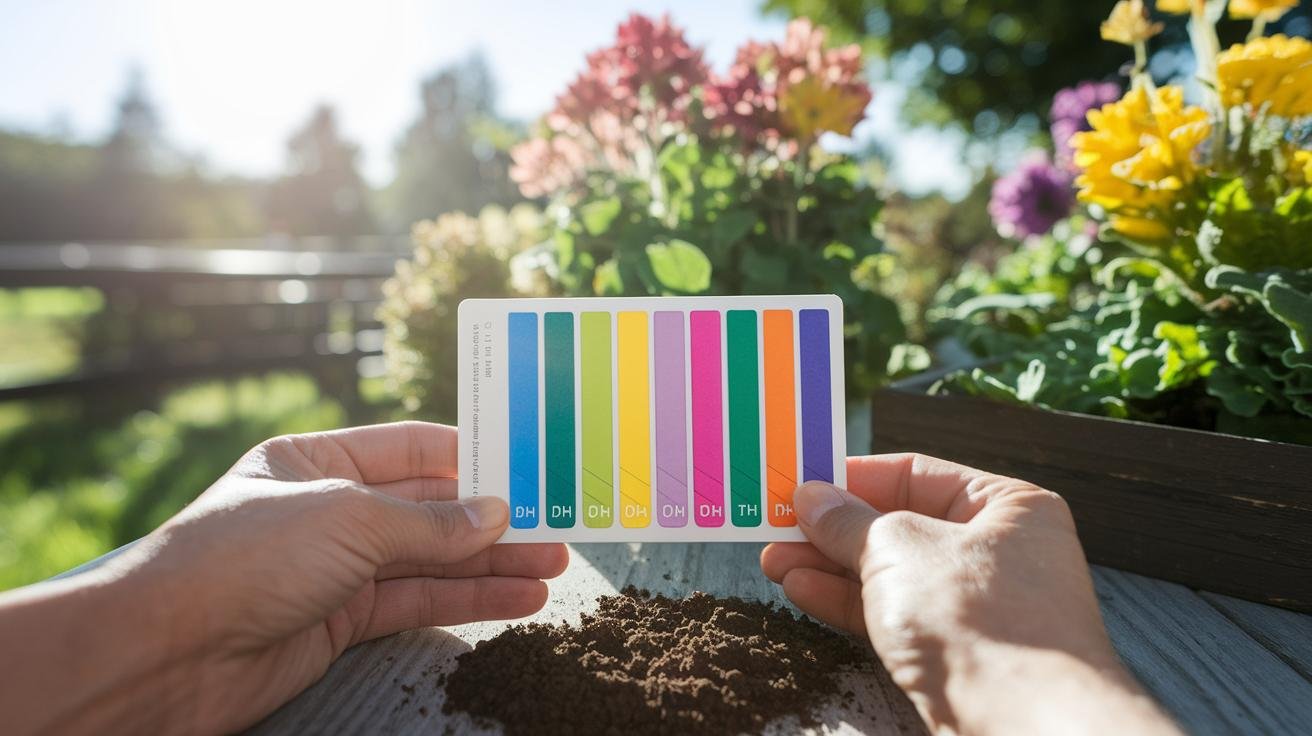
Paper Strips and Chemical Kits
The next-most-accurate options. Both work via color-change reactions and give a numeric pH reading in 1–5 minutes.
Paper test strips. Strips of treated paper that change color when wet, with a color chart on the package for comparison. Inexpensive (50 strips for $8–$15), accurate within ±0.5 pH point.
Process:
- Mix 1 teaspoon of dried soil with 2 teaspoons of distilled water in a clean container.
- Stir, then let sit 5 minutes for the soil to release its pH into the water.
- Dip a test strip into the water for 2 seconds.
- Compare the strip color to the chart immediately.
Repeat with a separate strip from a different soil sample in the same bed to confirm — the cheapest insurance against a misleading single reading.
Chemical color-change kits. Powder or liquid reagent added to a soil-water mixture in a test chamber. The mixture changes color over a few minutes; compare to the included color chart. Slightly more accurate than paper strips because the color change is more pronounced and the chart is usually more detailed.
Process:
- Fill the test chamber with the indicated amount of dried soil.
- Add distilled water to the chamber’s fill line.
- Add the indicator powder or liquid per the kit instructions.
- Shake, then let settle for the specified time (usually 1–2 minutes).
- Match the color of the liquid (not the soil) to the color chart.
Common errors with both methods:
- Using tap water instead of distilled water — chlorinated tap water affects readings.
- Reading in poor light or under colored lights — color matching is hard under non-white light.
- Not letting the soil-water mixture sit long enough before testing — the soil hasn’t fully released its pH yet.
- Using strips or kits that have expired or been exposed to humidity — both degrade reagent accuracy.
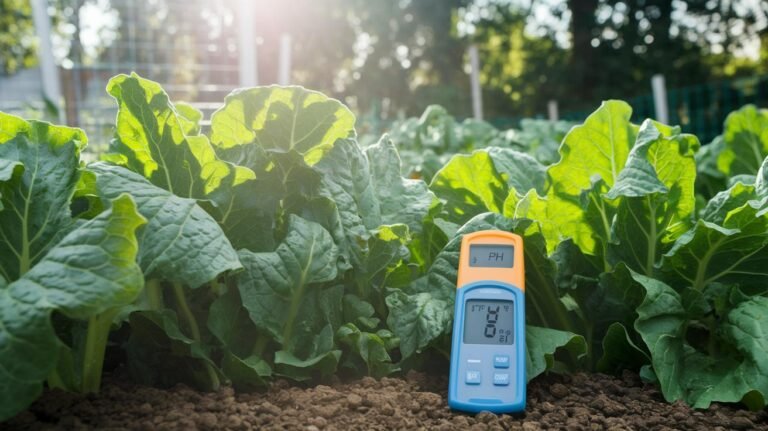
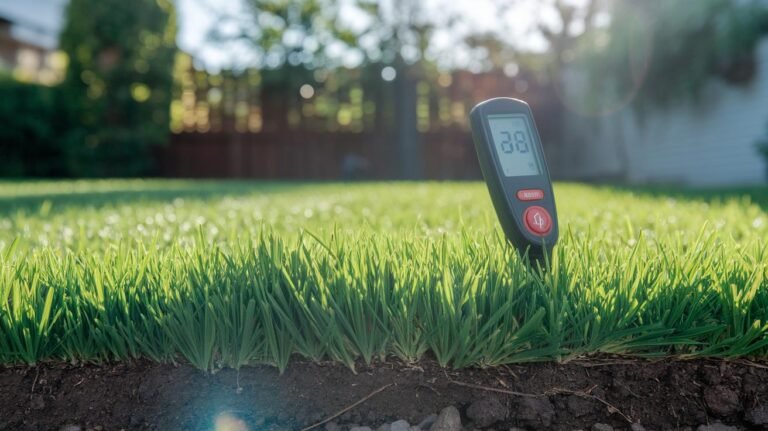
Digital pH Meters
Digital meters give the most precise readings at home — ±0.2 pH point when properly calibrated. Worth the investment for serious gardeners and anyone testing across multiple seasons or beds.
Two types of meter:
- Soil-stab meters ($15–$40). Two metal probes you push directly into soil. Convenient but the least accurate digital option — many entry-level soil-stab meters read inconsistently and don’t have calibration adjustments. Useful for trend-spotting but not for precise readings.
- Liquid-sample meters ($50–$200). Probe inserted into a soil-water slurry rather than direct soil contact. More accurate, calibratable, longer-lasting probes. The standard for serious testing.
Calibration matters. Any meter worth using has calibration adjustments. Calibrate using buffer solutions (sold in pH 4.0 and pH 7.0 versions for around $10 each) at least monthly during use season, and any time the meter has been stored more than a week. Uncalibrated meters drift over time and can read several pH points off true.
Probe care. Rinse the probe with distilled water between samples to prevent cross-contamination. Store with the probe wet — many meters come with a small storage cap that holds buffer solution against the probe tip. A dry-stored probe degrades faster than a wet-stored one.
Process for liquid-sample meters:
- Calibrate the meter using buffer solutions.
- Mix 1 part dried soil with 2 parts distilled water in a clean container.
- Stir thoroughly, then let settle for 5–10 minutes.
- Insert the probe into the liquid above the settled soil (not into the soil itself).
- Wait 30–60 seconds for the reading to stabilize.
- Record the reading, rinse the probe, repeat with the next sample.
A well-maintained digital meter pays for itself within a couple of seasons compared to repeated paper strip or chemical kit purchases.
Reading Results and Adjusting pH
Soil pH runs from 1 (extremely acidic) to 14 (extremely alkaline), with 7 as neutral. Most plants do best in the 6.0–7.5 range. Outside that range, nutrients become progressively less available to plant roots even when they’re physically present in the soil.
General target ranges:
- Vegetable gardens: 6.0–6.8 for most crops; slightly higher for cole crops; slightly lower for potatoes and tomatoes.
- Lawns (cool-season grasses): 6.0–7.0.
- Lawns (warm-season grasses): 6.5–7.0.
- Acid-loving plants (blueberries, azaleas, rhododendrons): 4.5–5.5.
- Most ornamental shrubs and perennials: 6.0–7.0.
For crop-specific targets in vegetable gardens, the ideal soil pH range guide breaks down preferences plant by plant.
To raise pH (soil too acidic): Apply garden lime (calcium carbonate) at 5 pounds per 100 square feet to raise pH by approximately 0.5 point. Dolomitic lime adds magnesium alongside calcium — useful if soil tests show low magnesium too. Apply in fall for best results; spring application works but takes longer to fully integrate.
To lower pH (soil too alkaline): Apply elemental sulfur at 1 pound per 100 square feet to lower pH by approximately 0.5 point. Aluminum sulfate works faster but can build up aluminum toxicity over time; use sparingly. Iron sulfate also lowers pH but adds iron — useful when soil tests show iron deficiency too.
Timing matters. Both lime and sulfur take 3–6 months to fully shift soil pH. Apply in fall for spring planting, or work in well before the start of a growing season. Re-test after 6 months to confirm the adjustment landed where you wanted.
The “don’t overdo it” rule. Soil pH adjustments are easier to add to than to reverse. A 5-pound lime application is easier to follow with another 5 pounds than to undo if you’ve gone too alkaline. Always apply the minimum predicted amount, retest after 3–6 months, and add more only if needed.
For broader soil preparation context — building good soil structure beyond just pH — see the raised-bed soil guide.
Troubleshooting Common Issues
Five common problems and fixes:
Readings vary wildly between adjacent samples. Likely cause: sampling too close to a recent amendment (fertilizer band, compost addition, mulched area). Fix: re-sample further from any recent amendments, or wait 6+ weeks for amendments to integrate before testing.
Digital meter reads consistently off. Likely cause: needs calibration, dry-stored probe, or aging probe. Fix: calibrate with buffer solutions; store probe wet between uses; replace probe if calibration won’t hold.
Pantry test shows fizz with both vinegar and baking soda. Possible: soil sample contained dissolved minerals or salts that react with both. Fix: try a fresh sample from elsewhere in the bed, or upgrade to a paper strip or chemical kit.
Color-change kit reading doesn’t match plant symptoms. Plants showing nutrient deficiency despite pH appearing normal can mean micronutrient deficiency (iron, manganese, zinc) rather than pH. Fix: a mail-in lab analysis ($15–$50) reads micronutrients beyond what home kits cover.
Readings change dramatically after rain or watering. pH varies with soil moisture content; readings taken in waterlogged soil read higher (more alkaline) than the same soil at moderate moisture. Fix: test soil at moderate moisture only, and use the same moisture condition each time you test the same bed.
For ongoing soil health monitoring beyond pH testing, the natural lawn fertilizer guide covers when pH adjustment vs. fertilization is the right intervention.
FAQ
How accurate is the baking soda and vinegar soil pH test?
Accurate enough to identify clearly acidic or alkaline soil, but not for precise readings. Roughly ±1.0 pH point accuracy. A strong fizz with vinegar signals pH above 7.0 (alkaline); strong fizz with baking soda signals pH below 6.0 (acidic). Use it as a first check, then upgrade to paper strips or a chemical kit for actual numeric readings.
How often should I test garden soil pH?
Annual baseline test in early spring is enough for most established gardens. New beds, beds where you’ve recently added amendments, and beds showing plant problems warrant additional testing. Lawn pH typically shifts slowly; vegetable bed pH can shift more quickly with fertilizer use.
Do soil pH meters need calibration?
Yes, any meter worth using. Calibrate liquid-sample meters using pH 4.0 and pH 7.0 buffer solutions (about $10 each) at least monthly during active use. Soil-stab meters generally don’t have calibration adjustments — that’s part of why they’re less accurate than liquid-sample types. Uncalibrated meters drift over time and can read several points off true.
What’s the best soil pH for vegetables?
Most vegetables do best at pH 6.0–6.8. Tomatoes and potatoes prefer the slightly lower end (5.5–6.5). Cole crops (cabbage, broccoli, cauliflower) prefer slightly higher (6.5–7.5). The ideal pH range guide covers crop-by-crop preferences in detail.
How do I raise soil pH?
Apply garden lime (calcium carbonate) at 5 pounds per 100 square feet to raise pH by about 0.5 point. Dolomitic lime adds magnesium alongside calcium. Apply in fall for spring planting; allow 3–6 months for the pH shift to fully integrate. Re-test before adding more — overshooting alkalinity is harder to correct than under-shooting.
How do I lower soil pH?
Apply elemental sulfur at 1 pound per 100 square feet to lower pH by about 0.5 point. Sulfur takes 3–6 months to integrate. Aluminum sulfate works faster but can build up aluminum toxicity; use sparingly. Iron sulfate also lowers pH and adds iron. Acid-loving plants (blueberries, azaleas) need ongoing pH management; one application rarely lasts more than a year or two.
Can I test soil pH without buying anything?
Yes, with the pantry test using baking soda and vinegar. Mix dried soil with vinegar in one container (strong fizz = alkaline soil); mix dried soil and water with baking soda in another (strong fizz = acidic soil). Less precise than paper strips or kits but enough to identify clearly off-neutral soil at zero cost.
Why do plants struggle even when pH seems fine?
pH affects nutrient availability but isn’t the only soil factor. Possible alternative causes: micronutrient deficiency (iron, manganese, zinc — not covered by home pH kits), compacted soil restricting root growth, poor drainage, or low organic matter. A mail-in lab soil analysis ($15–$50) covers macronutrients, micronutrients, organic matter content, and soil texture alongside pH.