Best Soil pH Test Kit for Home Gardeners
I’ve watched more than one gardener quietly blame themselves for a sulking pepper or a yellowing hydrangea when the real culprit was invisible, sitting right there in the soil: a pH that had drifted out of range. Here’s the frustrating part — your plants can be standing in soil that’s full of nutrients and still slowly starve, because the wrong pH locks those nutrients up in forms roots simply can’t absorb. That’s why a good soil pH test kit earns its spot on the potting bench faster than almost any other tool I own. Over the years I’ve used cheap color-capsule kits, no-battery probes, and digital pens that cost more than a nice trowel, and I can tell you they are not created equal. Below are the ones I actually trust, plus how to match a tester to the way you really garden.
As an Amazon Associate, Backyard Superstar earns from qualifying purchases at no extra cost to you.
Why Your Soil’s pH Decides Your Harvest
Soil pH is just a measure of how acidic or alkaline your dirt is, on a scale where 7 is neutral. It sounds like a chemistry-class footnote, but it quietly governs everything that happens below the surface. Most vegetables, herbs, and flowers do their best when the number sits somewhere between 6.0 and 7.0, because that’s the window where nitrogen, phosphorus, potassium, and the trace minerals stay chemically available to roots. Drift too far in either direction and those same nutrients bind to soil particles and go dormant — present, but out of reach.
I learned this the slow way with a bed of blueberries that refused to thrive no matter how faithfully I fed them. The soil test told the whole story in about thirty seconds: my pH was up near 7.2, and blueberries want it acidic, closer to 4.5 to 5.5. I’d been pouring fertilizer into a bed that couldn’t use it. A single reading would have saved me a season. That’s the real argument for testing — not chasing a perfect number, but catching the quiet mismatch that makes good gardeners feel like they’re doing everything wrong. If you want the target ranges for common crops laid out, our guide to the ideal soil pH range for a vegetable garden is a handy reference to read your results against.
What Separates a Good pH Tester from a Frustrating One
Once you start shopping, you’ll notice the price spread is enormous — a few dollars for an analog probe, more than fifty for a lab-grade pen — and it’s not obvious what the money buys. After enough kits have passed through my shed, I’ve boiled it down to four things worth caring about, and a couple that market copy loves but you can mostly ignore.
The first is accuracy, and it’s where cheap and serious really diverge. A color-match chemical kit gets you within roughly half a pH point, which is honestly fine for deciding “do I need lime this year.” A quality digital pen reads to about ±0.1, tight enough to fine-tune a bed of acid-lovers. The cheap three-in-one analog probes? Treat their pH dial as a rough direction, not a decimal — they’ll tell you acidic-versus-alkaline and little more. The second is durability: the sensor and casing have to survive being jammed into damp, gritty soil over and over, so a waterproof body and a sturdy probe tip matter more than a fancy screen.
Third is how many readings you get. Chemical kits are consumable — you’re buying a fixed number of tests, usually around ten to a few dozen depending on the pack — while any digital or analog probe is effectively unlimited once you own it. Fourth is plain ease of use, because the best tester is the one you’ll actually walk outside and use. A backlit screen you can read in shade, or a bold color chart you’re not squinting at, is the difference between testing every bed and testing none. What I’d not over-weight: bonus moisture and light readouts on combo probes are convenient but rarely precise, and “unlimited tests” means nothing if the probe drifts after a season.
The Soil pH Test Kits I Trust in My Own Garden
These five cover the honest range of how people garden — from a curious beginner with three tomato plants to someone dialing in a berry patch or a market row. I’ve grouped them by what they’re genuinely best at rather than by price alone, and I’ve kept exact prices out of it, because they bounce around; the tiers below ($ to $$$) are the reliable part.
| Kit | Type | Accuracy | Reusable? | Best for | Price |
|---|---|---|---|---|---|
| Luster Leaf 1601 Rapitest | Chemical capsule | ~±0.5 pH | ~10 pH tests + N-P-K | Beginners who also want nutrient readings | $ |
| Sonkir MS02 3-in-1 | Analog probe | Ballpark only | Unlimited, no batteries | A quick acidic-vs-alkaline gut check | $ |
| Soil Savvy | Mail-in lab test | Lab-grade | Single full report | The complete nutrient + pH picture | $$ |
| Bluelab Soil pH Pen | Digital pen | ±0.1 pH | Unlimited | Serious veg and berry growers | $$$ |
| Apera PH60S | Digital spear | ±0.01 pH | Unlimited | Precision and direct-in-soil spear testing | $$$ |
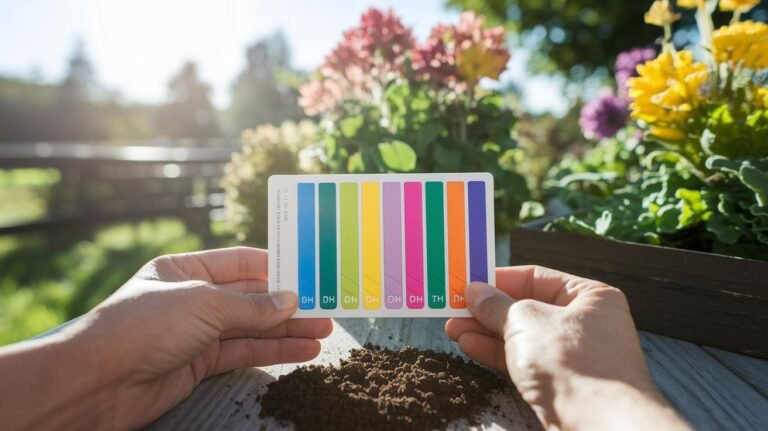
If you’re just getting started and want one thing that answers more than pH, the Luster Leaf 1601 Rapitest Soil Test Kit is where I point most people. It’s a classic little chemical kit: you shake soil and water with a color capsule in a small vial, wait a minute, and match the result to a chart. Beyond pH it also reads nitrogen, phosphorus, and potassium, which is why it’s such a good first purchase — for a beginner’s budget you get a rounded picture of what your beds are missing, not just their acidity. The trade-offs are honest ones: it’s accurate to about half a point, the color matching takes a little practice in good light, and you’re limited to the capsules in the box.
For the gardener who just wants a fast, batteries-free gut check, the Sonkir MS02 3-in-1 Soil Meter is the cheapest way to get moving. You push the twin probes into moist soil, flip the dial to pH, and read the needle — no batteries, no capsules, nothing to run out of. I keep one clipped by the back door for a five-second “is this bed way off?” check. Just set your expectations correctly: these analog meters are notorious for being approximate, so I use it to tell me whether a bed is roughly acidic or roughly alkaline, then reach for something precise when the answer actually matters.
When I want the real story — not just pH but the full nutrient breakdown behind a stubborn bed — I send a sample off with a Soil Savvy Soil Test Kit. You scoop soil into the jar, mail it in the prepaid envelope, and a week or so later you get a lab report covering pH plus fourteen nutrients, along with a plain-English fertilizer recommendation. It’s not something you’ll do weekly, but once a season — or when you’re establishing a new garden — a lab reading is worth far more than any handheld guess. Think of it as the annual physical for your soil.
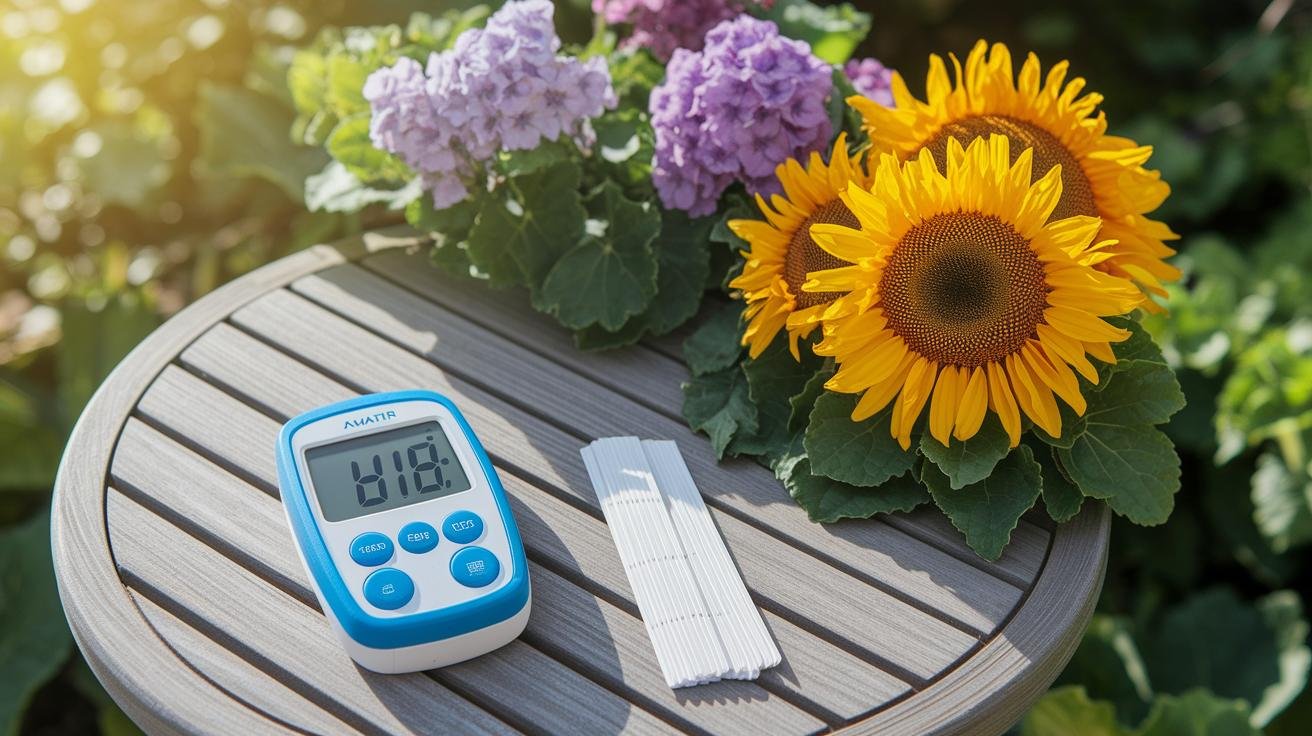
If you test often and want a handheld you can trust to the decimal, the Bluelab Soil pH Pen is the one I reach for most. It’s a proper digital pen with a glass probe, reads to about ±0.1, has a backlit screen you can see on a gray morning, and floats if you drop it in a bucket. It needs occasional calibration with buffer solutions, and the probe is a wear item you’ll replace eventually — but for anyone growing acid-lovers or fine-tuning several beds, that precision pays for itself. It’s the priciest tier, and worth it if pH is something you manage rather than merely check.
Finally, for the gardener who wants laboratory-grade precision in a pocket tool, the Apera PH60S Spear pH Tester is the step up. Its rugged spear-tip electrode is built to go straight into semi-solid material, it reads to roughly ±0.01, and it’s genuinely a crossover tool — the same pen handles soil slurries, compost, even food if you’re into fermenting or canning. It asks the most of you in calibration and care, but if you want the tightest number a handheld can give, this is it.
Digital Meter or Chemical Kit: Which One Fits How You Garden
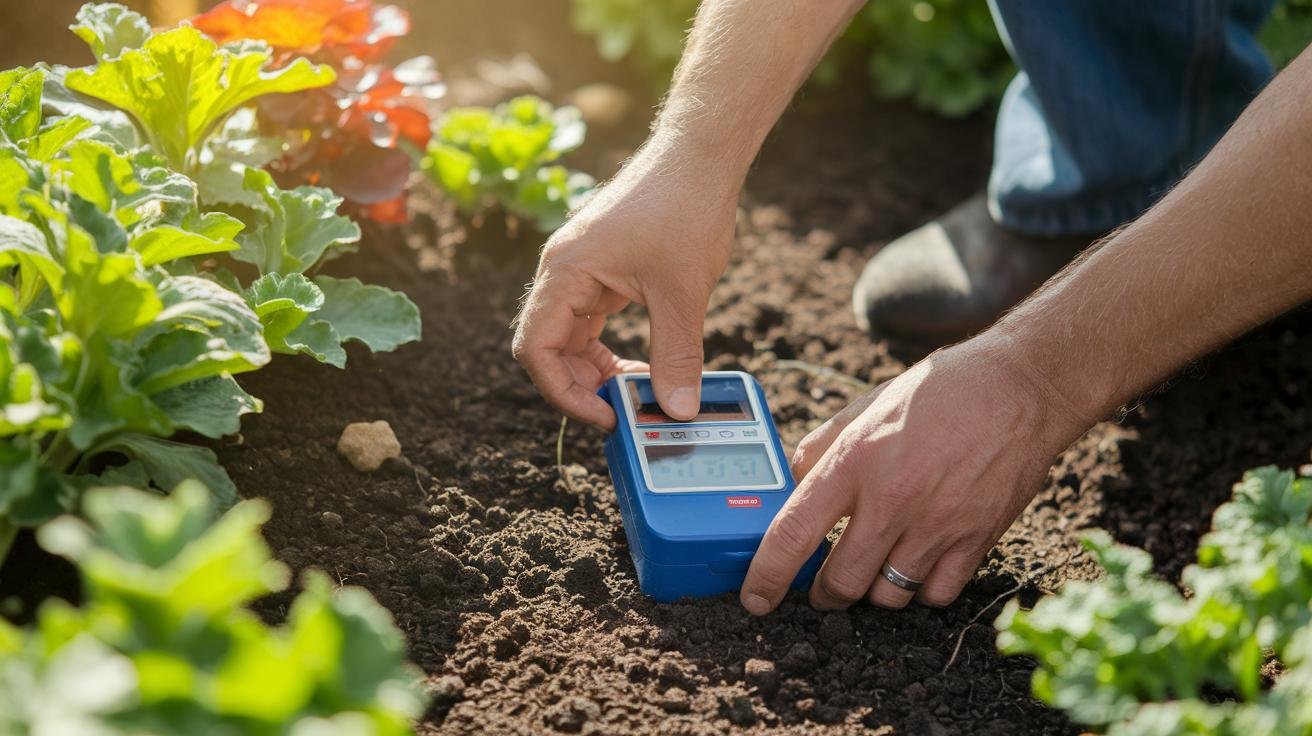
The eternal question is whether to buy a digital meter or a chemical kit, and the honest answer is that it depends less on which is “better” and more on how you garden. A digital pen gives you a reading in under ten seconds, on a screen, with no color matching and no consumables to reorder. That speed changes behavior — when testing is effortless, you actually do it across the season and catch drift early. The cost is upfront money and a little upkeep: you calibrate against buffer solutions now and then, rinse the probe after each use, and eventually swap a worn electrode.
A chemical kit flips that math. It’s cheap to start, needs no calibration, and — this is the part people forget — it can read nutrients, not just pH. The downsides are real, though: you’re matching soft colors to a chart, which damp soil and dim light can muddy, and every test uses up a capsule. There’s also a certain slowness to it that some gardeners, myself included on a quiet Sunday, genuinely enjoy.
So here’s how I’d choose. If you check pH once or twice a season and want the broader nutrient picture on a budget, a chemical kit is perfect. If you grow blueberries, azaleas, or anything fussy about acidity — or you simply want to test often without thinking about it — spend on a digital pen. And if you’re setting up a brand-new garden, do both once: send off a lab test to learn your baseline, then keep a handheld for the routine checks. Whatever you land on, the tool is only half of it; the reading is only as good as the sample, which is where most home tests quietly go wrong.
Taking a Soil Sample That Gives You an Honest Reading
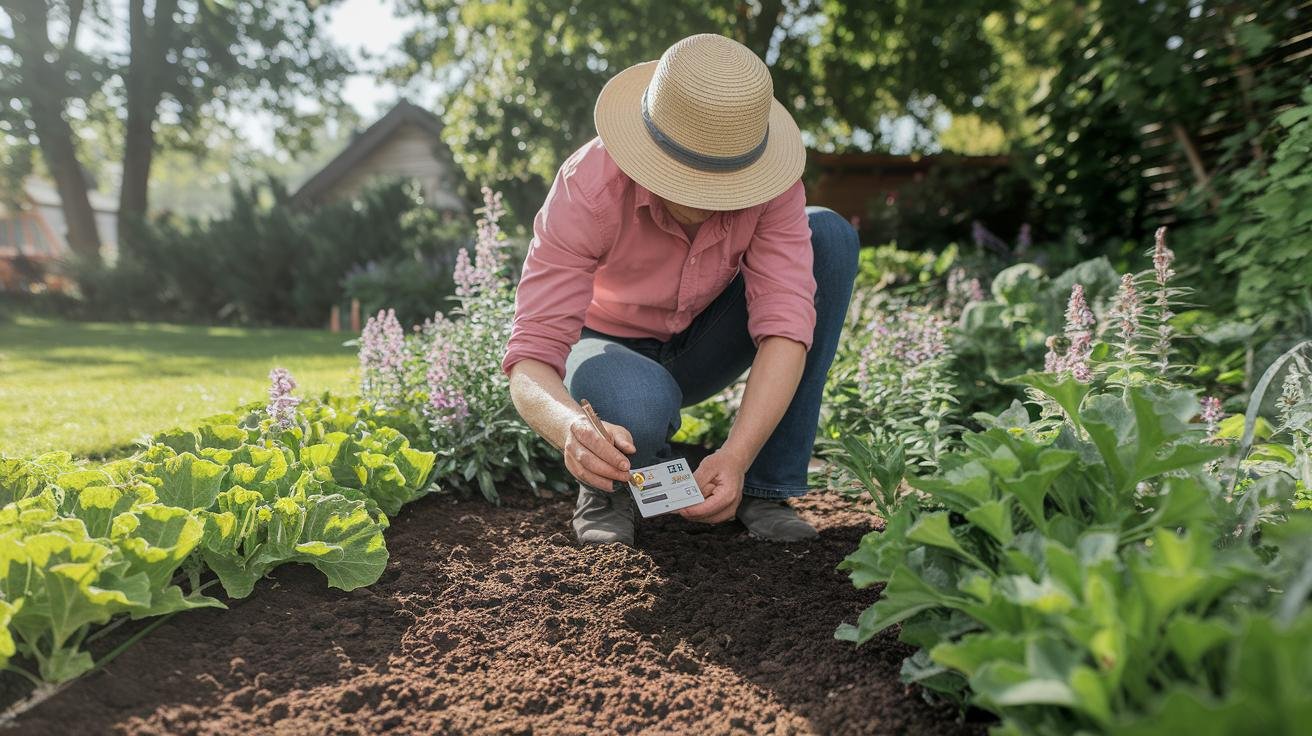
A five-dollar kit used well beats a fifty-dollar pen used carelessly. Before you test anything, grab your kit, a clean trowel, a small clean container, and a notebook, and pick a day when the soil is barely damp — not dust-dry, not soggy from yesterday’s storm. Then work through these steps.
- Sample several spots, not one. Pull a little soil from at least three or four places in the bed and combine them. Soil varies more across a single bed than most people expect, and one scoop from one corner can lie to you.
- Dig to root depth. Slide the trowel down about two to four inches — the zone where most feeder roots actually live — rather than skimming the crusty surface. Drop each scoop into your container and mix them together.
- Get the moisture right. If the blended soil is bone dry, add a splash of distilled water and let it sit fifteen minutes. If it’s muddy, spread it on a tray to dry back to just-damp. Extreme wet or dry both throw readings off.
- Calibrate a digital meter first. If you’re using a pen, dip it in a pH 7.0 buffer solution and let it settle before you test. It takes a minute and it’s the difference between a real number and a hopeful one.
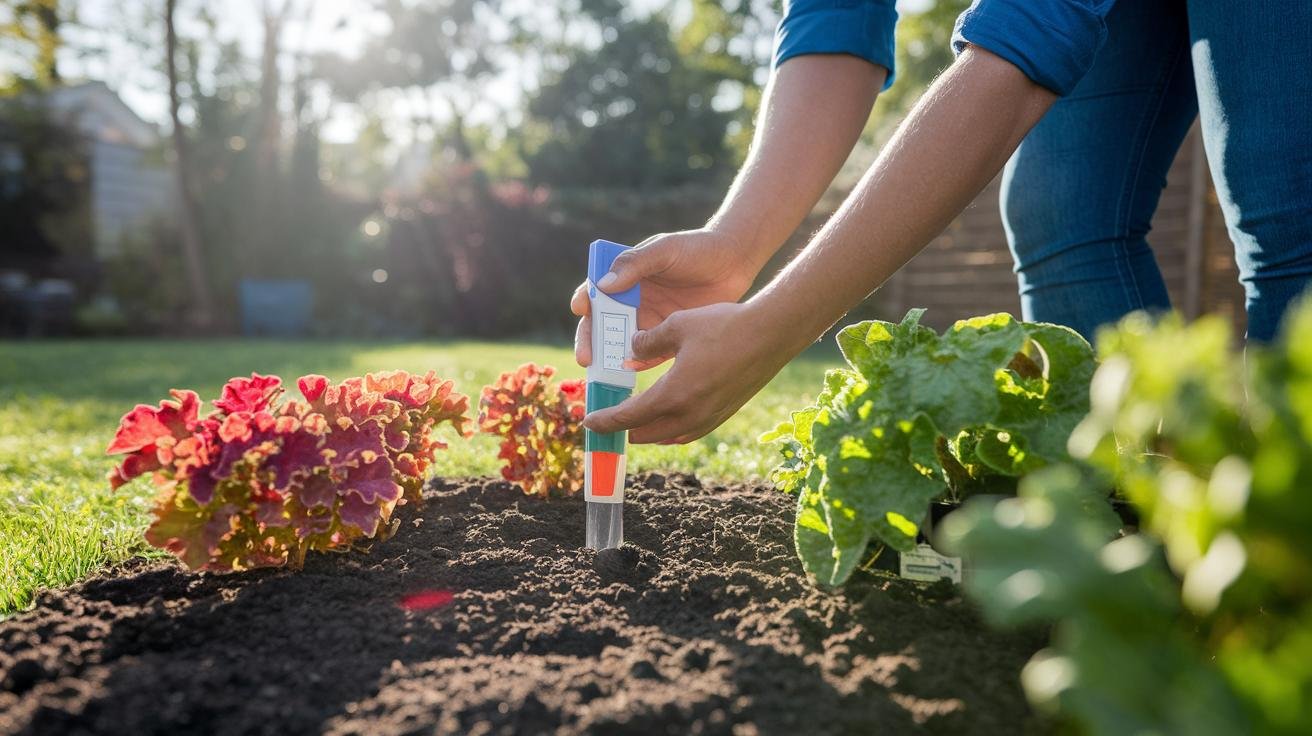
- Take the reading. Press the probe into the prepared soil, or mix the exact soil-to-reagent amount your chemical kit specifies. Measuring by eye is the fastest way to skew a chemical result.
- Wait the full time, then log it. Give it the full ten to thirty seconds the instructions call for, then write down the number, the date, the spot, and how damp the soil felt. That little log is what turns single readings into a season-long trend you can act on.
If you want this walked through in more detail with photos, we’ve got a full guide on how to test soil pH at home that covers the chemical-kit and DIY methods side by side.
Making Sense of the Number and Fixing Your Soil
So you’ve got a reading — now what does it mean? For the great majority of vegetables and flowers, you’re aiming for that 6.0 to 7.0 band, where nutrients flow most freely. A result below 6.0 means acidic soil, and you may see stunted growth or purpling leaves as phosphorus locks up. Above 7.0 tips into alkaline territory, where iron becomes hard to reach and you get yellowing leaves with green veins. Neither is a crisis — both are fixable — but the fix takes weeks, so it’s worth doing in the off-season rather than the week before planting.
To raise a too-acidic pH, garden lime is the standard remedy; work it into the top few inches well ahead of planting and retest after a month or so. Because lime acts slowly and you can overshoot, it’s worth reading up on rates first — our guide to using lime as a soil amendment covers how much to apply for different soil types. To pull an alkaline reading down, elemental sulfur is the usual tool; soil microbes convert it gradually, so patience and a re-test are again part of the deal. For a fuller walkthrough of both directions, see how to adjust soil pH after testing.
My own preference, wherever I can manage it, is to buffer rather than swing. A generous layer of finished compost worked in each spring and fall gently nudges extreme soils toward neutral and, more importantly, keeps them steady — the organic acids and the microbial life smooth out the sharp swings that lime and sulfur cause on their own. It’s slower than a bag of amendment, but it’s the fix that compounds. If you garden in beds, a steady compost routine for raised beds does double duty, feeding the soil while it stabilizes pH.
Keeping Your Tester Accurate for Years
A pH tester is only trustworthy if you look after it, and the digital ones especially reward a little care. Before an important reading, calibrate against a known buffer — ideally a two-point check with pH 7.0 and pH 4.0 solutions, which keeps a good pen honest to within a tenth of a point. After every use, rinse the probe gently with distilled water and blot it dry with a soft cloth; never scrub the sensor tip, and never let soil bake onto it, because a crusted electrode gives lazy, drifting numbers.
Storage matters more than people think. Most glass-probe pens want to be stored with their tip in a storage or buffer solution rather than dry, so the sensor doesn’t degrade — check your model, because letting one dry out is the fastest way to ruin it. Chemical kits ask less, but keep the capsules and reagents sealed, cool, and out of sunlight, and toss anything past its date, since old reagents shift color unpredictably. Finally, watch for the tells that a probe is wearing out: sluggish readings, numbers that swing and never settle, or values that stay wrong even after a fresh calibration. When you see those, it’s usually time for a new electrode rather than a new meter. Treat the tool well and a decent pH tester will guide your soil decisions for many seasons.
Recommended gear for this project
As an Amazon Associate, Backyard Superstar earns from qualifying purchases at no extra cost to you.
- Best all-around digital — Bluelab Soil pH Pen ($$$). Fast ±0.1 readings, backlit screen, floats — the one to own if you test often.
- Budget starter — Luster Leaf 1601 Rapitest Soil Test Kit ($). Reads pH plus N-P-K for a rounded first look at your beds.
- Cheapest / no batteries — Sonkir MS02 3-in-1 Soil Meter ($). A quick acidic-vs-alkaline gut check by the back door.
- Most complete report — Soil Savvy Soil Test Kit ($$). Mail-in lab analysis of pH plus 14 nutrients with a fertilizer plan.
- Lab-grade precision — Apera PH60S Spear pH Tester ($$$). A rugged ±0.01 spear pen for direct-in-soil precision.
Frequently Asked Questions
What is the best soil pH test kit for most gardeners?
For most home gardeners a digital pen like the Bluelab Soil pH Pen offers the best balance of speed and accuracy, giving ±0.1 readings in seconds. If you want nutrient information too and are working on a budget, the Luster Leaf 1601 Rapitest kit reads pH plus nitrogen, phosphorus, and potassium for far less.
How accurate are cheap soil pH meters?
Inexpensive analog probe meters are best treated as approximate — they’ll reliably tell you whether soil is acidic or alkaline but not a precise decimal value. For accuracy within about a tenth of a pH point, you need a calibrated digital pen or a lab test; a color-capsule chemical kit lands in between, at roughly half a point.
What pH should my garden soil be?
Most vegetables, herbs, and flowers grow best between 6.0 and 7.0, where nutrients stay most available. Some plants differ sharply — blueberries and azaleas want acidic soil around 4.5 to 5.5 — so check the preference of what you’re growing before adjusting.
Do I need to calibrate a digital soil pH meter?
Yes. Digital pens should be calibrated against buffer solutions, ideally a two-point check with pH 7.0 and pH 4.0, to stay accurate. Rinse the probe after each use and store it in the recommended solution rather than dry, and it will hold its accuracy for years.
Is a mail-in lab test worth it over a home kit?
For a one-time or once-a-season deep read, yes. A mail-in kit like Soil Savvy returns pH plus a full nutrient breakdown and a fertilizer recommendation that no handheld can match. For routine checks between those, a home meter or chemical kit is more practical.