How to Brew and Apply Compost Tea Fertilizer
The first batch of compost tea I ever brewed went straight into the trash. I let it sit four days because I figured longer meant stronger, and what I got was a bucket that smelled like a swamp and would have done my tomatoes more harm than good. Compost tea fertilizer is one of the cheapest ways to feed a garden — you’re stretching compost you already have into gallons of liquid feed — but there’s a right way to brew it, and the difference between earthy and foul is the difference between useful and useless. Here’s the process I’ve settled on after several seasons of brewing in my own backyard.
As an Amazon Associate, Backyard Superstar earns from qualifying purchases at no extra cost to you.
What Compost Tea Is and Why It Works
Compost tea is finished compost steeped in water — sometimes with air bubbling through it — so the soluble nutrients and living microbes end up in a liquid you can pour from a watering can or run through a sprayer. You’re not making fertilizer from scratch; you’re extracting what’s already in your compost and putting it where you want it, faster than the bulk material can get there on its own.
Two things make it worth the effort. Liquid reaches roots quickly — a soil drench gets to the root zone within a day, while granular fertilizer has to break down in irrigation water first. And a good brew carries a live sample of your compost’s microbial community: bacteria, fungi, protozoa, the whole crew that drove decomposition in the pile. Spreading that community around matters most in new beds, containers, and lawns coming off years of synthetic fertilizer, where the soil biology is thin.
Here’s the honest part most articles skip: compost tea is weak by NPK standards. A typical brew runs somewhere around 1-0.5-1 — nowhere near a bagged fertilizer. The point is gentleness and biology, not raw nutrient power. I treat tea as a supplement between real feedings, and when a lawn or bed needs actual nutrition I reach for a bulkier slow-release source like the ones in my organic lawn fertilizer guide. Tea complements solid compost; it doesn’t replace it. The bulk material builds soil structure, the tea concentrates the microbes and quick-release nutrients, and the best results I’ve seen came from using both through the season.
Ingredients That Actually Matter
Compost tea is only as good as the compost you start with, and this is where most bad batches are born. You want mature, fully finished compost — dark, crumbly, smells like forest floor. In a managed pile that usually means six months to a year. If you can still identify last month’s banana peel, it’s not ready; unfinished compost carries active decomposition organisms into the brew and can push the whole thing anaerobic. Diversity helps too, because compost built from a wide mix of inputs — yard waste, kitchen scraps, leaves, aged manure — carries a wider microbial community than compost from a single source. When my own pile is running low, I blend what I have 50/50 with a bagged finished compost from a local supplier, and that blend has consistently outperformed either one alone.
Water is the ingredient people ruin without knowing it. Chlorinated tap water kills the very microbes you’re trying to extract. The fix is easy: let tap water sit uncovered for 24 hours so the chlorine gasses off, or use rainwater. I keep a rain barrel next to the brewing spot for exactly this reason. Skip high-iron well water if you plan to foliar spray — it can stain leaves.
A couple of additions genuinely improve a brew. Unsulfured molasses feeds the bacteria while the tea brews — one to two tablespoons per five gallons, no more, because overdoing the sugar is the fastest route to a stinking anaerobic bucket. I use Golden Barrel unsulfured blackstrap molasses ($) because it’s cheap, food-grade, and one bottle lasts a whole season of brewing. A cup of worm castings per five gallons adds humic acids and a slightly different microbial profile than pile compost; Wiggle Worm pure worm castings ($) are OMRI Listed and the 15-pound bag covers a lot of brews — it’s the same product I recommend in the pet-safe fertilizer roundup. Kelp meal or fish hydrolysate earn their keep if you’re chasing a fungal-leaning brew for perennials.
What to skip: manure from animals on antibiotics (the residues suppress the microbes you want), any “proprietary blend” tea additive that won’t list its ingredients, and any compost that smells sour or shows slimy growth. When in doubt, leave it out — the brew is forgiving as long as the inputs are clean.
Brewing: Aerated vs. Non-Aerated
There are two ways to brew, and I’ve done plenty of both. Non-aerated is the lazy method, and I mean that as a compliment: compost in a mesh bag, bag in a bucket of dechlorinated water, stir when you walk past, done in 24 to 48 hours. Still water favors bacteria, and a bacterial-dominant tea is exactly what vegetable beds, annuals, and lawns want. It costs nothing beyond a bucket.
Aerated compost tea adds a continuous air supply — an aquarium pump pushing air through a stone at the bottom of the bucket for 24 to 36 hours. The extra oxygen keeps the brew sweet and lets fungi multiply alongside the bacteria, which suits perennial beds, fruit trees, and acid-lovers like blueberries where a fungal-leaning soil does better. The catch is you need a pump, tubing, and an outlet within reach.
| Method | Time | Equipment | Microbial profile | Best for |
|---|---|---|---|---|
| Non-aerated | 24–48 hours | Bucket, mesh bag, stir stick | Bacterial-dominant | Vegetable beds, lawns, annual flowers |
| Aerated | 24–36 hours | Bucket, air pump, airstone, mesh bag | Balanced to fungal-leaning | Perennials, fruit trees, acid-loving shrubs |
Temperature matters more than most guides admit. Both methods want 65–75°F. Below about 50°F the microbes barely wake up, and above 90°F the water sheds oxygen so fast that the anaerobic crowd takes over. In July I brew in the shade on the north side of the garage; in early spring the bucket comes into the garage overnight.
And stop on time. A good tea smells earthy, like the woods after rain. My four-day swamp batch taught me that brewing longer doesn’t make it stronger — past 48 hours you’re losing the population balance you built, and once it smells sour or foul, the batch is compost-pile material, not plant food.
Equipment Setup
You can brew tea for free with a bucket and a stick, and if you’re just curious, start there. A five-gallon food-grade bucket that’s never held chemicals, something mesh to hold the compost — an old t-shirt works — and a stir every six to eight hours will make real compost tea.
If you decide tea is going to be a regular part of your routine, a purpose-built setup removes the fiddly parts. The TeaLAB 5-gallon compost tea kit ($$) is my top pick for getting started with aerated brewing: it bundles the air pump, tubing, a durable brew bag, and their BubbleSnake aerator that sits in the bucket and bubbles from the bottom up, so you’re not improvising with aquarium parts. If you’d rather piece it together, the single most worthwhile upgrade over the t-shirt method is a proper 400-micron compost tea brew bag ($) — the mesh is sized so microbes wash through while sediment stays put, it rinses clean in seconds, and mine has survived several seasons of brews. Pair it with any aquarium pump rated for a ten-gallon tank or better.
Brewing more than one bucket at a time — I run two side by side in spring, one bacterial for the vegetable beds and one fungal-leaning for the perennials — is where a bigger pump earns its keep. The VIVOSUN 950 GPH commercial air pump ($$) has six outlets, so one pump can aerate multiple buckets at once, and it moves enough air that no single bucket ever runs oxygen-poor.
Setup is simple either way: bucket in the shade near an outlet, four gallons of dechlorinated water, one to two cups of compost suspended in the bag, molasses stirred in, airstone or aerator at the bottom running continuously. For non-aerated brews, same bucket minus the pump, stirred whenever you think of it.
How to Apply It
Use the tea fresh. The microbial population peaks right when the brew finishes and declines from there, so I plan brews to finish the morning I want to apply — within four to eight hours is the window worth aiming for.
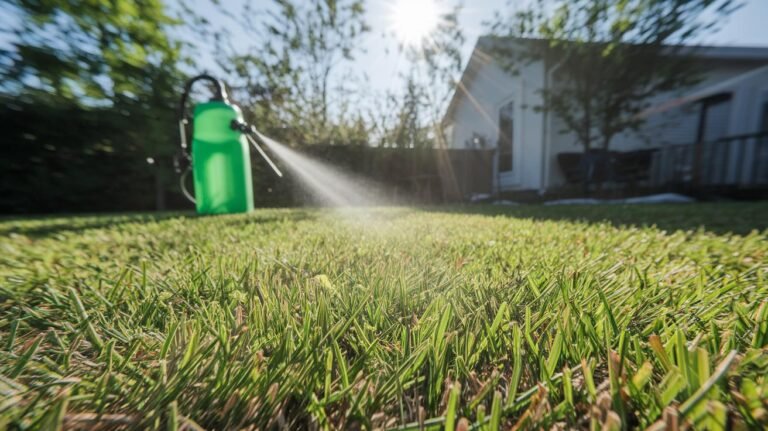
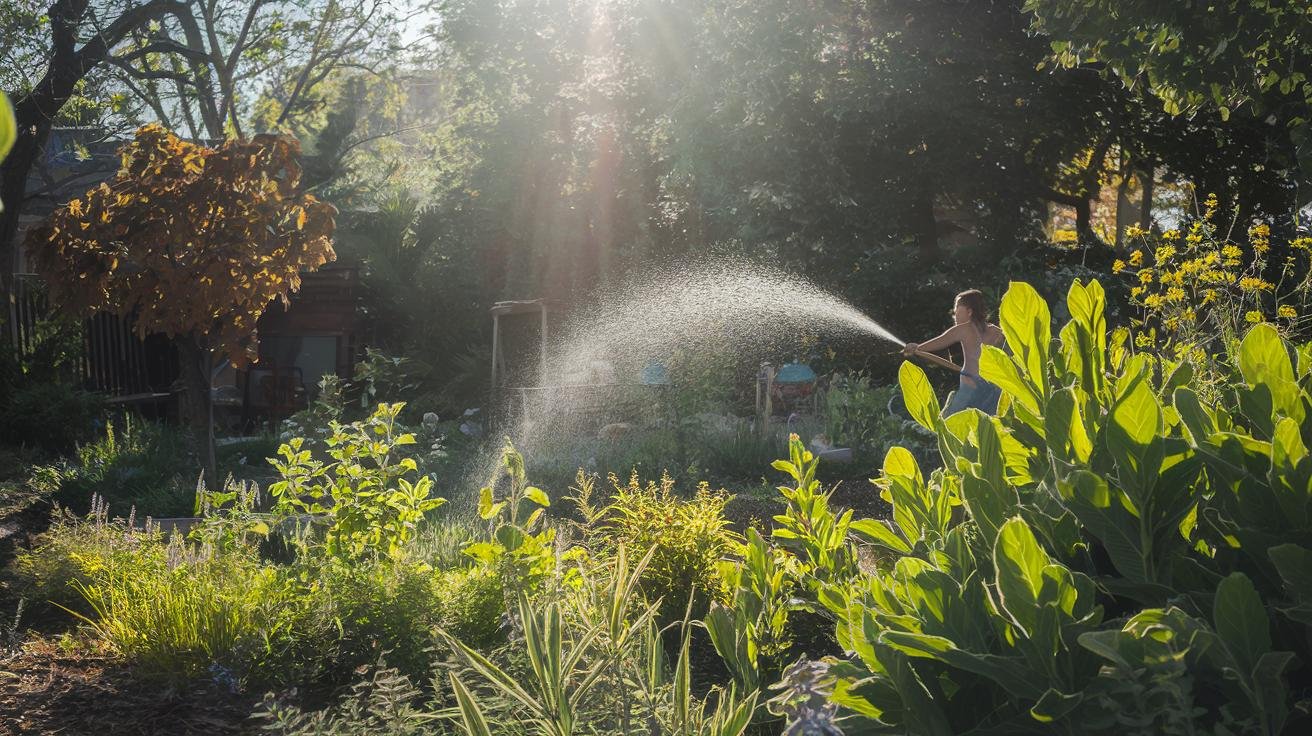
A soil drench is the workhorse application: pour the tea at the base of plants, straight for established plants, diluted about 1:2 with water for seedlings and anything tender. Go early morning or evening so it soaks in rather than evaporating, and give the root zone enough to wet it without runoff. A foliar spray — tea diluted 1:2 and misted onto leaves — is what I use on stressed plants and as a preventive on disease-prone ones, always in the morning so the leaves dry by nightfall; wet foliage overnight invites exactly the fungal problems you’re trying to prevent. Strain the tea first through cheesecloth or a nylon stocking, because compost grit clogs nozzles fast. For anything bigger than a few beds, a Chapin 61500 4-gallon backpack sprayer ($$) covers the lawn and the back border in one fill, and its two-stage filtration shrugs off the fine particles that kill cheap trigger sprayers. Tea also makes a good send-off for new plantings — soak seeds 2–4 hours in a 1:4 dilution, or drench transplant root balls before they go in the ground.
On frequency: every two to three weeks for vegetable beds during the season, monthly for lawns in active growth, every four to six weeks for perennials and shrubs, and weekly for a month on plants recovering from stress. It slots neatly into a regular garden maintenance routine — I brew on the same weekends I weed and deadhead. Don’t bother applying ahead of heavy rain, don’t spray in midday sun, and don’t hit the same plants more than weekly; the microbial communities need time to establish between doses.
One more point in tea’s favor: it’s about the safest thing you can put on a yard shared with dogs and cats. No concentrated salts, no bone-meal smell begging to be dug up, and pets can typically go back on the grass as soon as it dries — more on re-entry timing in the pet-safe lawn fertilizer guide.
Quality Checks and Troubleshooting
Your nose is the best instrument you own for this. A good brew smells earthy, looks slightly cloudy, and might carry a faint mushroom note — all normal. Sour, rotten, or swampy means anaerobic organisms took over, and that batch gets dumped back on the compost pile, not on your plants. The usual culprits are too little air, too much molasses, brewing too long, or immature compost, and every one of my failed batches traces back to one of those four.
A stringy white film on the surface of an aerated brew looks alarming but usually isn’t — that’s fungal growth, part of the community you wanted. Stir it back in and use the tea within a few hours. Film plus foul smell, though, means dump it. If your sprayer keeps clogging, the fix is finer straining before it goes in the tank, not a bigger nozzle. And if the bucket develops a slimy biofilm between brews, scrub it with hot water only — soap residue kills the next batch’s microbes.
The trickiest “problem” is no visible response, because tea’s results are quiet: slightly deeper leaf color, a bit more resilience in a dry week, fewer disease flare-ups over a season. That’s the win. If a plant looks hungry, it needs actual fertilizer — tea plus a slow-release amendment, not more tea. Serious growers can send a sample to a soil lab for a microbial count, but for a backyard program, the smell test and a season of observation tell you what you need to know.
Where Compost Tea Fits in an Organic Program
The payoff from regular tea applications shows up in the soil over months, not in the leaves over days. Research on compost tea keeps landing in the same place I have: treated soils build more diverse bacterial and fungal communities, that biology glues soil into aggregates that hold water and air better, and established beneficial populations crowd out some of the organisms behind damping-off and root rot. None of that is a guarantee for any one garden — soil is local — but the direction of the evidence matches what several seasons of brewing have done for my worst clay bed.
Tea plays well with the rest of an organic feeding program. I use it as the quick, biological layer on top of slow structural amendments — bulk compost worked in each fall, and slow-release sources like the wool pellets I’ve written about for beds that need nutrition through the season. For certification-minded gardeners, compost tea is allowed in USDA Organic production as long as the input compost meets NOP standards and nothing prohibited goes in the bucket — home brewers using their own clean compost clear that bar easily. And it’s hard to beat the footprint: water plus compost you already made, zero manufacturing, zero shipping.
Recommended gear for this project
As an Amazon Associate, Backyard Superstar earns from qualifying purchases at no extra cost to you.
- Top pick — TeaLAB 5-Gallon Compost Tea Kit ($$). Pump, tubing, brew bag, and BubbleSnake aerator in one box — aerated brewing with zero improvising.
- Budget pick — TeaLAB 400-Micron Brew Bag (5-gal) ($). The one upgrade every bucket brewer should make; lasts years.
- Scale-up pick — VIVOSUN 950 GPH Commercial Air Pump ($$). Six outlets run multiple buckets at once without starving any of them.
- Brew booster — Golden Barrel Unsulfured Blackstrap Molasses (32 oz) ($). Feeds the bacteria; one bottle brews a season.
- Amendment — Wiggle Worm Pure Worm Castings (15 lb) ($). OMRI Listed; a cup per brew adds humic acids and microbial diversity.
- Application — Chapin 61500 4-Gallon Backpack Sprayer ($$). Two-stage filtration handles strained tea without constant clogging.
FAQ
What is compost tea fertilizer and what does it actually do?
Compost tea is liquid extracted from finished compost by steeping it in water, with or without aeration. It delivers gentle, fast-available nutrients and inoculates soil with beneficial microbes from the compost. The real benefits — better microbial diversity, better soil structure, lower disease pressure — build over a season, not overnight, and it doesn’t replace solid fertilizer when plants need real nutrition.
What ingredients do I need to brew compost tea?
Mature finished compost (1–2 cups per 5-gallon brew), dechlorinated water — tap water rested uncovered for 24 hours, or rainwater — and optionally 1–2 tablespoons of unsulfured molasses to feed bacteria during the brew. Worm castings, kelp meal, or fish hydrolysate can round out richer brews.
What’s the difference between aerated and non-aerated compost tea?
Non-aerated tea steeps in still water for 24–48 hours and comes out bacterial-dominant — right for vegetables, annuals, and lawns. Aerated tea runs an air pump through the brew for 24–36 hours, producing a more balanced, fungal-leaning community that suits perennials, fruit trees, and acid-loving shrubs.
What equipment do I need to get started?
At minimum: a clean 5-gallon food-grade bucket, something mesh to hold the compost, and a stick to stir with. For aerated brewing, add an aquarium-style air pump, tubing, and an airstone — or a purpose-built kit that bundles them. A watering can handles small-scale application; a backpack sprayer makes sense for lawns and large borders.
How soon do I have to use compost tea after brewing?
Within 4–8 hours of the brew finishing, while the microbial population is at its peak. Plan the brew to finish the morning you want to apply. Tea that sits a day or more loses most of its biological value, and a sealed container of finished tea can go anaerobic quickly.
How often should I apply compost tea?
Vegetable beds every 2–3 weeks in season, lawns monthly during active growth, perennials and shrubs every 4–6 weeks, and stressed plants weekly for 3–4 weeks. Apply early morning or evening, skip days with heavy rain coming, and don’t dose the same plants more than weekly.
How do I know if a batch went bad?
Smell it. Earthy like forest soil means good; sour, rotten, or swampy means anaerobic — discard it on the compost pile and rebrew with more air, less molasses, or more mature compost. A stringy white surface film alone is normal fungal growth; stir it in and use the tea promptly.
Is compost tea safe to use around pets?
It’s one of the safest options going — no concentrated chemicals and nothing that tempts a dog to dig. Pets can usually return to a treated lawn as soon as the surface dries. Check the label of anything you add to the brew, and keep pets away from the raw brewing bucket itself.