Best Materials for a DIY Backyard Obstacle Course
The fun part of a backyard obstacle course is the building — but a course is only as good (and as safe) as what you build it from. After helping put a few together, I’ve learned which materials are worth buying, which you can salvage for free, and where cutting corners just means a wobbly obstacle and a scraped knee. Here’s the full shopping list, from the structural stuff to the ready-made gear that saves you a weekend.
As an Amazon Associate, Backyard Superstar earns from qualifying purchases at no extra cost to you.
The Easiest Win: Ready-Made Ninja Gear
If you’d rather not build every obstacle from scratch, the single best value is a hangable ninja kit. A ninja slackline obstacle kit strings a heavy line between two trees and hangs monkey bars, gym rings, and grips off it — an entire course-worth of obstacles in one box, with no construction at all. For most families, this plus a couple of DIY obstacles is the sweet spot of effort and cost.
Lumber and Structural Wood
For anything you frame yourself — balance beams, A-frames, hurdles — reach for pressure-treated lumber so it survives the weather. Standard 2x4s and 2x6s handle most builds, and a single 4×4 post makes a sturdy balance beam once you secure it. Sand any surface kids will touch and round the sharp edges; splinters are the most common obstacle-course injury, and the easiest to prevent.
PVC and Plastic for Light, Cheap Obstacles
PVC pipe is the unsung hero of cheap courses — light, weatherproof, and easy to cut and connect into hurdles, limbo bars, or weave poles. A bundle of PVC pipe and fittings goes a long way and is forgiving if a kid crashes into it. Pool noodles slipped over PVC or rope make instant, soft, no-bruise barriers for the youngest crowd.
Rope, Netting, and Climbing Hardware
Climbing elements are what make a course feel like a real challenge. A climbing cargo net is the showpiece — strung between sturdy anchors it adds a genuine scramble. Thick, soft climbing rope works for swings, ground-level “balance lines,” and tug stations. Whatever you hang, use properly rated hardware — eye bolts and carabiners sized for a swinging child, never hooks meant for hanging a plant.
Free and Salvaged Materials
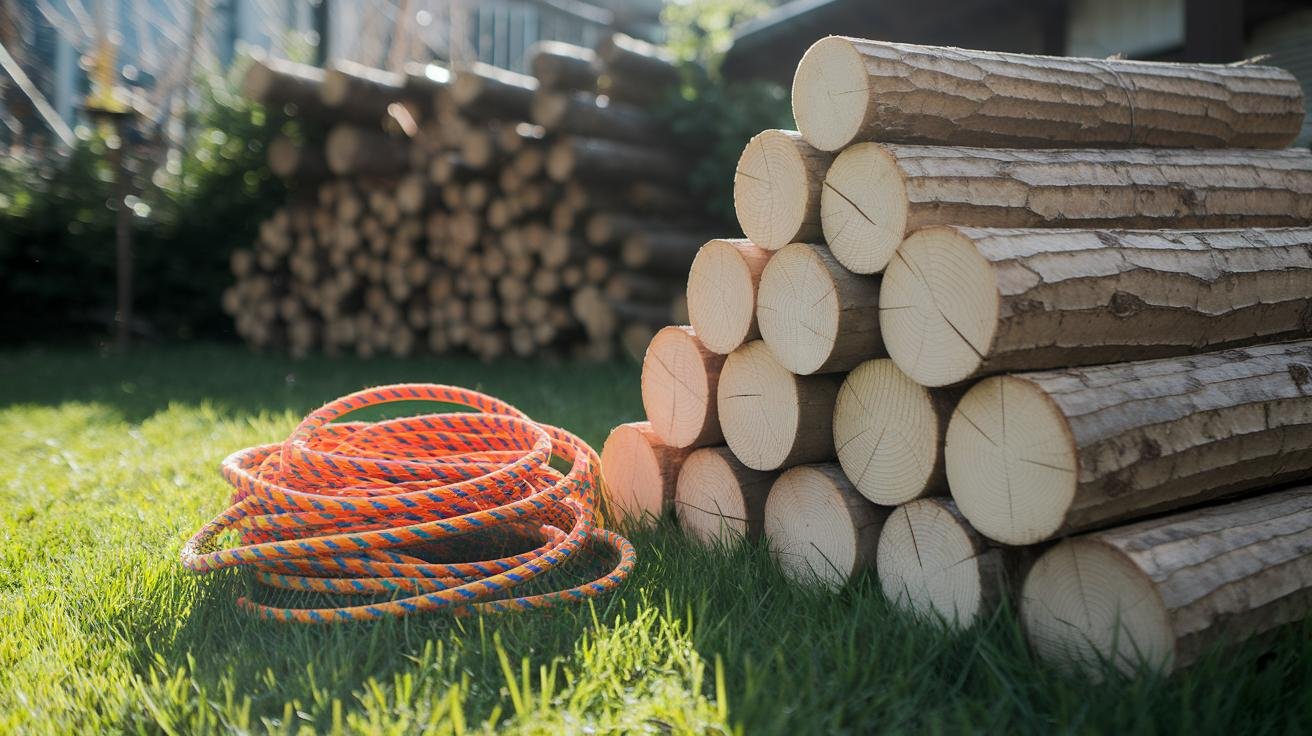
Some of the best obstacles cost nothing. Old tires (ask a local shop) make classic run-through and tire-flip stations; logs and stumps become stepping stones and balance challenges; spare cinder blocks and pallets build platforms and crawl-unders. Just scrub salvaged materials, check tires for wire, and sand or cap anything sharp before it goes in the course.
Don’t Skip the Fall Zone
The least exciting purchase is the most important one. Under and around any climbing or elevated obstacle, you want a soft fall surface — a thick layer of mulch, rubber chips, or a few interlocking foam mats. Grass alone isn’t enough under anything kids climb on. This is the one place I’d never economize.
Putting It Together
You don’t need everything here — start with a ninja kit or a few PVC obstacles and grow the course over time. When you’re ready to build, my step-by-step guide to building a backyard obstacle course walks through the whole thing, and if you’re after a ninja-warrior vibe specifically, see how to build a backyard ninja course.
Frequently Asked Questions
What’s the cheapest way to build an obstacle course?
Mix salvaged materials (tires, logs, pallets) with a few cheap PVC obstacles, and add a ninja kit only if you want ready-made climbing elements.
What wood should I use outdoors?
Pressure-treated lumber for anything structural, sanded smooth and with rounded edges to prevent splinters.
What do I put under climbing obstacles?
A soft fall zone — thick mulch, rubber chips, or foam mats. Never rely on bare grass.
Buy smart where safety and structure demand it, salvage the rest, and never skimp on the fall zone — and you’ll have a course that’s as durable as it is fun.