Homemade Spice Rub for Charcoal-Grilled Pork Ribs
Store-bought rib rub is fine until the day you mix your own — then you never go back. The blend I keep in a jar by the grill costs a fraction of the little shaker bottles, and it does something those can’t: it builds real bark and a balance of sweet, salty, and heat that you tune to your own taste. This is my homemade spice rub for charcoal-grilled pork ribs, plus the fire setup and timing that turn a rack of raw ribs into the thing people crowd around at a cookout.
I’m Mitch, and I’ve cooked more ribs over charcoal than I can count — some of them great, plenty of them early mistakes I learned from. The rub is only half the job. Get the mix right and then cook it low and slow over an honest two-zone fire, and you end up with tender meat, a dark crust, and that hickory smell that pulls the neighbors over the fence.
As an Amazon Associate, Backyard Superstar earns from qualifying purchases at no extra cost to you.
What Goes Into a Good Rib Rub, and Why
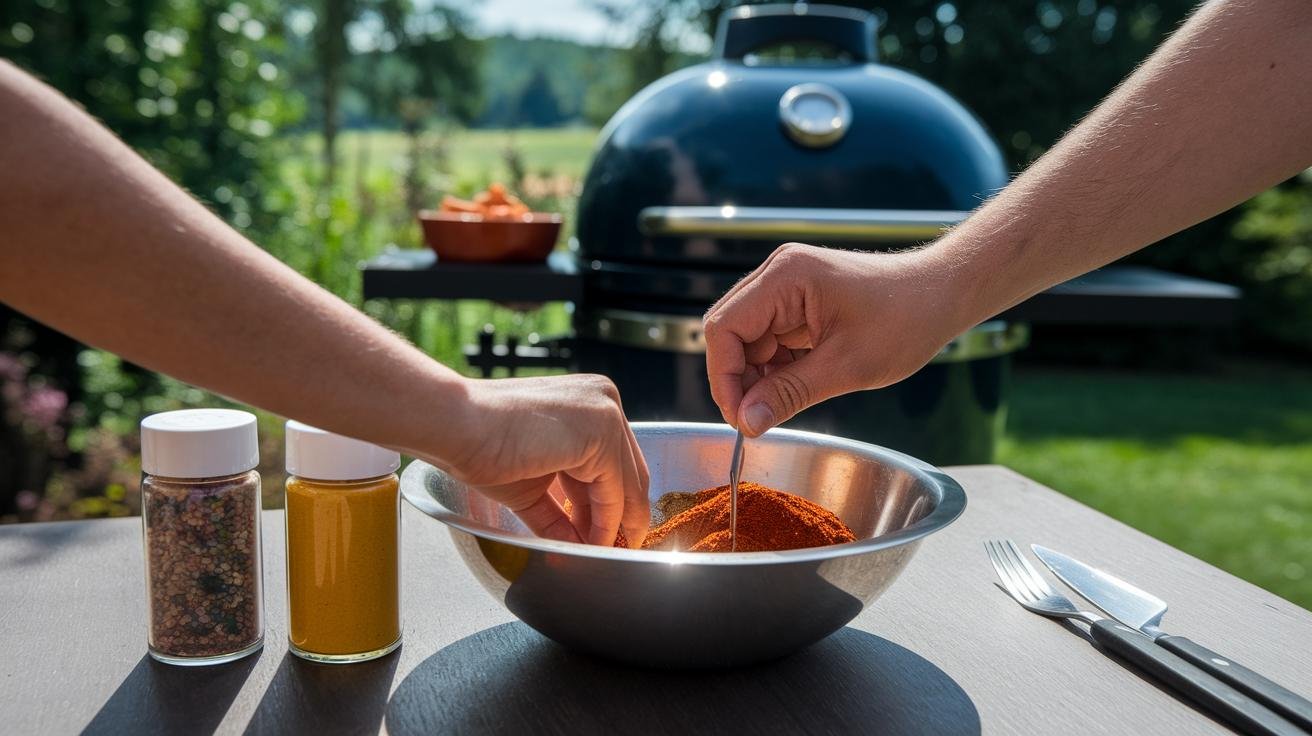
A rub is just sugar, salt, and spice in the right proportion, but the ratio is where cheap blends go wrong — they lean hard on salt and cornstarch fillers and skimp on everything else. Mine starts with brown sugar for a caramel sweetness that darkens into bark, then paprika for warm color and a mild pepper note. Kosher salt and coarse black pepper build the savory backbone, garlic powder and onion powder add depth, and a small hit of cayenne wakes the whole thing up without lighting your mouth on fire. Every ingredient earns its spot; nothing is there to pad the jar.
Here’s the ratio I use for a couple of racks, and the one worth memorizing:
- 1/4 cup brown sugar — sweetness and bark
- 2 tablespoons paprika (smoked paprika if you want more depth) — color and mild smoke
- 1 tablespoon kosher salt — the savory base
- 1 tablespoon coarse black pepper — bite
- 1 teaspoon garlic powder — savory depth
- 1 teaspoon onion powder — rounds it out
- 1/2 teaspoon cayenne pepper — a background warmth, not a burn
Stir it until the brown sugar breaks up and the cayenne is scattered in fine flecks with no clumps. Give it a sniff — sweet and a little smoky is what you’re after. The proportions aren’t sacred, either. If your family runs shy of heat, drop the cayenne to a quarter teaspoon; if you like a sharper edge, bump the black pepper. Once you’ve mixed it a few times, you’ll start adjusting by nose instead of by measuring spoon, and that’s when it becomes your rub instead of a recipe you followed.
Pick Your Ribs: Baby Back vs. St. Louis
The cut you buy changes your cook more than most people expect, so it’s worth knowing what you’re grabbing at the counter. Baby backs come from up near the loin — they’re leaner, shorter, and more curved, and they finish faster. St. Louis ribs are trimmed spareribs from lower on the hog: flatter, meatier, fattier, and more forgiving if your fire drifts, because that extra fat keeps them from drying out. Neither is “better.” Baby backs are the weeknight pick when you want ribs in three hours; St. Louis are what I reach for when I’ve got the afternoon and want the richer, old-school flavor.
| Baby Back Ribs | St. Louis Ribs | |
|---|---|---|
| Where it’s from | Upper back, near the loin | Trimmed spareribs, lower belly |
| Meat & fat | Leaner, more tender | Meatier, fattier, richer |
| Cook time (225–250°F) | ~3 hours | ~4 hours |
| Best for | Faster cook, milder flavor | Low-and-slow, bold flavor |
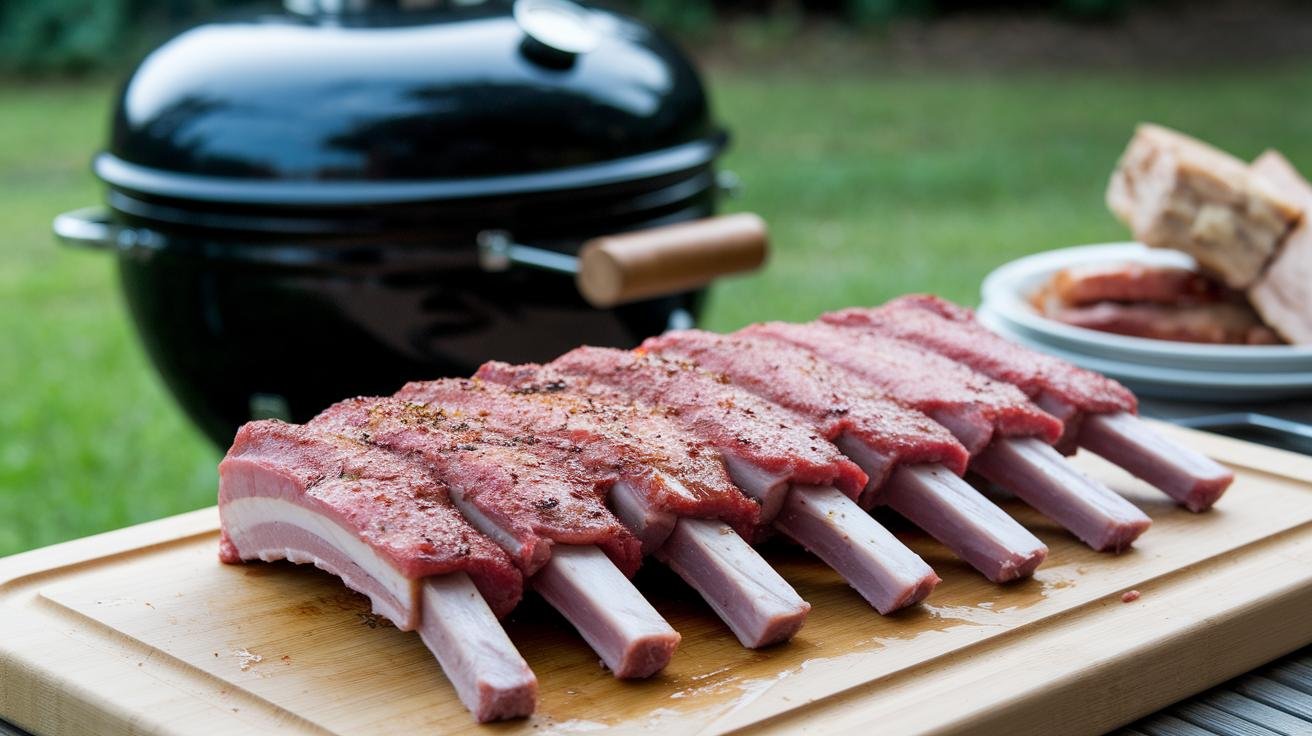
Whichever you buy, two bits of prep make a real difference. Trim off any loose flaps of fat and thin, dangling meat so the rack cooks evenly. Then peel the membrane off the bone side — that thin, silvery skin blocks smoke and rub from getting into the meat, and it turns papery and tough on the grill. Slide a butter knife under it at one corner, grab it with a paper towel for grip, and pull it off in one sheet. If you cook ribs often and hate crowding them flat on a 22-inch kettle, a Weber stainless steel rib rack ($$) stands several racks on edge so you can smoke four at once instead of two.
Building the Rub and Getting It to Stick
Sprinkle the rub evenly over both sides of the ribs from about a foot up — the height helps it fall in an even coat instead of landing in piles. Press it gently into the meat with your palm so it grips the surface; you’ll feel the coarse sugar and salt catch. There’s no need for a slather of mustard or oil first. Pork ribs are moist enough on their own that a dry rub sticks fine, and skipping the binder keeps the flavor cleaner.
Now let them rest. Thirty minutes at room temperature is the minimum, and it lets the salt start pulling moisture to the surface where it dissolves the sugar into a tacky layer — that’s the base your bark builds on. If you’ve got the time, wrap the seasoned racks and hold them in the fridge for a few hours or overnight; the longer rest drives the seasoning deeper and gives you a noticeably more flavorful rib. Just don’t salt-and-wait for days, or the surface goes from seasoned to cured and the texture turns hammy.
This recipe makes more than you’ll use on one cook, which is the point. Store the extra in an airtight jar somewhere cool and dark, label it with the date, and it holds its punch for about six months — shake it before each use because the sugar likes to settle. When I mix a big batch to keep on hand or hand out at the holidays, I split it into a set of airtight glass spice jars ($$) with shaker lids, which keeps it fresh and makes a genuinely good gift for anyone who grills.
Setting Up the Charcoal Grill for Two-Zone Heat
Ribs are a low-and-slow cook, and that means indirect heat — you never set a rack directly over glowing coals or the sugar in the rub scorches black before the meat is done. The setup that makes this easy is a two-zone fire: bank all the lit coals against one side of the grill and leave the other side empty. The ribs go on the empty side, the lid goes down, and the whole kettle works like a smoky oven holding a steady low temperature.
Skip the lighter fluid — it can leave a chemical taste on food that cooks this long. A Weber Rapidfire chimney starter ($) lights a full load in about fifteen minutes with a couple sheets of crumpled newspaper underneath; when the top coals are coated in gray ash, pour them against one side and you’re set. I like lump charcoal for the way it lights fast and burns clean, but briquettes hold a steadier low temperature over a four-hour cook, so for ribs I’ll often run a mix. If you’re shopping for the grill this all happens on, the forgiving, do-everything Weber Original Kettle Premium 22″ ($$$) is the one I keep coming back to — the built-in lid thermometer and ash catcher pull their weight on every cook. If you want to build out a whole cooking area around it, I walk through that in my guide to backyard grilling station setup.
Control your temperature with the vents, not by dumping on more coals. The bottom damper feeds air to the fire — open it wide to bring the heat up, choke it down to hold things low. You’re aiming for a grill temperature of 225 to 250°F for the whole cook, and the lid gauge only tells you the air temperature near the top, so drop a probe thermometer down at grate level near the ribs for the number that actually matters.
Smoke, Bark, and the Low-and-Slow Cook
With the fire banked and holding 225 to 250°F, set the ribs bone-side down on the cool side and close the lid. From here it’s mostly patience: three hours for baby backs, closer to four for St. Louis, turning the racks now and then and topping up with a few fresh coals if the temperature starts sliding. Resist the urge to keep lifting the lid to peek — every time you do, you dump the heat and smoke you spent an hour building, and the old pitmaster line holds true: if you’re lookin’, you ain’t cookin’.
Smoke is what separates grilled ribs from oven ribs. I soak a handful of hickory wood chunks ($) in water for about thirty minutes, then set a couple right on the coals once the ribs go on. You’ll see thin wisps curl up around the meat — that’s the good stuff. The first two hours are when ribs take on the most smoke, so that’s when the wood earns its keep. Go easy: a couple of chunks is plenty, and thick, billowing white smoke actually turns the meat bitter, while thin, almost-blue smoke is what you want.
Bark forms where the sweet rub meets that gentle indirect heat and slowly sets into a dark, textured crust. Once an hour I give the racks a light spritz with a fifty-fifty mix of apple cider vinegar and water, which keeps the surface from drying and adds a bright tang that cuts the richness. Shake, mist, close the lid, move on. Between the rub, the smoke, and the spritz, you’re layering flavor the whole way through.
Foil Wrapping and the Texas Crutch
About an hour before the ribs are done, you can wrap them in heavy-duty foil to push them over the finish line — a move pitmasters call the Texas crutch. Lay each rack on a sheet of foil, add a splash of apple juice or a little broth, and seal all the edges tight so the steam can’t escape. That trapped steam works like a sauna: it softens the meat, speeds the cook by roughly thirty minutes, and locks in juiciness. Seal every edge, because the one time I left a corner open the steam leaked out and the bark went flat and pale instead of staying tacky.
Wrapping is a trade-off worth understanding rather than a rule you have to follow. Foil gets you more tender, more consistent ribs and a faster finish, which is why competition cooks lean on it — but it softens the bark you worked to build. If you love a firm, chewy crust, skip the wrap and just cook straight through, accepting that the ribs take a little longer and run a touch drier. I usually wrap for the last hour, then unwrap for the final stretch on the grill to firm the bark back up. Best of both.
Resting, Slicing, and Serving
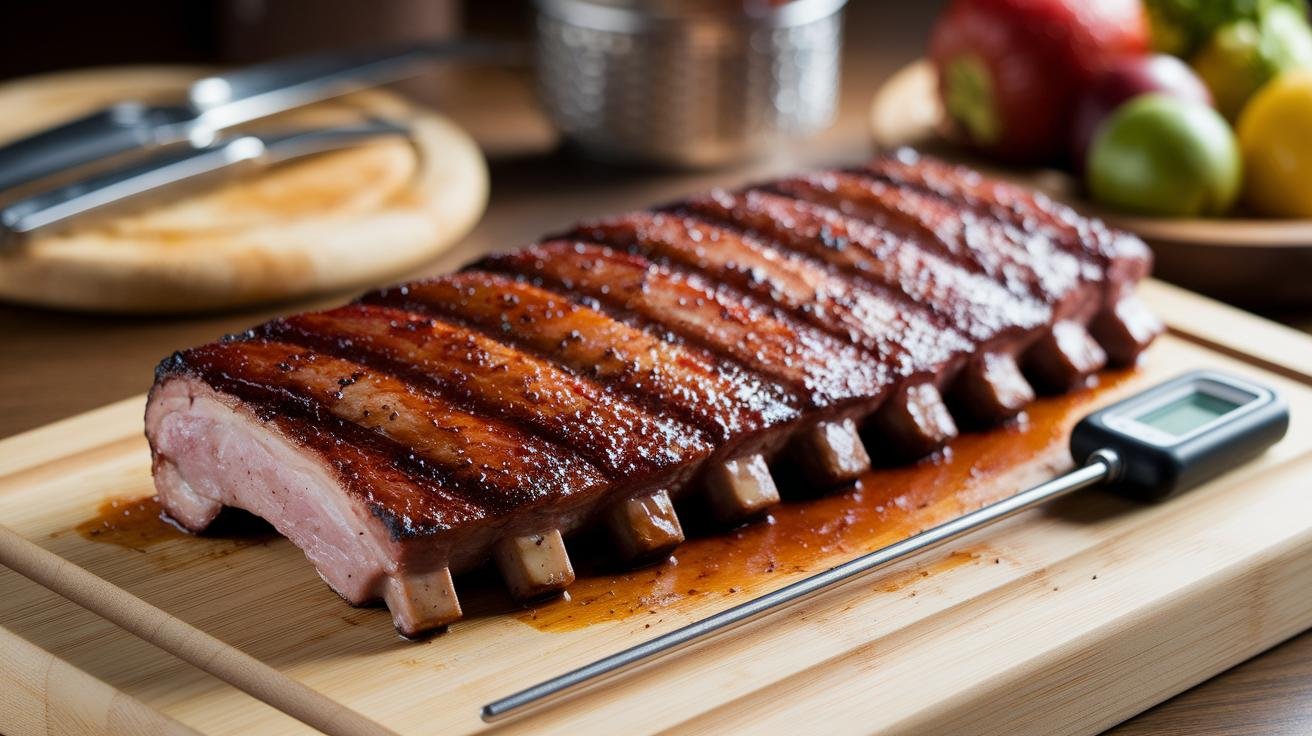
Ribs are done not by the clock but by feel and temperature. Slide an instant-read thermometer ($) into the meatiest part of a rack, away from the bone, and look for 195 to 203°F — that’s the window where the connective tissue has broken down and the meat pulls cleanly off the bone. A trick worth the ten seconds: calibrate the thermometer first by dunking it in a glass of ice water, where it should read 32°F; if it’s off, adjust before you trust it on your dinner. The same temperature discipline pays off across the grill, and I go deeper on reading doneness in my guide to grilling steak on a charcoal grill.
When the ribs hit temperature, pull them and let them rest under a loose foil tent for ten to fifteen minutes. Resting lets the muscle fibers relax and the juices redistribute instead of running out the moment you cut in — slice too soon and you leave all that moisture on the board. Then cut between the bones with a sharp knife, following the natural gaps, and you’ll get clean, even ribs.
Serve them however you like. I’ll brush some racks with sauce and leave others bare so people can dip — a vinegar-based sauce brings a bright tang, while a molasses-heavy one adds deep sweetness. If you’d rather make your own, my homemade barbecue sauce for charcoal grilling comes together in one pot while the coals heat. Round out the plate with crisp coleslaw, grilled corn, or smoky baked beans, and you’ve got the kind of backyard spread that makes people linger.
Recommended gear for smoking ribs on charcoal
As an Amazon Associate, Backyard Superstar earns from qualifying purchases at no extra cost to you.
- Top pick — ThermoPro Instant-Read Thermometer ($). Takes the guesswork out of doneness — pull ribs at 195–203°F every time.
- Budget essential — Weber Rapidfire Chimney Starter ($). Hot, evenly lit coals in ~15 minutes, no lighter-fluid taste.
- For smoke — Weber Hickory Wood Chunks ($). A couple on the coals give ribs a bold, classic smokehouse note.
- Fit more racks — Weber Stainless Steel Rib Rack ($$). Stands several racks on edge so a 22-inch kettle smokes four at once.
- Store & gift the rub — Airtight Glass Spice Jars (set) ($$). Keep a big batch fresh for six months, or split it into gifts.
- The grill itself — Weber Original Kettle Premium 22″ ($$$). The forgiving, do-everything kettle behind every rib on this page.
Frequently Asked Questions
What ingredients and ratios make up the homemade rib rub?
Combine 1/4 cup brown sugar, 2 tablespoons paprika, 1 tablespoon kosher salt, 1 tablespoon coarse black pepper, 1 teaspoon garlic powder, 1 teaspoon onion powder, and 1/2 teaspoon cayenne. Stir until the sugar breaks up and the cayenne is evenly scattered.
How long should ribs rest with the rub before grilling?
At least 30 minutes at room temperature, which lets the salt draw moisture to the surface and start dissolving the sugar into a tacky base for bark. For deeper flavor, wrap and refrigerate the seasoned racks for a few hours or overnight.
What grill temperature and cook time do ribs need?
Hold a two-zone charcoal fire at 225 to 250°F and cook the ribs on the indirect side — about 3 hours for baby backs and closer to 4 hours for meatier St. Louis ribs.
How do I get a deep bark and hickory smoke flavor?
Soak a couple of hickory wood chunks for 30 minutes, set them on the coals when the ribs go on, and keep the cook indirect at a steady low temperature. Spritz once an hour with a vinegar-and-water mix and resist opening the lid.
What is the Texas crutch and should I use it?
It means wrapping the ribs in foil with a splash of apple juice during the last hour to trap steam, which tenderizes the meat and speeds the cook. The trade-off is a softer bark, so many cooks unwrap for a final stretch to firm it back up.
How do I store leftover rib rub?
Keep it in an airtight jar in a cool, dark spot, labeled with the mixing date. It holds its flavor for about six months — just shake it before each use, since the sugar settles.
Mix the rub, set up an honest two-zone fire, and give the ribs the time and rest they need — do those three things and a plain charcoal kettle will turn out ribs people talk about. Fire up the coals and put a rack on this weekend.