Recipes for a Weber Charcoal Grill
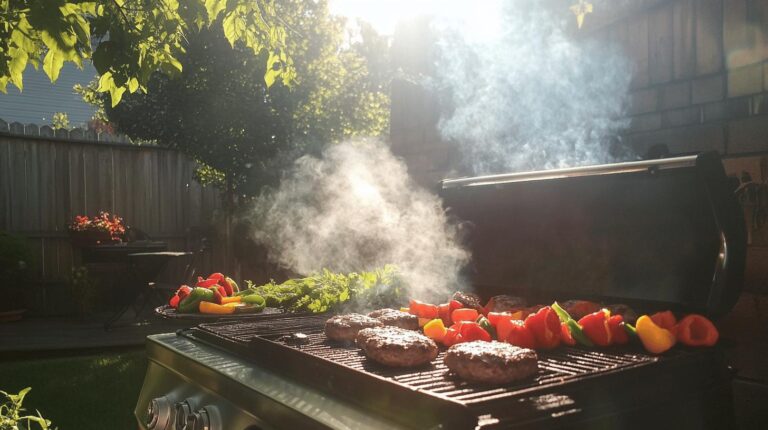
Ever pulled a batch of burgers off a charcoal grill only to find them dry on the edges and gray in the middle? I did that for years before I stopped fighting my Weber and started working with it. The trick isn’t a fancier grill or some secret sauce — it’s fire management. Get the coals set up right and a plain kettle will turn out food that tastes like it came off a backyard pit. This guide is a set of Weber charcoal grill recipes I actually cook, plus the fire setup that makes each one reliable instead of lucky.
I’m Mitch, and I cook over charcoal most weekends of the year. A Weber kettle is about the most forgiving grill you can own once you understand two-zone heat. Let me walk you through the setup first, then the recipes — from weeknight brats to a 10-hour brisket.
As an Amazon Associate, Backyard Superstar earns from qualifying purchases at no extra cost to you.
Setting Up Your Weber for Two-Zone Cooking
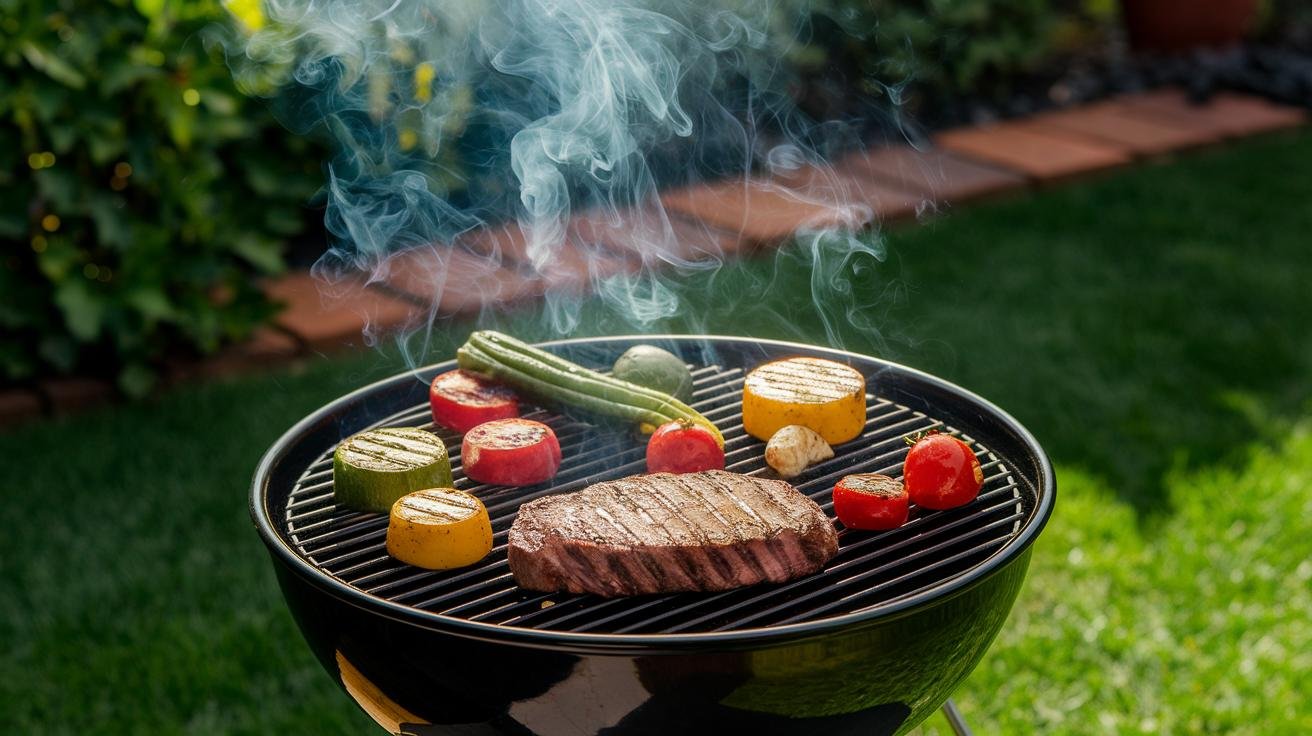
Everything good that comes off a charcoal grill starts with how you arrange the coals, and the single setup I use for almost everything is a two-zone fire. You bank the lit coals on one side for a hot searing zone and leave the other side bare for gentler, indirect cooking. Think of it as a blazing skillet next to a warm oven: you sear over the coals, then slide the food to the empty side to finish without scorching it. That one move is the difference between a charred-outside, raw-inside burger and one that’s cooked through and juicy.
Skip the lighter fluid — it can leave a chemical taste, and you don’t need it. A Weber Rapidfire chimney starter ($) lights a full load of briquettes with a couple sheets of crumpled newspaper in about fifteen minutes. Fill it, set it on the charcoal grate, and light the paper underneath. When the top coals are glowing under a thin coat of gray ash, dump them onto one side of the grill and you’re ready to cook. If you grill often enough that the kettle is a real tool for you and not just a summer novelty, the classic Weber Original Kettle Premium 22-inch ($$$) is the one I keep coming back to — the built-in lid thermometer and the ash catcher earn their keep every cook.
Two small habits keep your temperature honest. First, learn your vents: the bottom damper feeds air to the coals, so open it wide for a hot sear and choke it down to hold a low, steady smoke. Cracking the vents open raises the heat; closing them cools it. Second, stop guessing at doneness. The lid gauge tells you the grill’s air temperature, not your food’s, so the one tool I’d never grill without is a fast instant-read meat thermometer ($). Chicken is safe at 165°F, a medium-rare steak pulls around 135°F, and a burger you want at 160°F — numbers worth taping inside your lid until they stick.
Three Go-To Weber Recipes: Burgers, Flank Steak, and Chicken
These three cover most of what I grill for a family dinner, and they all lean on that two-zone fire. The table below is the cheat sheet; the notes after it are where the real difference is made. Sear on the hot side, finish on the cool side, and check the temp before you plate — that rhythm carries all three.
| Recipe | Prep | Direct (hot side) | Indirect (cool side) |
|---|---|---|---|
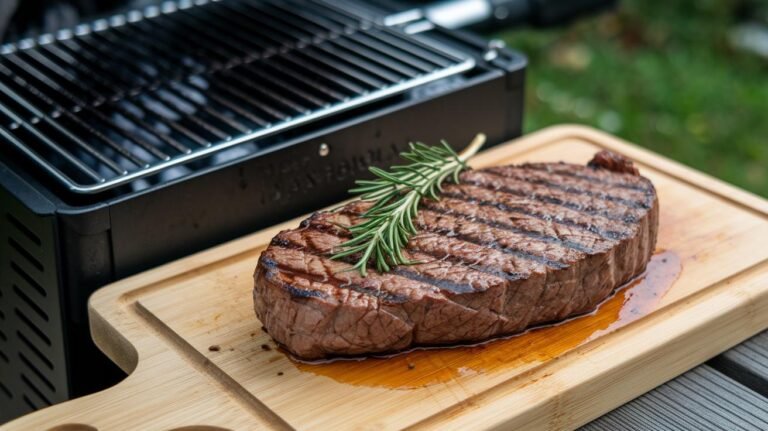
| 80/20 Burgers | ¾-inch patties, salt & pepper | ~500°F, sear 4–5 min/side | ~350°F until 160°F inside |
| Stuffed Flank Steak | Fill, roll, tie | ~500°F, sear 3–4 min/side | ~350°F, ~8 min total |
| Special-Sauce Chicken | Brush with sauce | Skip direct heat | ~350°F, 6–8 min/side to 165°F |
80/20 Burgers
Buy ground beef with an 80/20 ratio — 80 percent lean, 20 percent fat. That fat is flavor and insurance against a dry burger, so leaner blends aren’t doing you any favors here. Shape ¾-inch patties, press a shallow dimple in the center of each so they don’t puff into meatballs, and season both sides generously with salt and pepper right before they hit the grate. Sear over the hot side at about 500°F for four to five minutes a side until you get a real crust. If you like them past medium, slide them to the cool side to coast up to 160°F internal instead of burning the outside. Rest them under a loose foil tent for five minutes so the juices settle back into the meat rather than running onto the plate.
Stuffed Flank Steak
This one looks impressive and takes about ten extra minutes. Lay a flank steak flat, cover it with a layer of herbs, cheese, and any chopped vegetables you like, then roll it up tight and tie it at intervals with butcher’s twine. Season the outside well. Sear the roll on the hot side at 500°F for three to four minutes per turn to build color all the way around, then move it to the cool side at about 350°F for roughly eight minutes, flipping once. Let it rest a full ten minutes before you slice — cut too soon and all that filling and juice ends up on the cutting board. Slice across the grain into pinwheels and you’ve got a dinner that eats like you fussed far more than you did.
Special-Sauce Chicken
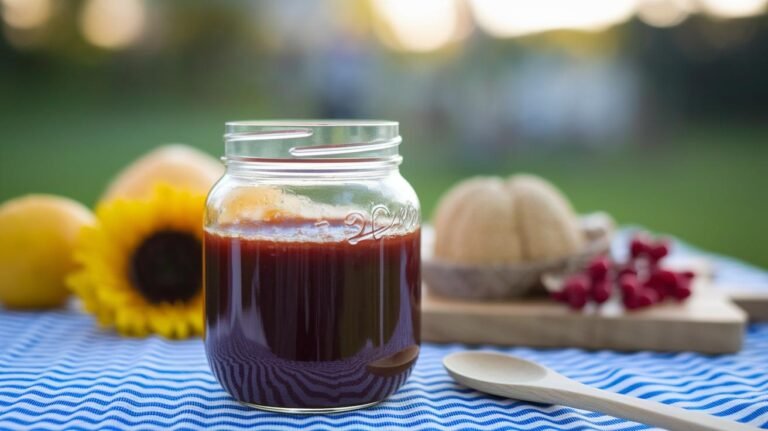
Chicken is where indirect heat really pays off, because the sugar in most barbecue sauces burns fast right over the coals. Brush bone-in or boneless pieces with your sauce of choice and set them on the cool side, where the temperature hovers around 350°F and the flames can’t flare up against the skin. Grill six to eight minutes per side, adding another coat of sauce at the halfway flip so it layers instead of scorching. It’s done when the juices run clear and an instant-read thermometer reads 165°F in the thickest part. If you want to build your own glaze from scratch, my homemade barbecue sauce comes together in one pot while the coals heat, and there’s a deeper dive on cuts and timing in my guide to charcoal-grilled chicken.
Quick Weeknight Grilling on Direct Heat
Not every cook needs a two-zone plan and a thermometer probe. On a Tuesday when I just want dinner, I light a smaller pile of coals, spread them flat for straight direct heat, and grill something that cooks in under ten minutes. Sausages take eight to ten minutes over the coals, turned every couple of minutes so they brown evenly instead of splitting. Bratwurst wants a slightly hotter grate, around 450 to 500°F, rotated every three minutes until the casings are golden and taut. Salmon burgers are the fastest of all — about three minutes a side gives you a crisp exterior and a flaky center, and they hold together better than people expect. Serve any of them with a toasted bun or a slice of grilled bread and you’ve turned charcoal into a genuine weeknight option, not just a weekend project.
Marinades, Rubs, and Adding Smoke
Flavor starts before the coals are even lit. A wet brine — meat soaked in saltwater — is the cheapest upgrade there is: give turkey legs three to four hours in salted water with garlic cloves, a couple of bay leaves, and a spoonful of sugar, then pat them dry before they go on. The salt seasons deep and keeps the meat juicy through a long cook. For a sweeter, stickier finish on ribs or brisket, whisk together soy sauce, brown sugar, rice vinegar, and fresh grated ginger, and brush it on every fifteen minutes during the last hour so it caramelizes in layers rather than burning in one shot.
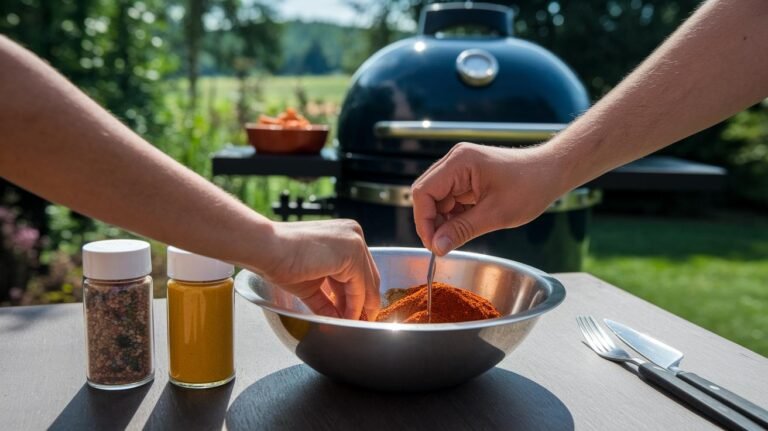
If you’d rather rub than marinate, mix paprika, brown sugar, chili powder, salt, and a pinch of cumin, coat the meat, and let it sit at room temperature for about thirty minutes so the surface tacks up and browns better. That base rub is endlessly tweakable; there’s a fuller version in my homemade spice rub for pork ribs if you want a starting point. The last layer is smoke. A couple of hickory wood chunks ($) nestled right on the coals turn a good cook into one that tastes like a smokehouse. Hickory and oak give beef and pork a bold, campfire note; apple and cherry are gentler and play nicely with chicken and vegetables. Let the chunks catch and settle into a thin blue smoke before you close the lid — thick white smoke means they’re smoldering wrong and will leave a bitter, sooty taste.
Low-and-Slow Smoking on a Weber
A kettle makes a surprisingly good smoker once you commit to indirect heat and patience. I bank the lit coals against one side, set a foil drip pan under the empty side, and hold the grill around 225°F by dialing the bottom vent to a narrow crack. A charcoal basket or a dedicated low-and-slow insert like the Slow ‘N Sear ($$$) keeps the coals corralled so the temperature holds steady for hours instead of drifting. Here’s the honest catch with low-and-slow: the biggest mistake is opening the lid to peek. Every time you lift it you lose heat and add time, so trust the setup and leave it alone.
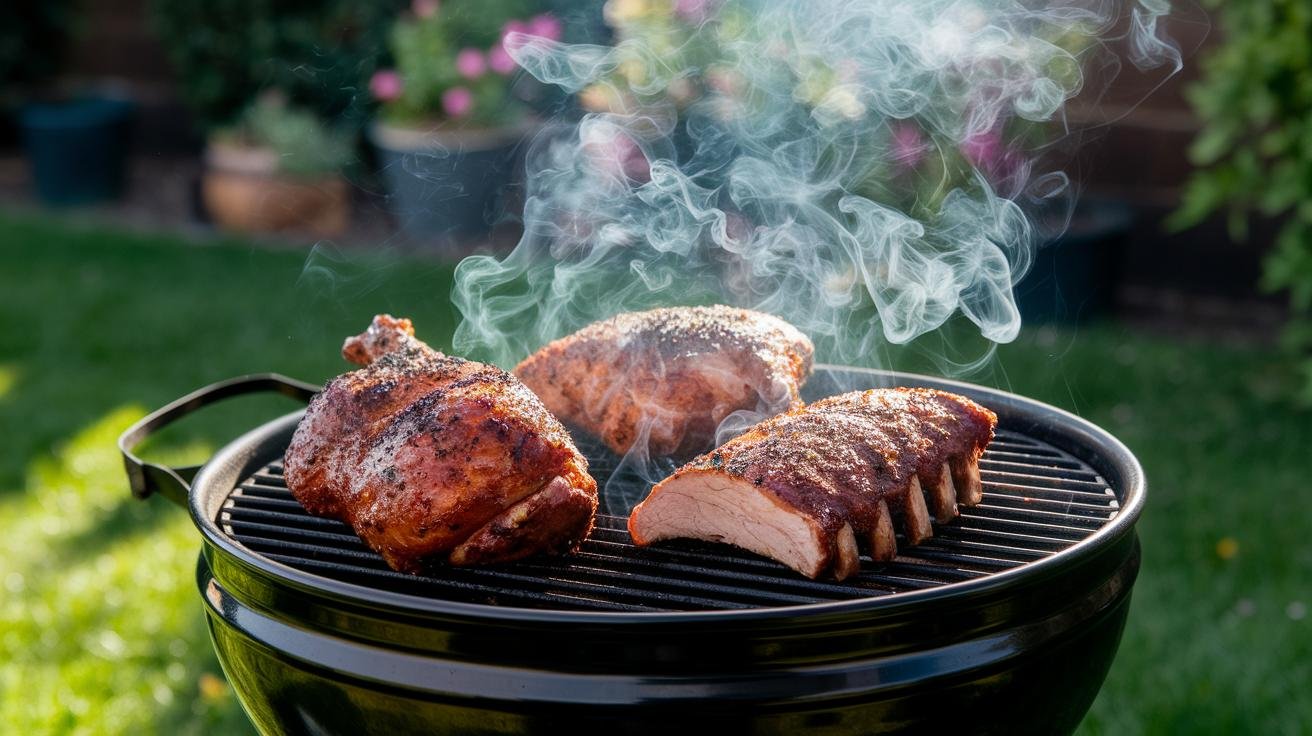
For pulled pork, rub a five-pound pork butt with paprika, brown sugar, salt, and pepper, then smoke it at 225°F for eight to ten hours until it pulls apart with a fork. Brisket asks for more attention: trim the thick fat cap, season with just coarse salt and pepper, and hold it between 225 and 250°F for ten to twelve hours. When the internal temperature stalls around 165°F — and it will stall, that’s normal — wrap it in foil to push it through to tender. Baby back ribs are the easiest win with the 3-2-1 method: smoke them unwrapped for three hours at 225°F, wrap them in foil with a splash of apple juice for two hours, then unwrap, sauce them, and finish over direct heat for one more hour until the glaze sets. Turkey legs, after that brine, take three to four hours at 275°F to reach 165°F with crisp skin. Through all of it, keep a pair of heat-resistant grill gloves ($$) within reach — moving hot coals, lifting a foil-wrapped brisket, or repositioning a grate all go wrong fast without them.
Vegetables, Seafood, and Other Ideas
A Weber isn’t just for red meat, and some of my favorite cooks are the lighter ones. Cedar-plank salmon is the showpiece: soak a cedar plank in water for an hour so it smolders instead of burning, lay the fillet on it over indirect heat, and pull it at 145°F internal after twelve to fifteen minutes for a tender, gently smoky piece of fish. Lobster tails want a quick sear over the coals for color, then a slide to the cool side for ten to twelve minutes until the shells turn bright red and the meat flakes. Shrimp cook even faster — two minutes a side over direct heat is plenty, and they’re excellent charred and dropped onto a pan of saffron rice.
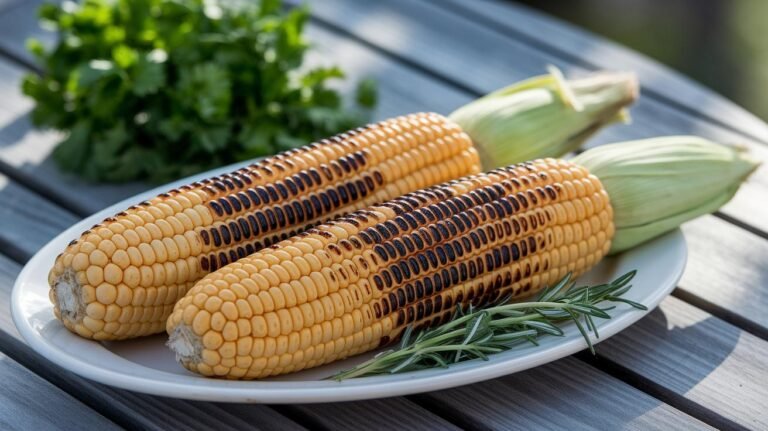
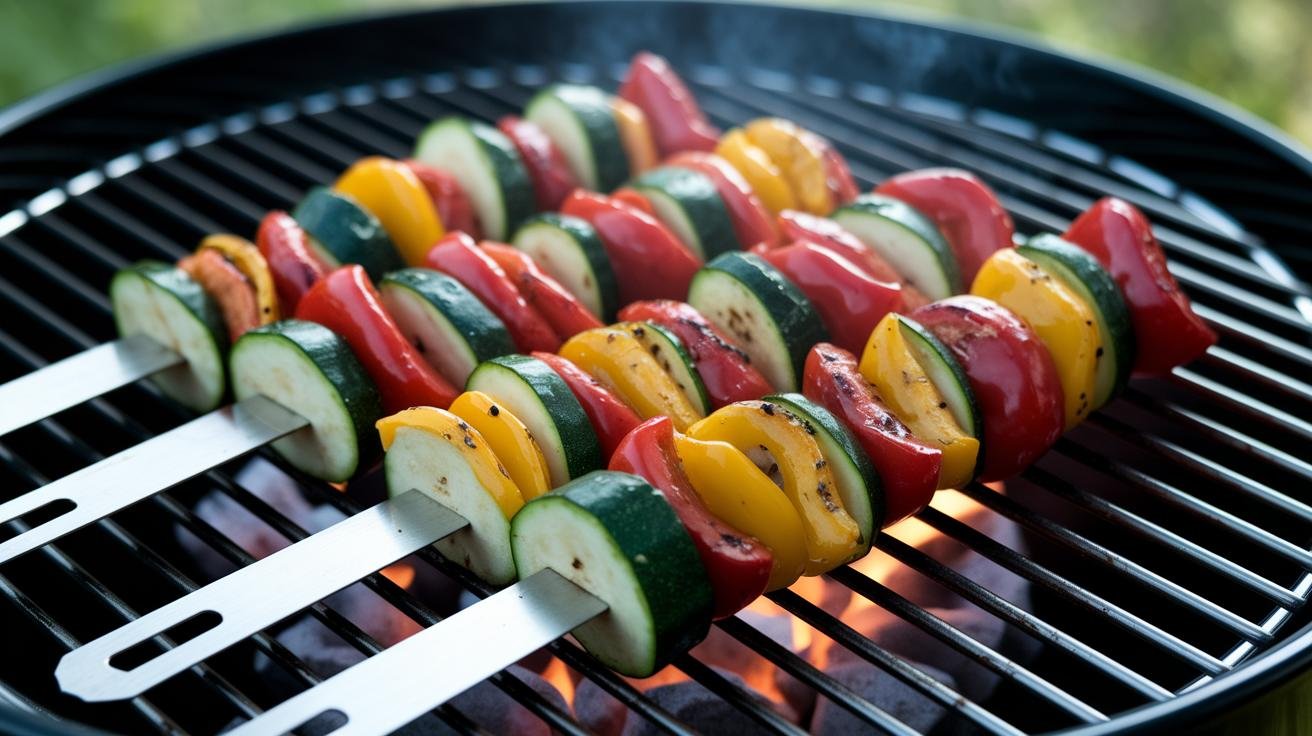
Vegetables belong on the grill just as much. Thread zucchini, bell pepper, and onion onto skewers, brush them with herbed olive oil, and grill eight to ten minutes with a few turns until they pick up char marks; there’s a full method in my grilled vegetable skewers guide. Thin-sliced potatoes tossed with garlic and thyme and sealed in a foil packet cook in about twenty minutes on the cool side — open the packet at the end so the tops crisp. And corn slathered with herb or chipotle-lime butter, turned over direct heat until it’s spotted brown, is the side that disappears first at every cookout I host. None of this is complicated; it’s the same two-zone fire doing different jobs.
Cleanup, Storage, and Safety
A little care after dinner keeps the grill working and the food tasting clean. Give the grates a minute to cool from screaming-hot to merely hot, then scrape off the char with a grill brush while there’s still enough heat to loosen it. A wipe with a one-to-one vinegar-and-water solution cuts the grease; if your grates are cast iron, dry them well and rub on a thin coat of cooking oil so they don’t rust before next time. This is exactly the kind of routine that keeps a backyard grilling station pulling its weight season after season.
Two safety notes worth repeating. Store leftover briquettes in a dry, covered bin — charcoal that’s absorbed moisture lights poorly and burns cooler, which quietly sabotages your next cook. And give every cut of meat its rest before slicing: five minutes for steaks and burgers, ten for chicken and turkey. Rushing that step is the most common way a well-grilled piece of meat still ends up dry on the plate.
Recommended gear for Weber charcoal cooking
As an Amazon Associate, Backyard Superstar earns from qualifying purchases at no extra cost to you.
- Top pick — ThermoPro Instant-Read Thermometer ($). The one tool that turns every recipe here into a reliable result — 165°F chicken, 160°F burgers, no guessing.
- Budget essential — Weber Rapidfire Chimney Starter ($). Hot coals in ~15 minutes with no lighter-fluid taste.
- For smoke — Weber Hickory Wood Chunks ($). A couple on the coals add a bold, smokehouse note to beef and pork.
- For low-and-slow — Slow ‘N Sear charcoal insert ($$$). Holds a steady 225°F for hours so a kettle smokes like a dedicated pit.
- For safety — RAPICCA Heat-Resistant Grill Gloves ($$). For moving coals, lifting a foil-wrapped brisket, and handling hot grates.
- The grill itself — Weber Original Kettle Premium 22″ ($$$). The forgiving, do-everything kettle behind every recipe on this page.
Frequently Asked Questions
What can beginners cook on a Weber charcoal grill?
Start with forgiving, fast dishes: classic burgers, chicken thighs, bratwurst, veggie skewers, and foil-packet potatoes. Sear over direct heat and use a two-zone setup so you always have a cooler side to finish on.
How long should charcoal burn before you start cooking?
About 15 minutes. The coals are ready when they’re coated in gray-white ash, which signals steady, even heat. Cooking too early over black or flaming coals scorches the outside before the inside cooks.
What’s the best meat to cook on a charcoal grill?
Cuts with some fat handle high heat best — ribeye steaks, 80/20 burger patties, chicken thighs, pork butt. The fat bastes the meat as it cooks and guards against drying out.
How do you cook chicken on a Weber charcoal grill?
Use indirect heat at around 350°F to avoid burning the skin. Grill pieces six to eight minutes per side, turning once, until an instant-read thermometer reads 165°F in the thickest part.
What’s an easy rib recipe for a Weber charcoal grill?
The 3-2-1 method: smoke baby back ribs unwrapped at 225°F for 3 hours, wrap in foil with a splash of apple juice for 2 hours, then unwrap, sauce, and finish over direct heat for 1 hour.
Set up a two-zone fire, keep a thermometer handy, and give the meat its rest — do those three things and your Weber will out-cook grills that cost five times as much. Fire up the coals and pick one recipe to start.