How to Build DIY Modular Garden Wall Panels
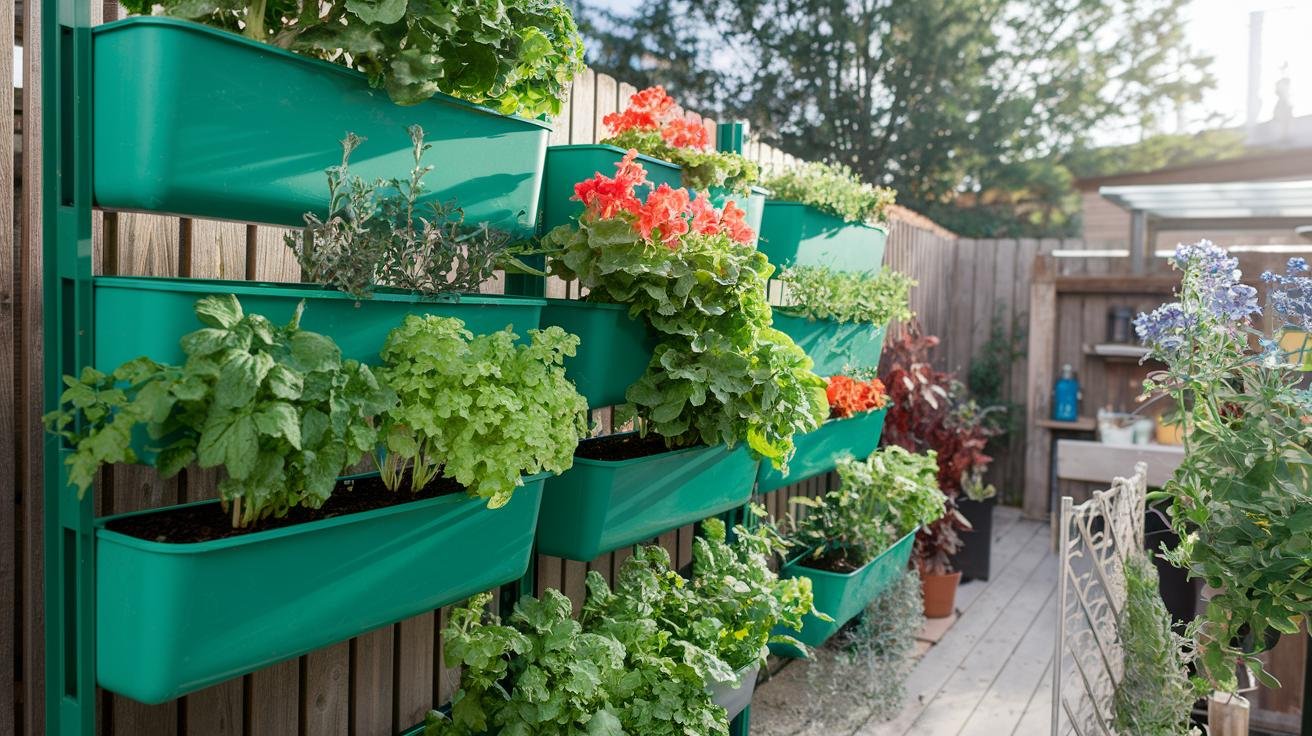
A modular vertical garden panel turns 8 square feet of bare wall into 32 square feet of planting space. I built my first one three summers ago on the fence behind my grill, mostly because I was tired of walking across the yard for basil, and I’ve added five more panels since. Built from cedar in a 24×36-inch format, a single panel holds 4 to 6 plants — herbs, lettuce, trailing greens, even small strawberries — and once you have the build dialed in, each new panel is about a 30-minute job.
This guide covers the full build the way I’d walk a neighbor through it: materials and tools, layout planning, step-by-step assembly and mounting, drip irrigation, what it costs in relative terms, and the light maintenance routine that keeps panels producing. If you’re still deciding on materials or plants, the cluster guides on vertical garden structure materials and shade-tolerant plants for vertical gardens are the places to start.
As an Amazon Associate, Backyard Superstar earns from qualifying purchases at no extra cost to you.
Materials and Tools
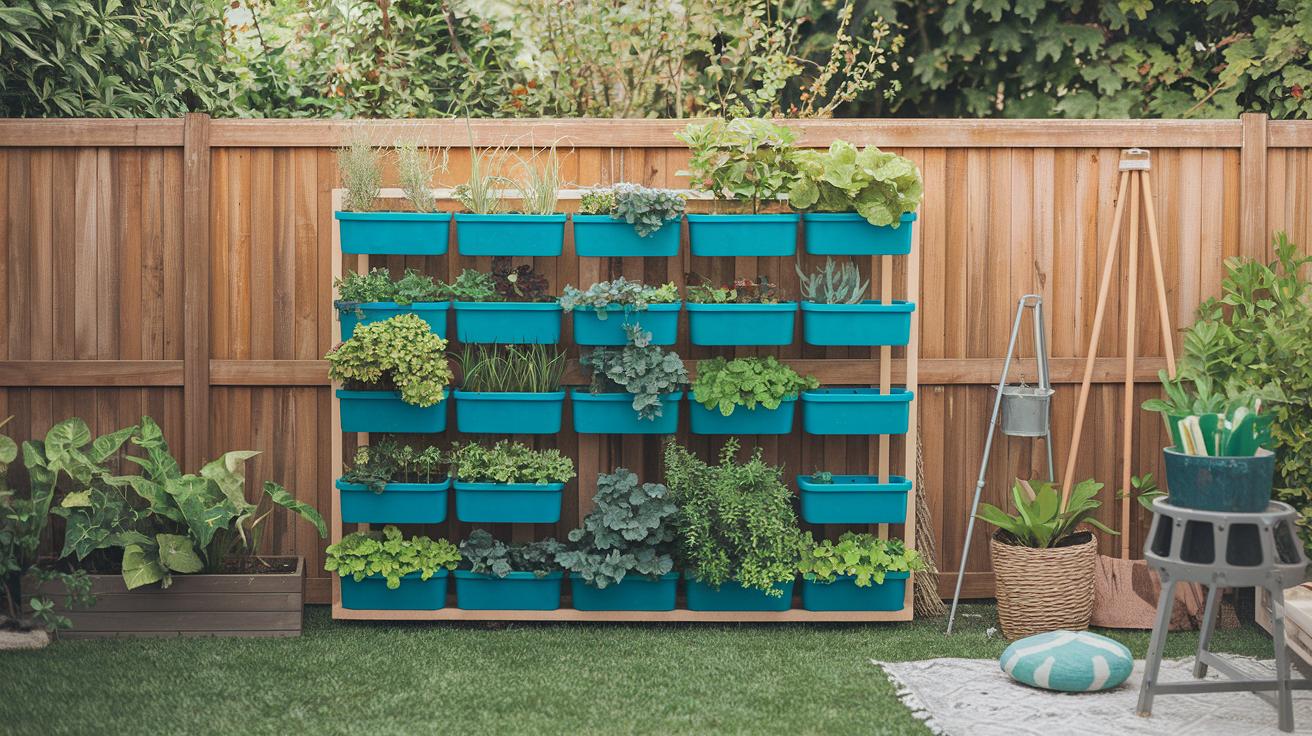
A 24×36-inch panel needs three things: weather-resistant lumber, something for the plants to live in, and hardware that won’t rust. For the frame you want four 36-inch and two 24-inch lengths of 1×4 — kiln-dried cedar is my default because it’s naturally rot-resistant, weathers to a nice silver-grey, and runs about 30% lighter than pressure-treated stock. Redwood behaves the same with a deeper color, and powder-coated metal profiles get you a modern look with zero annual sealing, at the cost of weight. Reclaimed pallet slats are the cheapest route if you check for the “HT” heat-treated stamp; skip anything marked “MB,” because methyl-bromide-treated wood has no business near food crops.
For the pockets, I’ve had the best luck with felt. A Meiwo 7-pocket felt wall planter ($) zip-ties straight onto the finished frame, breathes well enough that roots don’t sit in water, and has survived two winters on my north fence. If you’d rather build deeper pockets for kale or compact tomatoes, a set of VIVOSUN 5-gallon fabric grow bags ($) mounts to the frame with brackets and gives you real root depth for not much money. Rigid plastic pots and small wooden boxes work too — they just add weight, and weight is the thing you’re always budgeting on a wall-mounted build.
Round it out with 1¼-inch and 2-inch exterior screws, eight metal L-brackets per panel, and mounting hardware rated for your wall material. Galvanized fasteners are fine; stainless costs more and never rusts. A basic exterior screw and bracket assortment ($) covers two or three panels. On tools, you need a drill, a saw, a tape measure, a carpenter’s square, and a 4-foot level. My drill is a DEWALT DCD771C2 20V compact drill/driver ($$) — it’s driven every screw in six panels plus a raised bed and hasn’t complained yet. Any circular or miter saw makes the six cuts; a hand saw works if you’re patient.
One material most first-timers skip: sealer. Brush two coats of a clear waterproofer like Thompson’s WaterSeal clear wood sealer ($) onto the frame before any planters go on, with 24 hours between coats. End grain drinks water fastest, so the cut ends get a third pass. That one afternoon of sealing is the difference between a frame that lasts three seasons and one that lasts ten.
Planning and Designing the Layout
Measure the wall before you buy anything. A 6×8-foot fence section holds six 24×36-inch panels in a 3×2 grid; a narrow 4×4-foot patch fits two stacked vertically. I sketch the layout on graph paper at one square per foot and mark three things: panel positions, the path the irrigation tubing will take, and where I need to reach in for maintenance. That last one matters more than it sounds — my first layout put a panel behind the smoker, and I basically never weeded it.
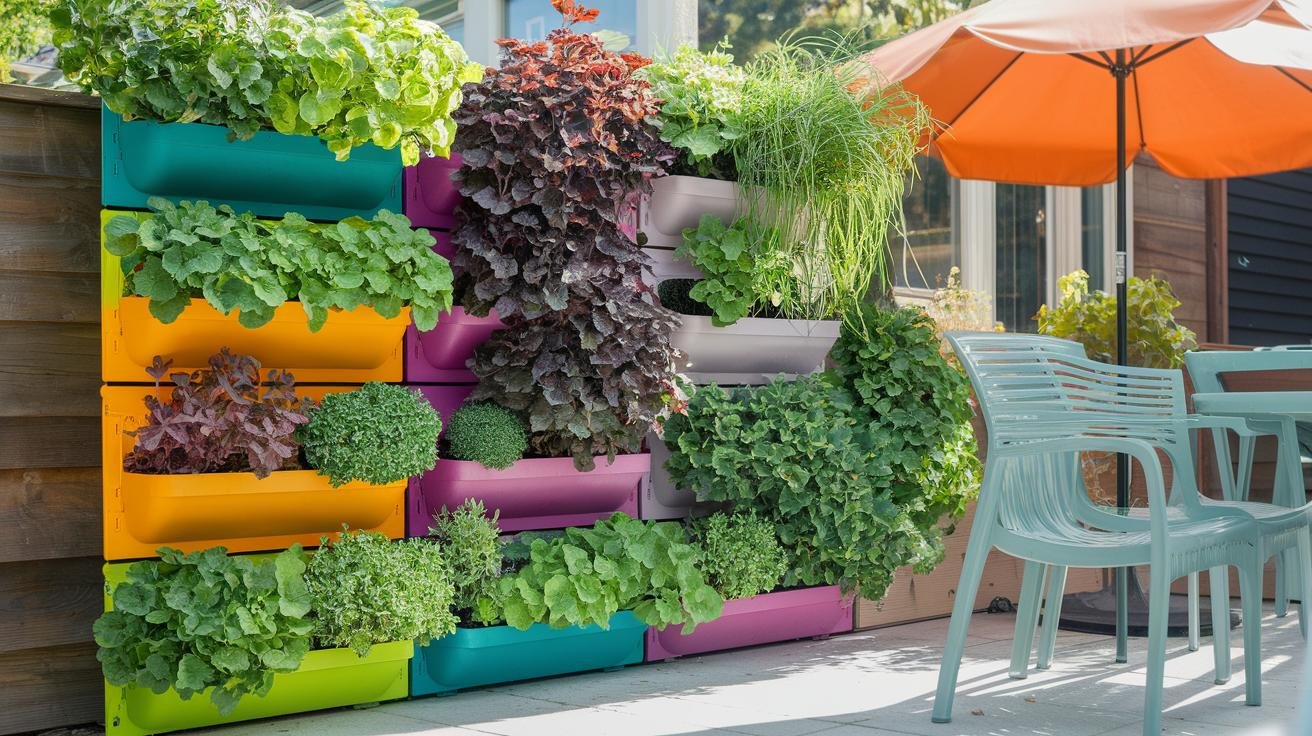
Plant capacity runs 4 to 6 per panel depending on root depth. Shallow-rooted herbs like basil, thyme, and parsley, and leafy greens like lettuce and arugula, fit six to a panel. Deeper-rooted kale, chard, and compact tomatoes want four. Mix leaf textures and growth habits so the wall reads as a planted composition instead of a grid of identical green squares.
Sun exposure matters more than soil here, because the pockets are small and exposed on multiple sides. A south-facing wall turns into an oven by July — plants dry out fast and the frame bakes — so give south installations a UV-rated finish and deeper pockets that hold more moisture. North walls suit the shade growers; the shade-tolerant plant guide has my picks. East and west are the easy middle ground. For soil, run 50% quality potting mix and 50% compost: the mix drains, the compost feeds and holds water. Bagged topsoil compacts in containers and suffocates roots, so leave it in the truck.
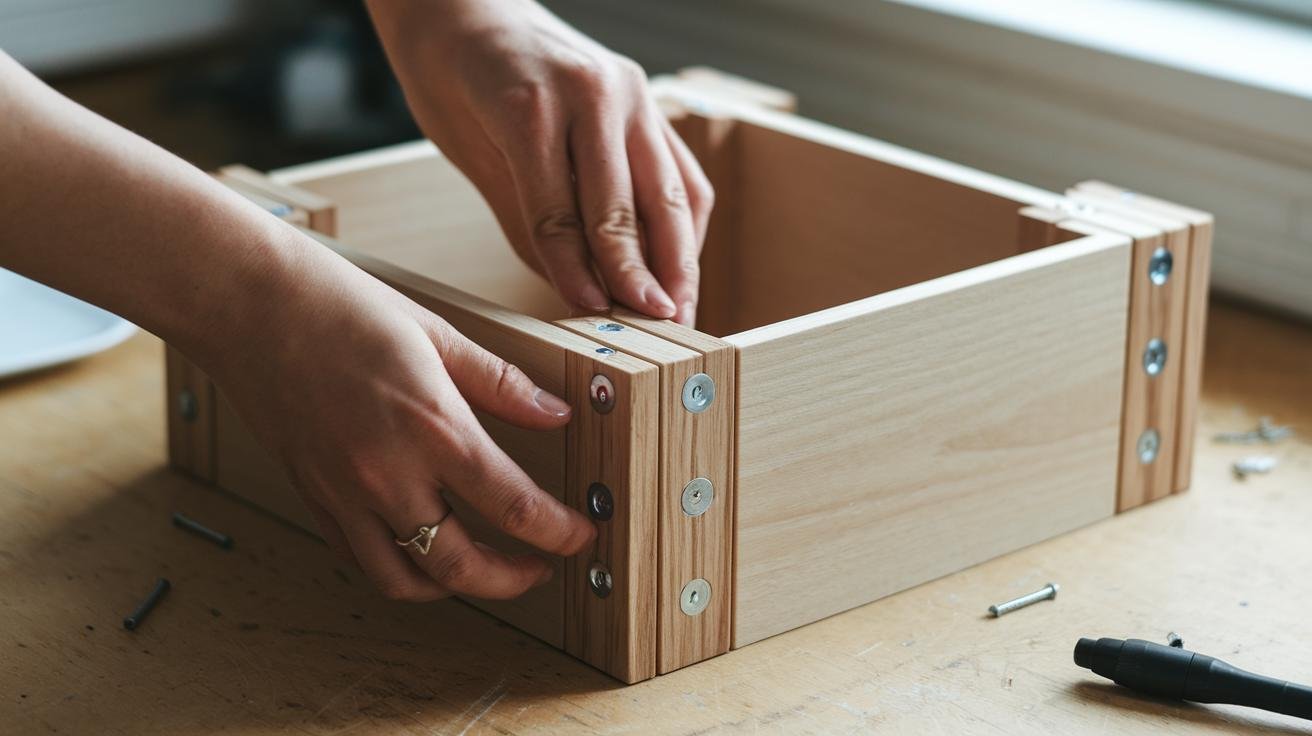
Assembly and Installation
Plan on 2 to 3 hours for your first panel. My sixth took 40 minutes, and that included finding the tape measure.
Building the frame
- Cut the six boards: four at 36 inches for the sides, two at 24 inches for the top and bottom. Sand the cut edges with 120-grit, then 220.
- Lay the boards out as a 24×36-inch rectangle with the horizontals sitting inside the verticals.
- Install an L-bracket at each corner with 1¼-inch screws — snug, not cranked, or you’ll strip the cedar.
- Add a cross support every 12 inches with more brackets. These stop the frame twisting once wet soil loads it.
- Measure both diagonals. Equal diagonals mean a square frame; unequal means fix it now, because you can’t after mounting.
Attaching pockets and mounting
Lay the frame face-down, position the pockets in two rows of three, and fasten each with brackets and 1¼-inch screws — felt planters can simply zip-tie to the frame through their grommets. If your pockets aren’t pre-drilled for drainage, add ½-inch holes every 6 inches along each bottom.
For mounting, pick a spot with at least 6 hours of sun for edibles. Fix a heavy-duty bracket or horizontal rail to the wall — masonry anchors in brick, screws into studs or fence rails for wood — then check it with the 4-foot level before the panel goes on. Slide the panel onto the rail, add a bottom bracket so it can’t shift, and give the whole thing a firm shake. A planted panel carries real weight in wet soil, and the shake test has caught two lazy mounting jobs for me before they became falling panels.
Drip Irrigation and Drainage
Vertical panels dry out faster than any bed in your yard — small soil volume, airflow on every side. You can hand-water daily in high summer, or you can spend an hour adding drip and stop thinking about it. I resisted the drip line for a full season and then kicked myself for the wasted watering cans.
The simple version: a Raindrip R560DP automatic drip kit ($$) is genuinely everything in one box — timer, 75 feet of ¼-inch tubing, and 20 pressure-compensating drippers, enough for three panels with tubing to spare. Run the line along the top rail, clip it every 12 inches, and set one dripper above each pocket. Pressure-compensating matters on a wall: every emitter delivers the same flow whether it’s first or last on the line, so the far pocket drinks as well as the near one. Twenty minutes a day on the timer handles most installations; adjust up in July, down in September. For a deeper comparison of watering setups, see the vertical garden irrigation guide.
No spigot nearby? Build in a reservoir instead: a 2-gallon container inside the frame base, a thin gravel layer in each pocket, and a felt wicking strip running from the water up into the soil. Capillary action does the rest; you top up the reservoir weekly. Either way, drainage is non-negotiable — ½-inch holes every 6 inches in the pocket bottoms, plus an absorption mat under the lowest row if the panel hangs over a patio or siding you care about.
Customization and Expansion
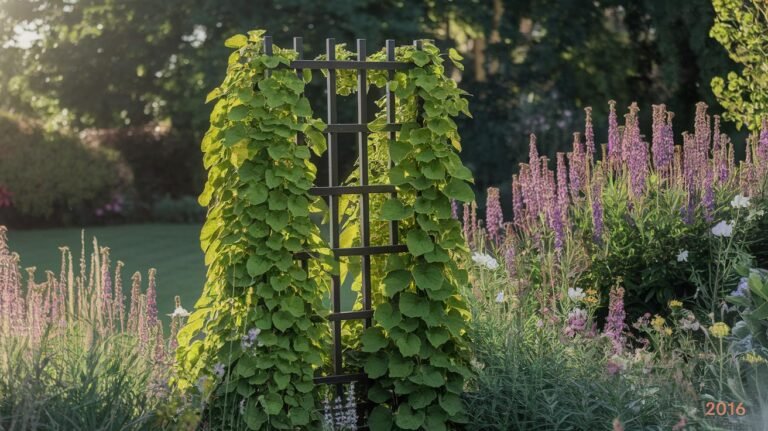
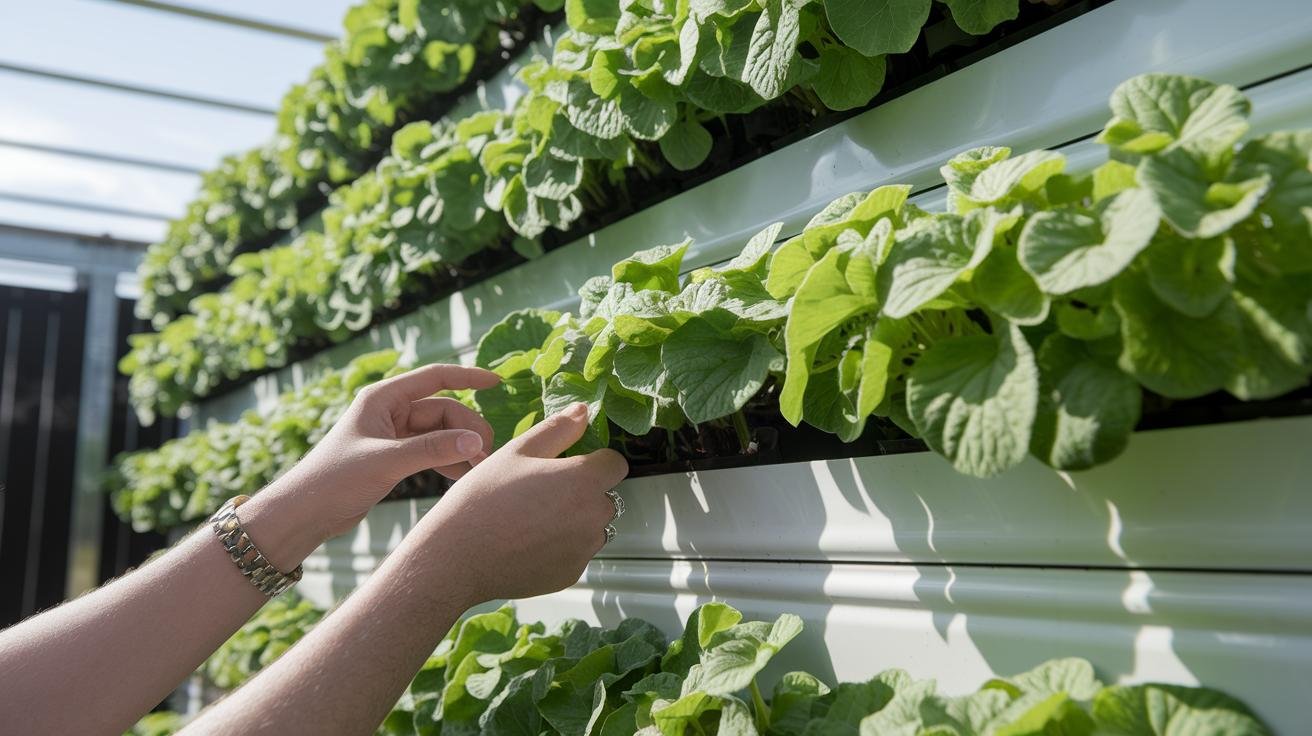
The modular part is the whole point. Build every panel to the same dimensions, mount them on the same rail system, and the wall grows whenever you have a free Saturday instead of demanding one giant weekend. Behind one of my panels I mounted a removable trellis and ran snap peas up through the wall — if that appeals, the climbing plants guide covers what climbs politely and what takes over.
Beyond that, the customizations are mostly taste. Exterior latex paint takes the frames any color your siding wants — muted gray and soft white both look sharp against cedar pockets. Seasonal rotation keeps the wall producing: spring lettuce and spinach give way to summer basil and tomatoes, then fall kale, then overwintering parsley and thyme. A strip of slate paint on each pocket corner lets you chalk-label whatever’s currently planted, which saves the “is this cilantro or flat parsley” squint. Solar string lights along the top rail turn the wall into the thing people comment on at dusk.
What a Panel Costs
Costs scale roughly linearly with panel count, and the DIY build lands meaningfully cheaper than off-the-shelf modular systems — I figure my cedar panels came in at less than half the cost of the commercial equivalents, with irrigation included. Relative tiers per panel:
| Component | Cost tier | Notes |
|---|---|---|
| Frame lumber | $–$$ | Pallet slats cheapest; cedar mid-range; redwood and metal at the top |
| Plant pockets | $ | Felt planters and grow bags cheapest; rigid boxes cost and weigh more |
| Hardware | $ | Galvanized is fine; stainless is the upgrade |
| Drip irrigation | $–$$ | One kit covers about three panels |
| Sealer | $ | One gallon seals a full wall of panels twice over |
The first panel is the expensive one because you’re buying the drill bits, the sealer, and the drip kit all at once. Panels two through six mostly just cost lumber and pockets, which is why starting with one panel and expanding is the right call financially as well as practically.
Maintenance and Troubleshooting
Once planted, the routine is light. Weekly, walk the wall: wilting means dry soil, yellowing usually means overwatering or hungry plants, and either one is a timer adjustment or a feeding away from fixed. Monthly, feed each pocket — half-strength liquid fertilizer through the irrigation line (fertigation, if you want the word) or a watering can of compost tea by hand. Small soil volume depletes faster than any bed, so vertical panels get hungry sooner than you expect.
Quarterly, pull the end cap off the drip line and flush it for 30 seconds to clear mineral buildup, check new growth for aphids and leaf undersides for spider-mite webbing, and prune so leaves sit a few inches apart — airflow is your fungicide. Once a year in early spring, top-dress every pocket with 2 inches of fresh compost-and-potting-mix and re-seal the frame if the finish looks thirsty.
The problems repeat, and so do the fixes. Afternoon wilt with moist soil is heat stress on a south wall — shade cloth in the hot hours, or move the tender plants to the bottom row where upper panels throw shade. Water pooling in a pocket means clogged or undersized drainage: drill more ½-inch holes. A dripper that quits is mineral buildup; an hour’s soak in vinegar dissolves it, or swap in a spare from the kit. And once a year, retighten every bracket screw — wood moves through seasons, and screws back themselves out a quarter turn at a time until the frame gets loose. Catch it at the annual check and it never becomes a problem.
A well-built panel system pays back the build time across years of fresh herbs and greens. Start with one to dial in the technique, expand as the budget allows, and by the third season the wall is established and the whole routine takes 20 minutes a week — most of it spent picking dinner.
Recommended Gear for This Build
As an Amazon Associate, Backyard Superstar earns from qualifying purchases at no extra cost to you.
- Pocket planters ($): Meiwo 7-pocket felt wall planter — breathable felt, zip-ties to the frame, two winters on my fence and counting.
- Deep-root option ($): VIVOSUN 5-gallon fabric grow bags — real root depth for kale and compact tomatoes.
- Drip irrigation ($$): Raindrip R560DP automatic drip kit — timer, tubing, and 20 pressure-compensating drippers in one box; covers about three panels.
- Drill/driver ($$): DEWALT DCD771C2 20V compact drill — the only power tool this build requires.
- Frame sealer ($): Thompson’s WaterSeal clear wood sealer — two coats before the pockets go on; the cheapest years you’ll ever add to a frame.
- Fasteners ($): exterior screw and L-bracket assortment — galvanized minimum, stainless if the panel lives somewhere wet.
DIY Vertical Garden Panel FAQ
What are DIY modular vertical garden panels?
They’re wall-mounted planting frames — typically 24×36 inches — that hold 4 to 6 plants in pocket planters. Because every panel is built to the same dimensions and hangs on the same rail system, you can start with one and expand the wall panel by panel as time and budget allow.
What materials do I need for one 24×36-inch panel?
Four 36-inch and two 24-inch lengths of 1×4 cedar (or redwood, metal profiles, or heat-treated pallet slats), felt pocket planters or fabric grow bags, exterior screws, eight L-brackets, wall-rated mounting hardware, and a clear outdoor sealer. Tools: a drill, a saw, a tape measure, a square, and a 4-foot level.
How long does the build take?
Budget 2 to 3 hours for the first panel, including sealing time spread over a day. Repeat builds go much faster — the cuts, brackets, and pocket layout are identical every time, which is the advantage of committing to one standard panel size.
How do I water a vertical garden panel?
Drip irrigation is the low-effort answer: ¼-inch tubing along the top rail with a pressure-compensating dripper above each pocket, run off a hose timer for about 20 minutes daily in summer. Without a spigot nearby, a built-in reservoir with felt wicking strips keeps pockets moist on a weekly top-up.
Is a DIY panel cheaper than a store-bought system?
In my experience, substantially — the DIY build runs well under half the cost of comparable commercial modular systems once you account for irrigation, and the gap widens with every additional panel because your tools and sealer are already paid for.
What maintenance do the panels need?
A weekly walk-by for wilt or yellowing, a monthly feed (fertigation or compost tea), a quarterly drip-line flush and pest check, and an annual spring top-dress plus frame re-seal. Retighten the bracket screws once a year — seasonal wood movement slowly backs them out.