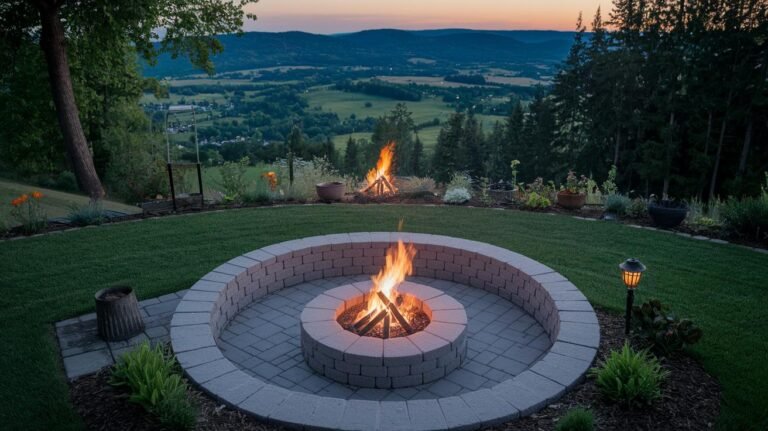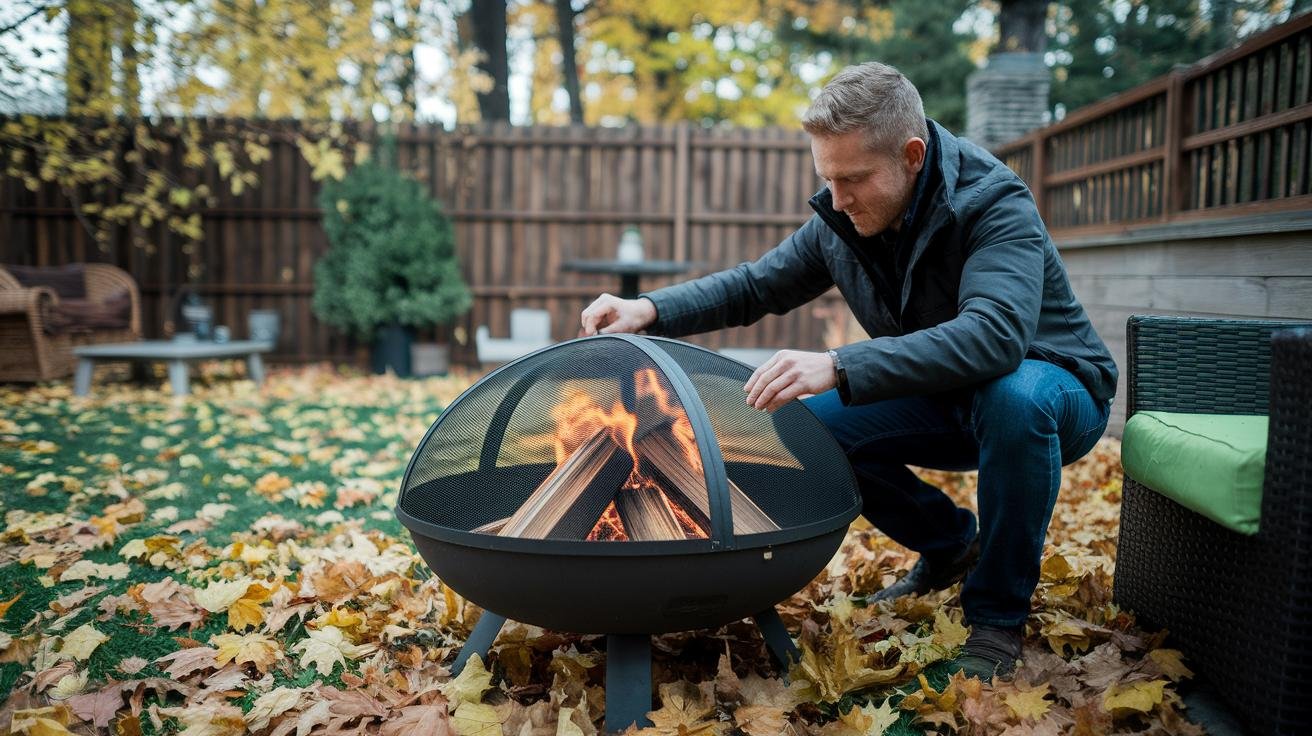
How to Winterize a Wood-Burning Patio Fire Pit
Skipping winterization seems harmless until March — when you pull back the tarp to find a rust-pocked bowl, cracked mortar, and hardware that seized over winter. A wood-burning patio fire pit is exposed metal, ceramic, or stone sitting through months of freeze-thaw cycles, and without preparation that seasonal stress adds up quickly. The good news: proper winterization takes less than two hours and protects years of use.
This guide walks through every step: ash removal, interior cleaning, rust sealant application, cover selection, accessory storage, periodic off-season checks, and — if you have a stone or brick pit — crack inspection and repair. Follow the sequence once before the first frost and your pit will be ready for the first fire of spring.
Quick Winterization Checklist
Before diving into the detailed sections, here is the full sequence at a glance. Each step is explained in depth below.
- Remove ash. Wait until coals are completely cold, then scoop out all ash and charred wood bits. Ash holds moisture and accelerates rust if left over winter.
- Wash and dry. Scrub the interior with mild dish soap and a soft brush, rinse thoroughly, and allow the pit to air-dry for 24 to 48 hours before applying any sealant.
- Apply sealant. Coat the interior and exterior with a high-temperature rust inhibitor or sealant rated for at least 1,200°F. Allow full cure time before covering.
- Install cover. Fit a breathable, waterproof cover with mesh vents and adjustable straps. A peaked top sheds snow rather than letting it accumulate.
- Store accessories. Clean and dry grill grates, fire tools, and cushions, then store them in a sealed bin in a garage or shed — not in the open under the cover.
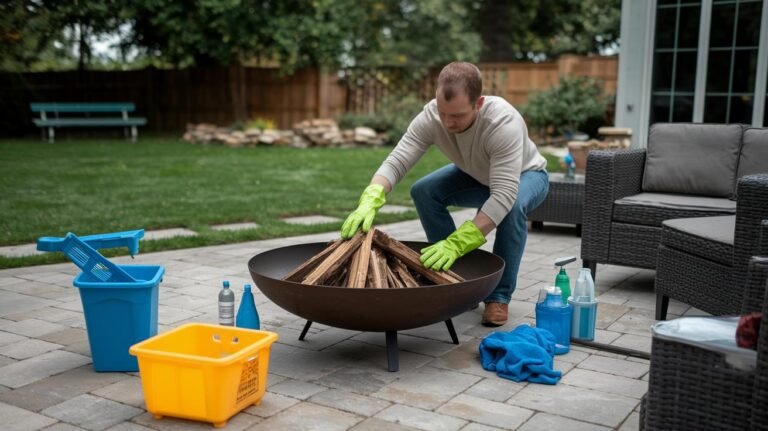
Cleaning the Fire Pit Interior Before Winterizing
Fine gray ash is the primary threat to a fire pit over winter. Ash is hygroscopic — it draws moisture from the air and holds it against the metal, creating the ideal conditions for rust. Before any sealant goes on, every trace of ash and charred debris needs to come out.
Make sure the fire pit is completely cold before you start. Even embers that look dead can retain heat for hours. Gather your tools before you begin:
- Metal scoop or small shovel
- Soft brush or non-wire sponge
- Mild dish soap
- Bucket of warm water
- Metal container with a tight-fitting lid for ash disposal
Scoop out every bit of ash and charred wood, depositing it into the sealed metal container. Then mix a few drops of dish soap into warm water and scrub all interior surfaces with your soft brush, paying close attention to soot streaks along the sides. Avoid wire-bristle scrubbers — they scratch the metal surface and leave micro-grooves where moisture can collect.
Rinse completely so no soap residue remains, tilt the pit so water drains through any drain holes, then move it to a sunny or breezy spot to air-dry for at least 24 hours. Forty-eight hours is better if humidity is high. Any moisture trapped under sealant will cause blistering and accelerate rust beneath the coating.
Applying Rust Inhibitors and Sealants to Protect Your Fire Pit
After cleaning, inspect the metal surface for any existing rust spots. Flaky orange patches need attention before the sealant goes on. Use a wire brush or a commercial rust remover to eliminate any loose rust, then wipe the entire surface with a clean cloth to remove dust and particles.
Gather everything before you begin the sealant step:
- Wire brush or commercial rust remover
- Clean cloths for surface prep
- High-temperature sealant or rust inhibitor rated to at least 1,200°F
- Paintbrush or spray applicator
- High-heat paint for color touch-ups (optional)
- Protective wax for a final buff coat (optional)
Apply a thin, even coat of sealant to the entire surface — inside and out. Follow the manufacturer’s cure time exactly; rushing this step means the sealant won’t bond properly and will peel or chip when temperatures drop. If the pit has visible color wear, add a thin coat of high-heat paint once the sealant is dry, let it cure, then buff on a protective wax. That layered barrier resists winter moisture and keeps the pit looking sharp heading into spring.
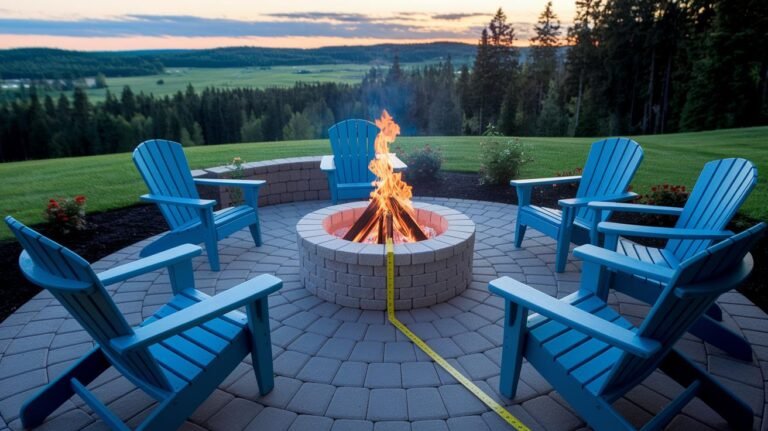
Selecting and Securing a Durable Fire Pit Cover for Winter
A quality cover does more than keep rain off. It manages airflow to prevent interior condensation, sheds snow load so the frame isn’t under sustained weight, and resists UV degradation so it doesn’t crack or split after a few cold months. If you’re still selecting the fire pit style that best suits your space, the backyard fire pit ideas guide covers the full range of wood-burning designs and their material differences — which directly affects which cover features matter most.
Look for these six features when choosing a winter cover:
- Thick polyester or vinyl with UV inhibitor coating — resists sun fading and frost cracking
- Mesh vents — allow airflow to prevent condensation from building inside
- Peaked or angled top — sheds snow instead of letting it pile and stress the fabric
- Adjustable straps and buckles — keep the cover tight against wind
- Heat-resistant fabric — allows fitting even when the pit is still slightly warm
- Correct size for a snug fit — gaps let in wind-driven rain and debris
Once you have the right cover, drape it so it hugs the sides without gaps and fasten all straps snugly. In high-wind areas, add bungee cords under the lip for extra security and tuck the edges beneath the pit’s base to block leaf debris and small animals from nesting inside over winter.
Off-Season Care and Ongoing Checks
Winterizing isn’t a one-and-done event. After the cover goes on, the pit still needs periodic attention through the cold months to catch problems before they become expensive repairs.
Accessories storage: Clean and dry all tools — shovels, pokers, grill grates — before putting them away. Any damp metal stored for months will rust. Tuck everything into a sealed bin or sturdy plastic tote and move it into a dry garage or shed. Drain propane tanks if your pit has a gas attachment and store them in a frost-free, approved location — frozen valves are a common problem when you fire up again in spring. While you’re tending to the fire pit, it’s worth doing a walkthrough of other outdoor furniture at the same time; the process for cleaning and storing patio lounge chairs follows a similar dry-then-cover sequence.
Furniture protection: Pull cushions and blankets off outdoor chairs and pack them into waterproof containers or heavy-duty plastic bags. Stand furniture legs on pallets or gravel so water can’t pool at the base and cause warping or rust. If you have additional lawn work to wrap up before temperatures drop, the lawn winter care guide covers parallel tasks — both are worth doing in the same late-fall session.
Periodic cover and safety inspections: After each significant snowfall, brush accumulated snow off the cover so the weight doesn’t stress the fabric or frame. Lift a corner to check straps, buckles, and mesh vents, and clear any slushy buildup from the opening. If you spot fresh rust or hairline cracks, address them before they expand through the next freeze-thaw cycle. Check that the spark screen remains locked — a displaced screen can allow embers to escape if the pit is used briefly on a warm winter day.
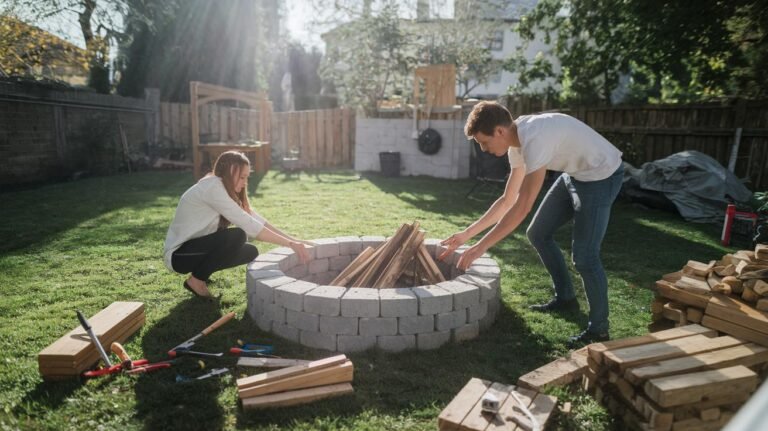
Inspecting and Repairing Stone or Brick Fire Pits Before Winter
Stone and brick pits have one additional vulnerability: mortar joints. Water that enters a hairline crack in the mortar freezes, expands, and widens the crack — a cycle that can turn a minor surface flaw into a structural problem over a single hard winter. Before closing the pit for the season, put on gloves and inspect every brick and joint.
Tap each brick gently with a wooden stick. A hollow sound means the brick has shifted or the mortar behind it has failed. Look for hairline cracks along the mortar lines, and check for any bricks that move when pressed lightly. Mark problem spots before you start repairs so you don’t miss any.
To seal cracks, load a masonry sealant rated for freeze-thaw cycles into a caulking gun and press a steady bead into each crack. Smooth it with a damp finger and allow it to cure according to the product directions. Once cracks are filled, coat the entire surface with a brush-applied masonry sealer until water beads off the surface.
Finally, address base drainage. Remove leaves, twigs, and loose soil from beneath the pit and add a 2-inch gravel layer underneath if one isn’t already in place. Gravel allows water to drain away from the base rather than pooling and wicking into the lower mortar joints. Run a fresh bead of grout where the pit meets any surrounding stone or patio surface to close gaps at the perimeter.
Frequently Asked Questions About Winterizing a Fire Pit
What steps are in a complete winterization checklist for a wood-burning fire pit?
A complete wood-burning fire pit winterization checklist includes five steps: remove all ash and charred debris once the pit is fully cold, wash the interior with mild soap and let it dry for 24 to 48 hours, apply a high-temperature rust inhibitor or sealant to all surfaces, install a breathable cover with mesh vents and secure it with adjustable straps, and store accessories like grates, tools, and cushions in a dry indoor space.
How do I clean the fire pit interior before winterizing?
Wait until the fire pit is completely cold — this can take several hours after the last fire. Scoop out all ash and charred wood into a sealed metal container. Scrub the interior with mild dish soap and a soft brush, rinse thoroughly to remove all soap residue, and let the pit air-dry for 24 to 48 hours before applying sealant. Avoid wire brushes on the interior, which scratch the metal and create grooves where moisture collects.
How do I apply rust inhibitors and sealants for winter protection?
After cleaning, use a wire brush or rust remover on any existing rust spots, then wipe the surface clean. Apply a thin, even coat of high-temperature sealant — rated for at least 1,200°F — to both the interior and exterior using a brush or spray applicator. Allow full cure time per the manufacturer’s instructions before covering the pit. Optional layers of high-heat paint and protective wax add durability and a polished finish.
Which features should I look for in a durable winter fire pit cover?
Look for thick polyester or vinyl with a UV inhibitor coating, mesh vents to prevent interior condensation, a peaked or angled top that sheds snow rather than holding it, adjustable straps and buckles for a secure fit, and a size that covers the pit without large gaps. Covers with heat-resistant fabric can be installed when the pit is still slightly warm, which is a practical convenience in cold weather.
How should I handle off-season care and ongoing checks for my fire pit?
After the cover is installed, check the fire pit after each significant snowfall by brushing off snow accumulation and lifting a corner of the cover to inspect straps, vents, and the pit opening. Address any new rust spots or cracks before the next freeze cycle. Store all accessories — grates, tools, cushions — in a dry indoor space, and check that the spark screen is secure in case the pit is used briefly on a warm winter day.
What should I inspect and repair on a stone or brick fire pit before winter?
Inspect every mortar joint and brick surface for hairline cracks before winter. Tap each brick with a wooden stick — a hollow sound indicates a loose brick or failed mortar behind it. Fill cracks with a masonry sealant rated for freeze-thaw cycles, smooth it flush, and allow full cure time. Then apply a brush-on masonry sealer to the entire surface and add a gravel layer beneath the pit for drainage. Seal any gaps where the pit meets surrounding stone or patio surfaces with fresh grout.