Preparing Backyard for Spring: Simple Steps to Success
Is your backyard ready to burst into life this spring, or is it still hiding under the remnants of winter’s chill? As temperatures rise, the time has come for renewal and preparation. In just a few simple steps, you can transform your outdoor space into a welcoming haven that beckons fresh blooms and vibrant greenery. Imagine a clean slate where old leaves are replaced with new growth, and every corner holds the promise of new beginnings. Join me as we explore practical methods to ensure your backyard not only survives but thrives this spring season.
Cleaning Your Backyard for Spring
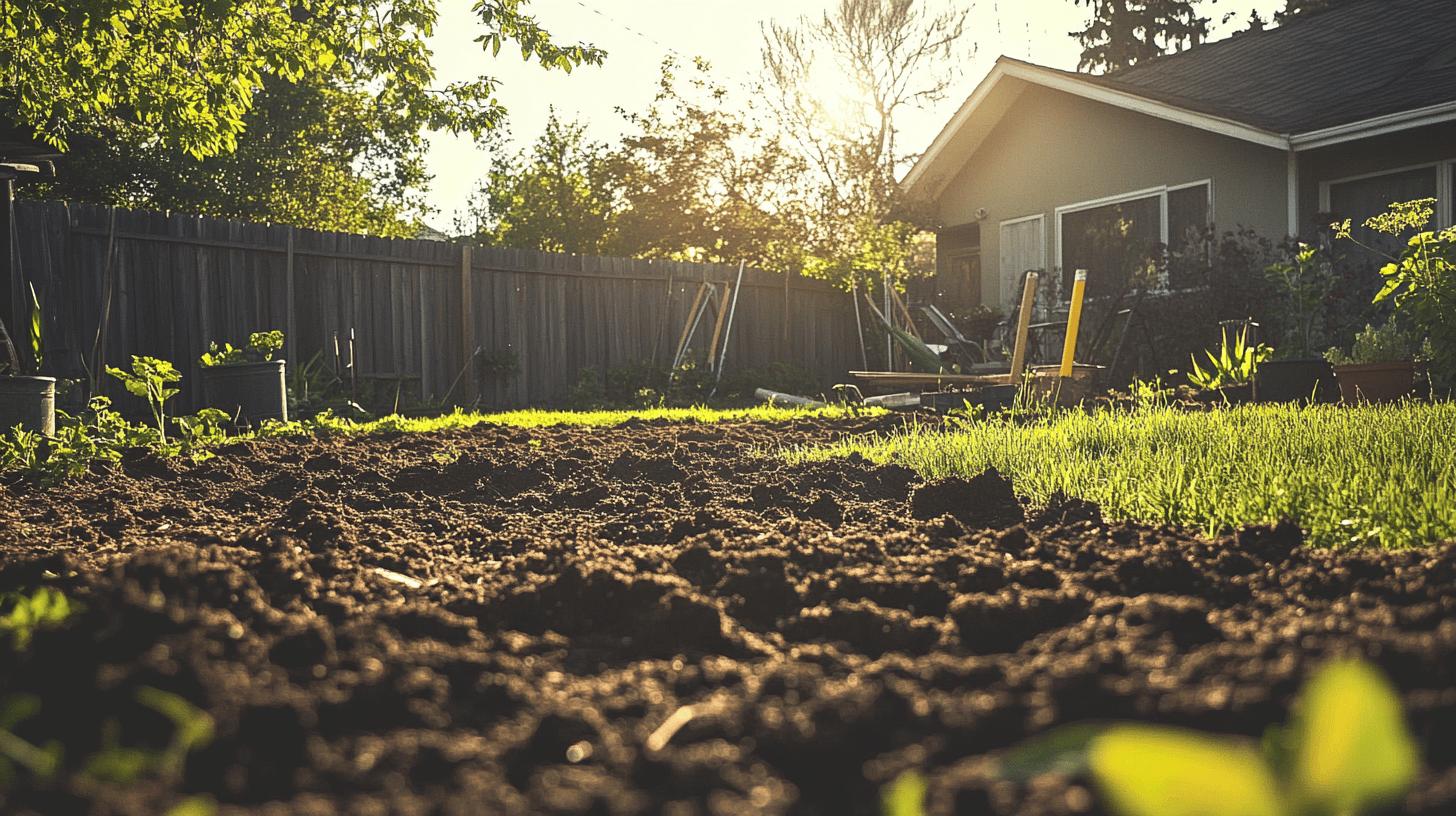
Clearing debris from your backyard is crucial as spring arrives, especially once temperatures rise above 50 degrees. This process sets the stage for vibrant new growth and prevents disease from overwintering in plant material. Raking up leaves and removing dead plants and weeds not only tidies the space but also improves the health of your garden beds. Wet leaves, which can be bagged for future mulch, provide a protective layer that retains moisture and suppresses weeds later in the season. Meanwhile, dry leaves can be crumbled into leaf mold, enriching the soil with valuable nutrients.
Spring Cleaning Checklist:
- Remove any dead plants from garden beds
- Rake and collect fallen leaves
- Bag wet leaves for mulch
- Crumble dry leaves into leaf mold
- Weed thoroughly around existing plants
- Clear out any broken branches or twigs
- Clean and tidy patio areas and pathways
- Power wash decks and patios to remove winter grime
- Clean out gutters to ensure proper drainage
- Check and clean outdoor lighting fixtures
A clean backyard not only enhances the aesthetic appeal of your outdoor space but also creates a healthier environment for plants to thrive. By eliminating debris, you’re reducing the risk of pests and diseases, allowing plants to absorb sunlight and nutrients more effectively.
Pro Tip: Don’t try to do everything in one day! Break up your spring cleaning into manageable sections over a weekend or two. Start with the areas that will have the biggest impact, like garden beds where you plan to plant early spring flowers.
Pruning and Preparing Trees and Shrubs
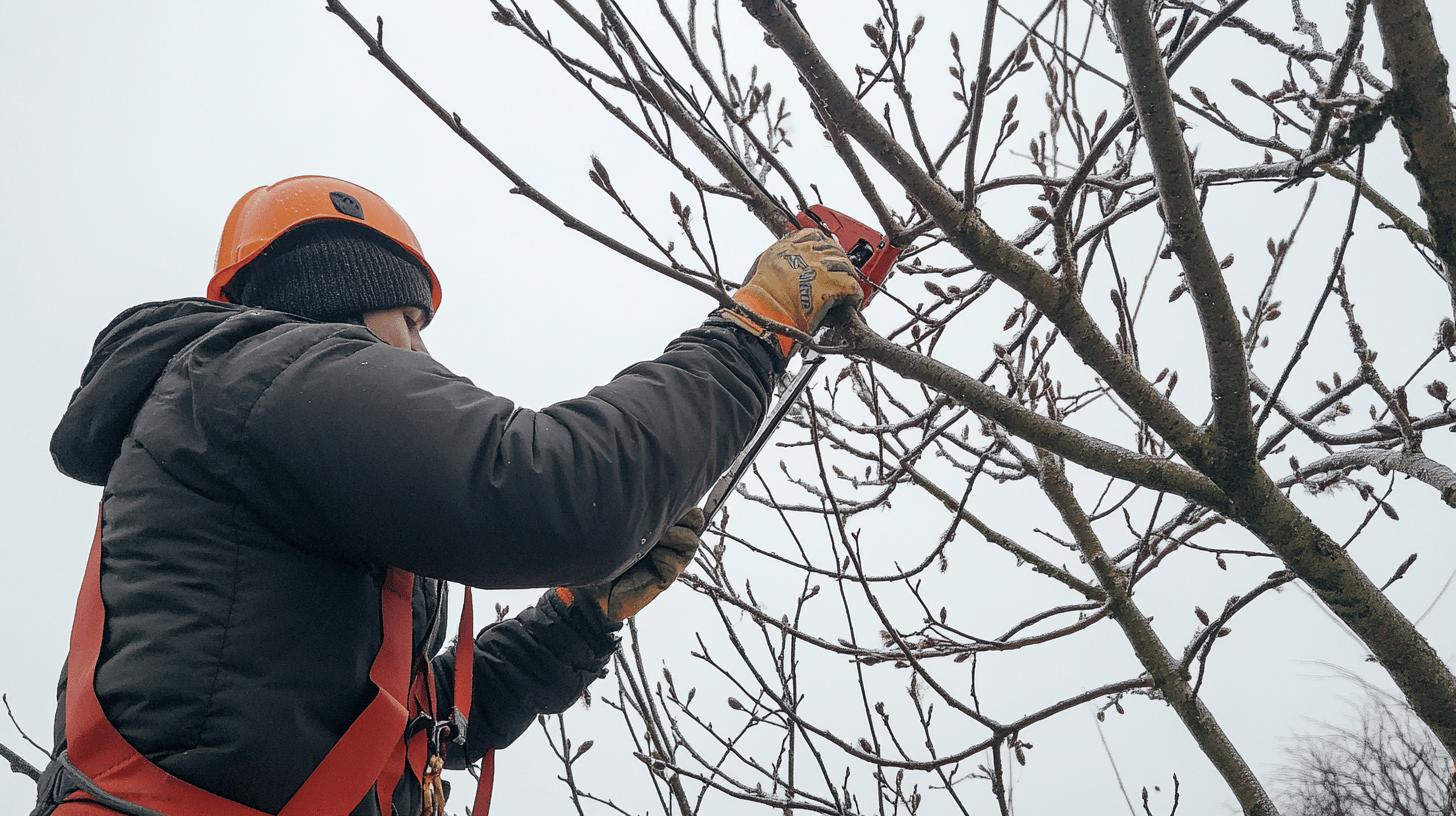
Early spring is an ideal time for pruning deciduous trees and shrubs. As they remain dormant during this season, the risk of stimulating unwanted new growth is minimized. Pruning at this stage helps shape the plants, remove dead or diseased branches, and improve airflow, which can prevent future issues. It’s also easier to see the structure of the plant without the foliage, making it simpler to make precise cuts. Proper pruning encourages healthier and more vigorous growth as the season progresses, ensuring your trees and shrubs are in top form as they awaken from their winter slumber.
Essential Pruning Steps:
- Identify and remove dead or diseased branches
- Cut back crossing branches to improve airflow
- Prune to shape and encourage strong structure
- Use clean, sharp tools for precise cuts
- Avoid heavy pruning of flowering shrubs until after blooming
- Remove any water sprouts or suckers growing at the base
- Step back frequently to assess the overall shape
When to Prune What:
- Early spring bloomers (like forsythia, lilac, and rhododendron): Prune immediately after flowering
- Summer-flowering trees and shrubs: Prune in early spring before new growth appears
- Fruit trees: Prune in late winter or early spring while still dormant
- Evergreens: Light pruning can be done in early spring; major pruning should wait until after new growth matures
Spring is also perfect for planting or transplanting trees and shrubs, as the cooler weather allows roots to establish themselves before the summer heat kicks in. Choose locations that provide adequate sunlight and consider the mature size of the plant to ensure proper spacing. By getting these plants into the ground now, they’ll have ample time to settle in and start developing robust root systems, setting the stage for a season of healthy growth and beautiful blooms.
Transplanting Tips:
- Water the plant thoroughly the day before transplanting
- Dig the new hole before removing the plant from its current location
- Make the new hole twice as wide as the root ball but the same depth
- Gently loosen the roots when placing in the new location
- Water deeply after transplanting and apply a layer of mulch
Soil Preparation and Fertilization Techniques
Preparing your soil for spring planting is more than just turning over the earth; it’s about creating a nutrient-rich environment that encourages healthy plant growth. Begin by focusing on soil structure through aeration and the removal of any lingering debris from winter. This process ensures that the soil is loose and well-drained, which is ideal for root development. Next, incorporate organic matter such as compost and well-rotted manure. These amendments not only improve soil fertility but also enhance its ability to retain moisture, providing a steady supply of nutrients to emerging plants.
Testing Your Soil: Before amending your soil, it’s worth getting a basic soil test kit from your local garden center. These affordable tests will tell you your soil’s pH level and nutrient content, helping you make more informed decisions about what amendments to add. Most vegetables and flowers prefer a slightly acidic to neutral pH (between 6.0 and 7.0).
DIY Soil Amendments:
- For clay soil: Add compost, sand, and gypsum to improve drainage
- For sandy soil: Incorporate compost and aged manure to improve water retention
- For acidic soil: Add garden lime to raise pH
- For alkaline soil: Add sulfur or peat moss to lower pH
Compost and manure are powerhouses of soil enrichment. Compost, made from decomposed organic materials, returns nutrients to the soil and fosters a robust microbial ecosystem. Manure, particularly from herbivores, is rich in nitrogen, which is crucial for leafy green growth. Applying these amendments in early spring, and again in fall, is essential for maintaining soil health. This twice-yearly approach ensures that the soil remains fertile and is capable of supporting the nutrient demands of heavy feeders like tomatoes and cucumbers throughout the growing season.
Composting 101: If you don’t already have a compost pile, spring is the perfect time to start one! Here’s a simple way to get started:
- Choose a spot in your yard that’s easily accessible
- Layer green materials (kitchen scraps, fresh grass clippings) with brown materials (dry leaves, small twigs)
- Keep the pile moist but not soggy
- Turn it occasionally to speed decomposition
- In a few months, you’ll have “black gold” for your garden!
Organic mulch is another invaluable tool in your soil preparation arsenal. Materials such as shredded leaves or straw not only suppress weeds but also help maintain soil moisture levels. By covering the soil with a 2-inch layer of mulch, you create a barrier that reduces evaporation, keeps roots cool, and prevents weed seeds from germinating. As the mulch breaks down, it further enriches the soil, adding organic matter that continues to nourish your plants.
Best Mulch Options:
- Shredded leaves (free and nutrient-rich)
- Straw (great for vegetable gardens)
- Wood chips (long-lasting for ornamental beds)
- Grass clippings (use a thin layer to prevent matting)
- Pine needles (excellent for acid-loving plants)
- Cocoa hulls (aromatic and attractive)
Embracing these soil preparation techniques will set the stage for a bountiful and healthy garden, ready to flourish as spring unfolds.
Planting Spring Flowers and Vegetables
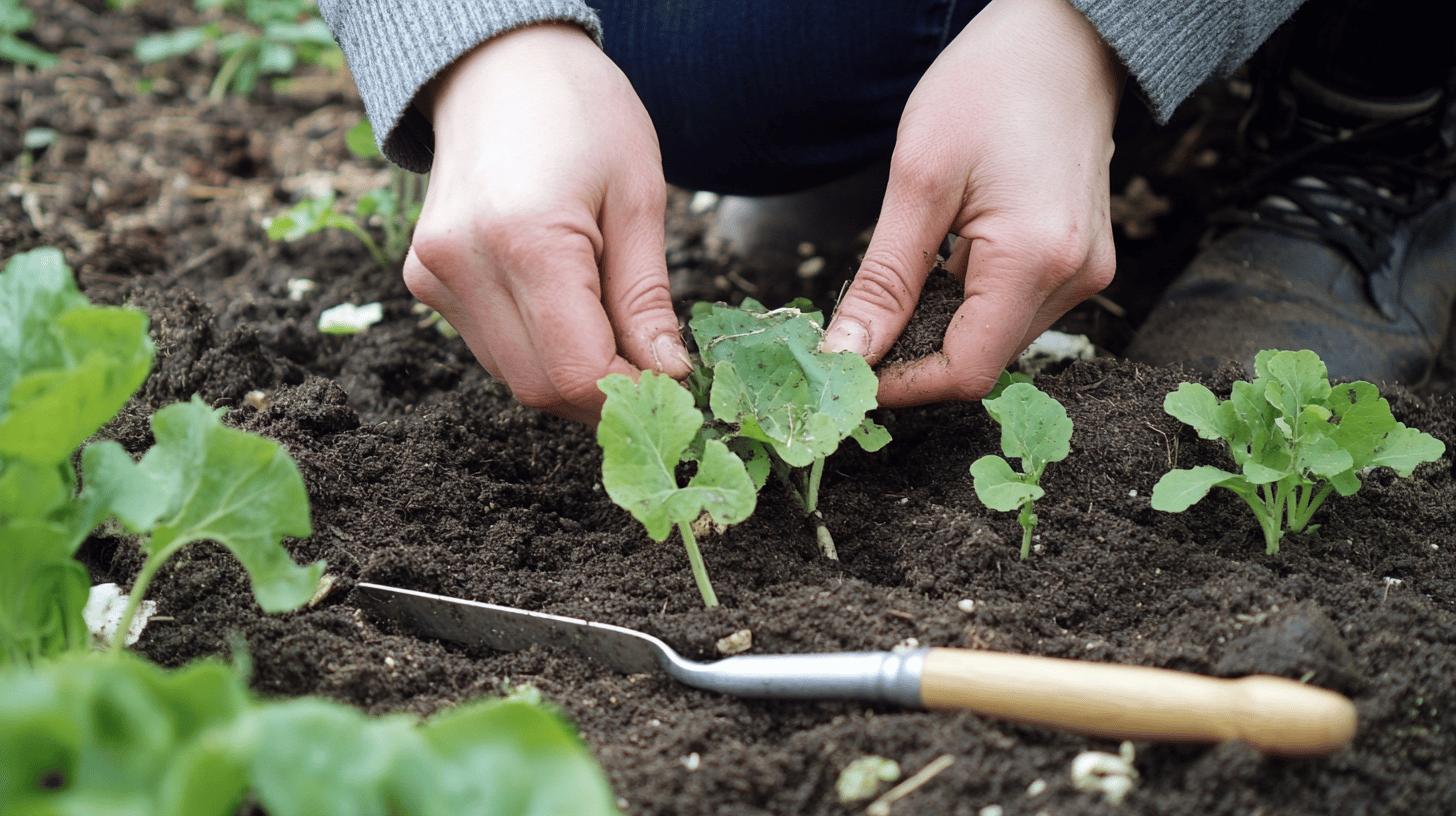
Choosing the right time to plant your spring flowers and vegetables can make all the difference in achieving a thriving garden. As spring approaches, focus on selecting species that are suited to the seasonal conditions and your specific region. For example, February and March are perfect for planting parsnips, which thrive in cooler temperatures but require diligent weeding to allow their roots to develop without disturbance. Similarly, early bloomers like daffodils and tulips can be planted as soon as the soil is workable. Timing is key, so ensure that you plan according to the growing needs of each plant to maximize their potential.
Cool-Season Vegetables to Plant in Early Spring:
- Lettuce and salad greens
- Spinach
- Peas
- Radishes
- Carrots
- Beets
- Broccoli
- Cabbage
- Kale
- Onions and leeks
Early Spring Flowers:
- Pansies
- Violas
- Primroses
- Snapdragons
- Sweet peas
- Calendula
When planning your garden layout, consider the benefits of crop rotation, especially if you’re working with raised beds or a small space. This method not only helps in reducing soil-borne diseases but also optimizes nutrient use by alternating between plants with different nutrient requirements. Strategically place taller plants, like sunflowers and corn, at the north end of the garden to prevent them from shading shorter plants. A well-thought-out layout can also create an aesthetically pleasing space that is easy to maintain throughout the growing season.
Simple 4-Year Crop Rotation Plan:
- Year 1: Leafy crops (lettuce, cabbage, spinach)
- Year 2: Fruit crops (tomatoes, peppers, eggplant)
- Year 3: Root crops (carrots, beets, onions)
- Year 4: Legumes (peas, beans)
Companion Planting Tips: Some plants grow better together! Try these combinations:
- Tomatoes + Basil (improves flavor and repels flies)
- Carrots + Onions (onions deter carrot flies)
- Corn + Beans + Squash (the “Three Sisters” method)
- Roses + Garlic (garlic repels aphids)
- Cucumbers + Nasturtiums (deters cucumber beetles)
Understanding plant hardiness zones is crucial for determining what to plant and when. These zones, based on climatic conditions, guide you in choosing plants that will flourish in your specific area. For instance, while some flowers and vegetables may thrive in cooler zones, others might require the warmth found in southern regions. Matching your planting schedule to these zones ensures that your garden is filled with healthy, robust plants that are well-suited to your local environment.
Seed Starting Indoors: For many gardeners, starting seeds indoors extends the growing season. Here’s a quick guide:
- Start 6-8 weeks before your last frost date
- Use seed-starting mix, not garden soil
- Provide plenty of light (a sunny window or grow lights)
- Keep soil consistently moist but not soggy
- Harden off seedlings gradually before transplanting outdoors
With careful planning and consideration of these factors, your spring garden will be set to bloom beautifully.
| Plant Type | Ideal Planting Time | Special Care Notes |
|---|---|---|
| Parsnips | February-March | Need weed-free area to develop properly |
| Daffodils | Early Spring | Plant bulbs in fall for spring blooms |
| Tulips | Early Spring | Need cold period to bloom properly |
| Sunflowers | Late Spring | Plant after danger of frost has passed |
| Corn | Late Spring | Plant in blocks for better pollination |
| Tomatoes | After last frost | Need consistent water and support |
| Zinnias | After soil warms | Deadhead for continuous blooms |
Setting Up Outdoor Furniture and Decor
Choosing the right outdoor furniture for spring involves more than just aesthetics; it’s about creating a functional and inviting space that complements your lifestyle. Begin by assessing your backyard’s layout and determining the best spots for seating and dining. Opt for durable, weather-resistant materials like teak or aluminum that can withstand the elements and require minimal upkeep. Arrange your furniture to facilitate conversation and relaxation, ensuring there’s ample space for movement. Whether it’s a cozy corner with a couple of Adirondack chairs or a full dining set under a pergola, thoughtful furniture placement can transform your backyard into a welcoming retreat.
Material Guide for Outdoor Furniture:
- Teak: Beautiful, long-lasting, but expensive; naturally resists weather and insects
- Aluminum: Lightweight, rust-resistant, and affordable
- Resin/Plastic: Inexpensive, colorful, and easy to clean
- Steel: Durable but heavy; needs rust protection
- Wicker/Rattan: Classic look but needs protection from heavy rain
- Recycled Plastic: Eco-friendly, durable, and low-maintenance
Spring Decor Ideas:
- Incorporate colorful cushions and throw pillows to add warmth and comfort
- Hang outdoor string lights to create a cozy ambiance for evening gatherings
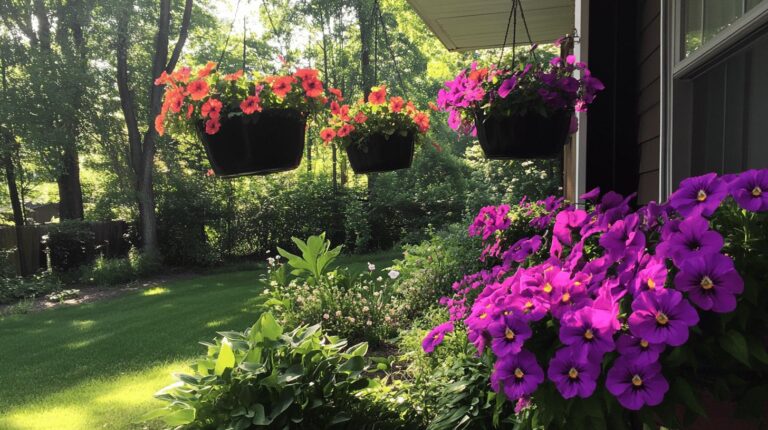
- Use potted plants and flowers to bring life and color to your seating areas
- Add a water feature, like a small fountain, for soothing background sounds
- Install a weatherproof outdoor rug to define spaces and add texture
- Choose decor that reflects personal style, such as lanterns or wind chimes
- Hang bird feeders to attract local wildlife
- Use colorful garden stakes or decorative plant markers
- Create a dedicated herb section near your grilling area
- Add outdoor art pieces that can withstand the elements
Creating Different Outdoor “Rooms”: Think about your backyard as having multiple purposes, and create distinct areas for each:
- Dining Zone: Tables, chairs, and proximity to the grill or kitchen
- Lounging Area: Comfortable seating, side tables, and shade options
- Play Space: Open area for games or activities, visible from seating areas
- Gardening Section: Well-organized and accessible for maintenance
- Meditation Corner: Quiet spot with comfortable seating and sensory plants
Incorporating seasonal themes into your backyard decor can enhance its visual appeal and make it feel more connected to the time of year. Spring is synonymous with renewal, so consider pastel shades and floral patterns to echo the season’s vibrant energy. These themes can be subtly woven into your decor through items like tableware, planters, and even outdoor art. By thoughtfully selecting seasonal accents, you create an inviting atmosphere that celebrates the beauty of spring, making your backyard a delightful extension of your home.
Quick Refresh Ideas: If you’re not ready for new furniture, refresh what you have:
- Clean cushions according to their care instructions
- Touch up paint on metal furniture
- Apply teak oil to wooden pieces
- Replace worn-out parts like slings or straps
- Add new accent pillows for an instant color update
Lawn Care and Maintenance for Spring
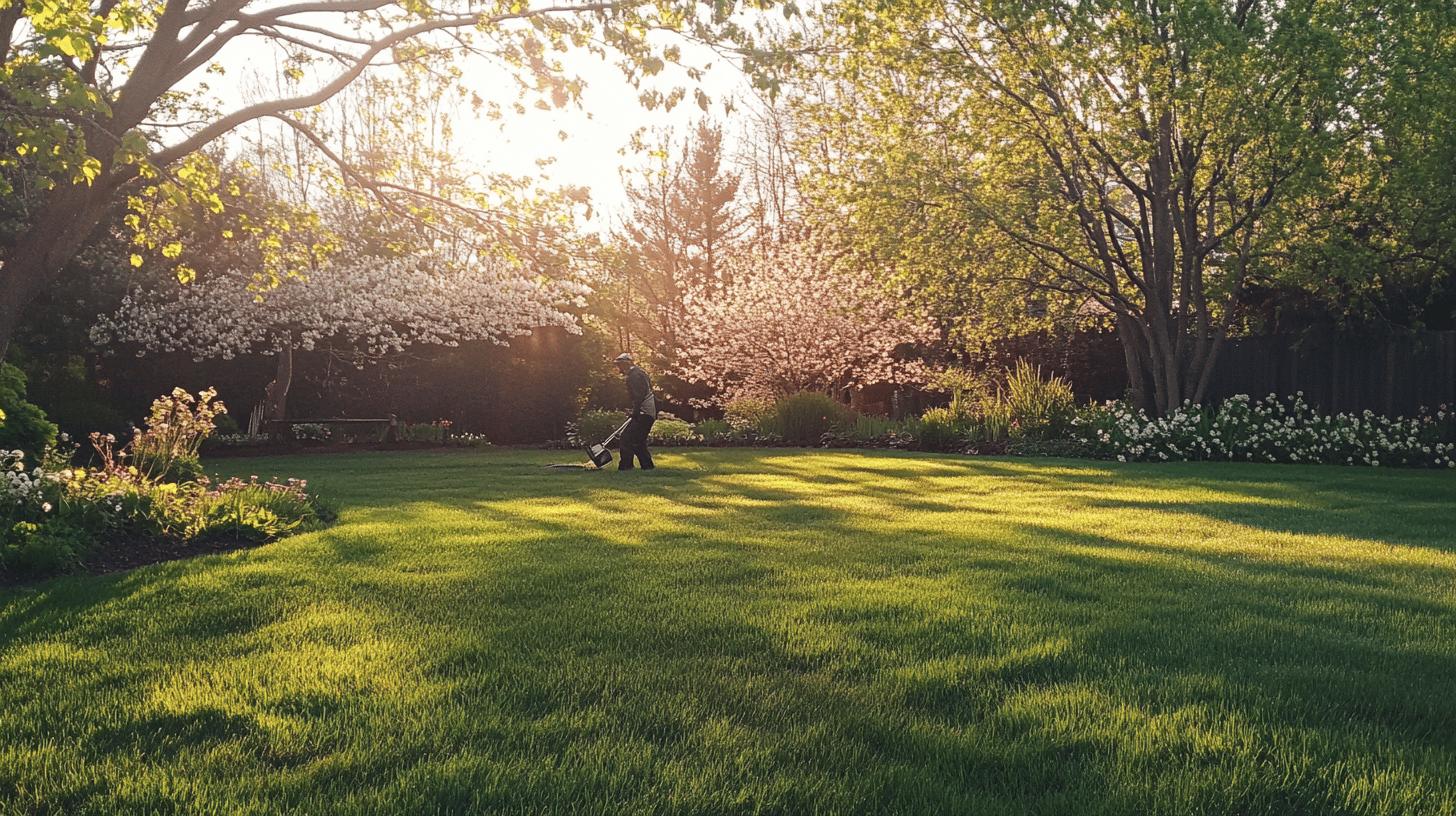
Aeration is a crucial step for ensuring a healthy lawn as spring rolls in. By creating small holes in the soil, aeration allows water, nutrients, and air to penetrate down to the root system. This process not only alleviates soil compaction but also promotes stronger root growth, leading to a more resilient lawn. Spring aeration can help your lawn quickly recover from winter dormancy, setting the foundation for lush, green grass throughout the season. It’s an investment in the overall health of your lawn, making it more robust against pests, diseases, and the stress of summer heat.
DIY Aeration Methods:
- For small lawns, use a garden fork to poke holes every few inches
- Wear spiked aerator sandals and walk across your lawn
- Rent a mechanical aerator for larger areas
- After aerating, apply a thin layer of compost to enhance soil health
Essential Lawn Care Tasks:
- Aerate the lawn to improve soil health and root growth
- Mow regularly, keeping lawn height between 2.5 to 3.5 inches
- Dethatch to remove excess thatch buildup
- Water deeply but less frequently to encourage deep root growth
- Apply pre-emergent herbicides to prevent weed growth
- Overseed bare or thin patches
- Apply a slow-release lawn fertilizer appropriate for your grass type
- Edge beds and walkways for a neat appearance
- Sharpen mower blades for clean cuts that promote lawn health
Fertilizing and dethatching are other vital components of spring lawn care. Applying a balanced fertilizer in early spring provides essential nutrients that stimulate growth and enhance the color of your lawn. Dethatching, which involves removing the layer of dead grass and roots sitting above the soil, improves air circulation and ensures that water and nutrients reach the roots efficiently.
Eco-Friendly Lawn Alternatives: If you’re looking to reduce your lawn’s environmental impact, consider:
- Clover lawns (drought-resistant and beneficial for pollinators)
- Native grass meadows (require less water and maintenance)
- Groundcover plants for low-traffic areas
- Rain gardens to manage water runoff
- Mix in white clover with traditional grass for a more resilient lawn
Together, these practices help maintain a healthy, vibrant lawn, ready to thrive as the days grow longer and warmer.
Pest Control and Prevention in Spring
Early pest control in spring is essential for maintaining a healthy garden throughout the growing season. As temperatures rise, many pests emerge from dormancy, ready to feast on your freshly planted flowers and vegetables. By taking action early, you can prevent infestations from taking hold. Natural methods, such as introducing pest-repellent plants and encouraging beneficial insects, are effective ways to keep these unwanted visitors at bay. These techniques not only protect your plants but also promote a balanced ecosystem within your garden.
Common Spring Garden Pests:
- Aphids
- Slugs and snails
- Cutworms
- Japanese beetles
- Squash bugs
- Cabbage worms
- Tomato hornworms
- Flea beetles
- Spider mites
Natural Pest Control Strategies:
- Plant marigolds to deter nematodes and aphids
- Introduce ladybugs to control aphid populations naturally
- Use garlic or onion sprays as natural insect repellents
- Set up bird feeders to attract pest-eating birds
- Employ diatomaceous earth around plant bases to deter crawling insects
- Create a simple soap spray (1 tablespoon dish soap per quart of water)
- Attract beneficial insects with flowering plants like dill, fennel, and cosmos
- Hand-pick larger pests like tomato hornworms and Japanese beetles
- Set up beer traps for slugs and snails
- Use floating row covers to protect young seedlings
Creating Your Own Pest Deterrent Spray: Mix the following ingredients in a spray bottle:
- 1 tablespoon vegetable oil
- 2 tablespoons baking soda
- A few drops of mild dish soap
- 1 gallon of water Shake well before using and spray on plants weekly for basic pest prevention.
Consistent monitoring and maintenance are key to sustainable pest control. Regularly inspect your plants for signs of damage or pest activity, such as holes in leaves or sticky residue. Keeping your garden clean and free of debris can also reduce hiding spots for pests. By staying vigilant and maintaining a tidy garden environment, you minimize the risk of infestations and ensure your plants can grow strong and healthy.
Integrated Pest Management (IPM): For a more systematic approach to pest control, follow these IPM principles:
- Prevention: Choose resistant plant varieties and maintain healthy soil
- Identification: Learn to identify beneficial insects vs. harmful ones
- Monitoring: Regularly check plants for early signs of problems
- Action Thresholds: Decide when intervention is necessary
- Combination of Methods: Use cultural, physical, and biological controls before chemical ones
- Evaluation: Assess what worked and adjust your approach accordingly
Enhancing Backyard Design for Spring
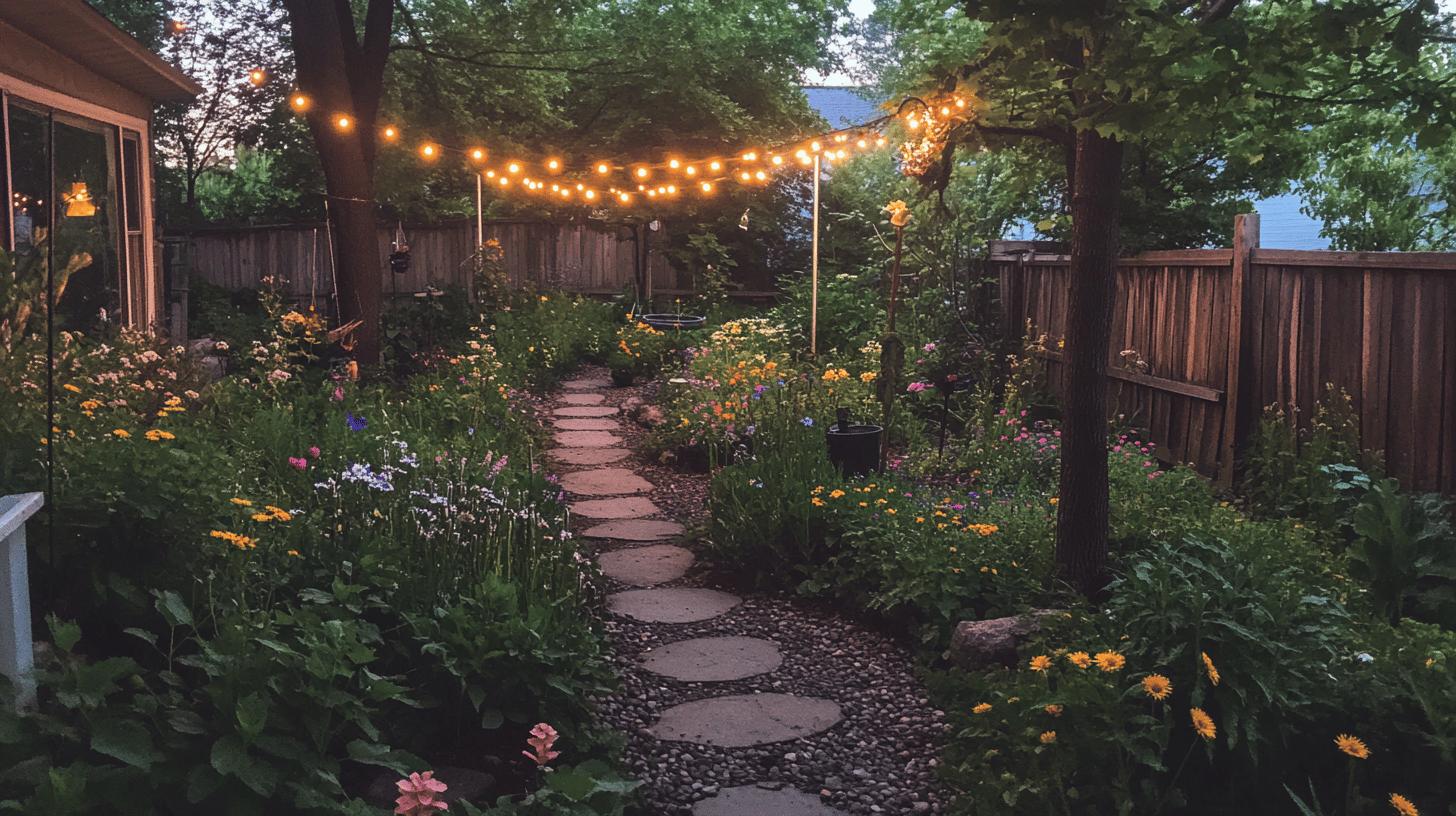
As spring breathes new life into our gardens, it’s the perfect time to update your backyard design with thoughtful lighting and pathways. Effective lighting not only extends the usability of your outdoor spaces into the evening but also highlights the beauty of your garden, creating a warm and inviting atmosphere. Consider energy-efficient options like solar-powered lights or LED fixtures that are both environmentally friendly and cost-effective. Pathways crafted from stone, gravel, or wood can guide guests through your garden, providing structure and flow while minimizing foot traffic on delicate plant areas. The combination of well-placed lighting and defined paths transforms your backyard into a functional and picturesque retreat.
Lighting Design Tips:
- Layer different types of lighting (ambient, task, and accent)
- Use uplighting to highlight trees and architectural features
- Install path lights about 14-16 inches above the ground
- Consider motion-sensor lights near entrances for security
- Use warm white lights (2700-3000K) for a cozy atmosphere
- Weatherproof all connections and use outdoor-rated fixtures
- Install timers to automate your lighting schedule
DIY Pathway Ideas:
- Stepping stones set in gravel
- Mulch paths lined with pavers
- Reclaimed brick laid in interesting patterns
- Wood rounds set in sand
- Crushed granite or decomposed granite for a natural look
| Design Element | Enhancement Idea | Approximate Cost |
|---|---|---|
| Lighting | Install solar-powered path lights | $20-100 |
| Pathways | Lay stone or gravel paths for structure | $100-500 |
| Water Feature | Add a small fountain for tranquility | $50-300 |
| Garden Edging | Use decorative edging to define beds | $30-150 |
| Vertical Garden | Incorporate trellises or wall planters | $40-200 |
| Fire Pit | Create a gathering space with a simple fire pit | $100-500 |
| Raised Beds | Build new beds for vegetables or flowers | $50-200 each |
| Arbor | Install an entrance feature to define spaces | $100-400 |
Seating and gathering areas are essential for creating a backyard that’s both welcoming and practical. Whether you’re hosting a large barbecue or enjoying a quiet morning coffee, arranging seating to accommodate different activities is key. Opt for weather-resistant furniture that complements the natural surroundings, perhaps with a mix of cushioned chairs and a wooden bench. Consider setting up a focal point, such as a fire pit or a dining table, that encourages social interaction and relaxation.
Creating a Budget-Friendly Outdoor Entertainment Space:
- Use pallets to build simple seating with cushions
- Hang string lights between trees or posts for instant ambiance
- Create a DIY fire pit with a metal ring and stones
- Use large planters to define spaces instead of building permanent structures
- Repurpose indoor items like mirrors and frames as outdoor art (with weatherproofing)
- Make outdoor pillows from weather-resistant fabric
- Use a tarp or shade sail for an inexpensive shade solution
By thoughtfully arranging seating and gathering spaces, you enhance the functionality of your backyard, making it a place where memories are made and enjoyed throughout the season.
Sustainable Gardening Practices for Spring
Embracing sustainable gardening practices in spring is not just a trend; it’s a meaningful way to contribute to environmental health. By focusing on these practices, we conserve precious resources and foster a more resilient garden ecosystem. Sustainable gardening reduces reliance on chemical fertilizers and pesticides, promoting healthier soil and plant life. It also enhances biodiversity by encouraging a variety of pollinators and beneficial insects to thrive. The result is a garden that is not only more in harmony with nature but also more cost-effective, as it utilizes resources more efficiently.
Water Conservation Strategies:
- Install rain barrels to collect roof runoff
- Use soaker hoses or drip irrigation instead of sprinklers
- Water early in the morning to reduce evaporation
- Group plants with similar water needs together
- Apply mulch to retain soil moisture
- Create swales or rain gardens to capture runoff
- Install a smart irrigation controller that adjusts to weather conditions
Supporting Pollinators: A sustainable garden supports local wildlife, especially important pollinators:
- Plant at least three different flowering plants for each season
- Include native flowering plants that local pollinators recognize
- Provide a shallow water source with landing spots
- Create bee hotels for solitary bees
- Leave some areas of bare soil for ground-nesting bees
- Reduce or eliminate pesticide use
- Plant butterfly host plants like milkweed, dill, and parsley
Practical eco-friendly practices are the cornerstone of sustainable gardening. Composting is a simple yet impactful way to recycle kitchen and garden waste into nutrient-rich soil enhancers. This process not only reduces landfill waste but also improves soil structure and fertility. Rainwater harvesting is another effective technique, capturing rain to water plants without tapping into municipal supplies. Using native plants is equally important, as they are naturally adapted to local conditions and require less water and maintenance.
Easy Sustainability Swaps:
- Replace plastic plant markers with wooden ones
- Use biodegradable pots for seedlings
- Switch to organic fertilizers instead of synthetic ones
- Opt for electric or manual garden tools instead of gas-powered
- Choose long-lasting, high-quality tools that won’t need frequent replacement
- Use compostable garden twine instead of plastic ties
- Share seeds and plants with neighbors to reduce packaging waste
By integrating these methods into our gardening routines, we create a sustainable and thriving garden that flourishes with minimal environmental impact.
Preparing Garden Tools for the Spring Season
Proper garden tool maintenance is essential as we head into spring. Well-maintained tools not only make garden tasks easier but also ensure accuracy and efficiency. By taking the time to clean and sharpen your tools, you extend their lifespan and improve their performance. Tools that are rust-free and sharp help prevent plant damage and reduce strain on the gardener. Regular maintenance is a worthwhile investment, setting you up for a more productive gardening season.
Essential Tool Maintenance: Start by thoroughly cleaning your tools to remove any rust and grime. Use a wire brush or steel wool to scrub away rust, then wipe them down with a cloth soaked in a light oil to prevent future corrosion. Sharpening blades is just as crucial; a sharp edge cuts cleaner and requires less effort. A file or sharpening stone can be used to hone the edges of your pruners, shears, and hoes. Regular sharpening keeps your tools in top condition, ready to tackle the challenges of the garden with ease.
Basic Tool Sharpening Guide:
- Pruners and Shears: Use a sharpening stone at a 20-degree angle along the beveled edge
- Hoes and Shovels: Use a file at a 45-degree angle to create a sharp edge
- Mower Blades: Remove from mower and use a grinder or file to restore the edge
- Loppers: Sharpen like pruners, focusing on the curved cutting blade
- Garden Knives: Use a sharpening stone, starting with coarse grit and progressing to fine
Tool Organization Ideas:
- Install a pegboard in your garage or shed to hang frequently used tools
- Convert an old dresser into garden tool storage
- Use PVC pipes attached to a wall to store long-handled tools
- Repurpose kitchen utensil organizers for small hand tools
- Label your tools with bright paint or tape for easy identification
- Create a mobile tool caddy from a bucket with a tool belt attached
- Use old mason jars mounted under a shelf to store small items like plant markers or twine
Spring Tool Checklist:
- Clean and sharpen pruners, loppers, and shears
- Oil wooden handles to prevent splitting
- Tighten loose screws and bolts
- Replace broken or severely damaged tools
- Tune up power equipment like mowers and trimmers
- Check hoses for leaks and replace washers if needed
- Clean and organize pots and seed-starting supplies
- Create a dedicated space for frequently used items
By maintaining your tools properly, you’ll make your gardening tasks more efficient and enjoyable throughout the spring season.
Final Words
Preparing your backyard for spring is about ensuring everything’s ready for the new season. By cleaning garden beds, pruning trees and shrubs, and getting your soil and plants in order, you’ll set a solid foundation for vibrant growth. Remember, your outdoor area isn’t just about the plants; thoughtful furniture and design enhance the experience for both you and your guests.
The effort you put in now will pay dividends throughout the growing season. Each task—from aerating your lawn to setting up comfortable seating areas—contributes to creating a space where you can relax, entertain, and connect with nature. Spring preparation isn’t just about work; it’s about setting the stage for months of enjoyment.
Through sustainable gardening practices and proper tool maintenance, you contribute to lasting beauty and functionality in your outdoor space. These environmentally friendly approaches benefit not just your garden, but the broader ecosystem as well. Embrace these steps and watch your backyard transformation motivate a season of enjoyment and growth. Here’s to a thriving, welcoming backyard this spring!
FAQ
When should I start preparing my yard for spring?
A: I recommend starting as soon as the temperatures consistently exceed 50 degrees. This is the perfect time to remove debris, prune trees, and begin preparations for new growth. In most regions, this happens in late February to early April, depending on your climate zone.
How do I prepare the soil for spring planting?
A: Preparing soil involves spreading compost and manure to enrich it for nutrient-demanding plants. Amending soil twice a year and using organic mulch can significantly improve soil quality and suppress weeds. A soil test can guide you on specific amendments needed for your garden’s particular conditions.
What’s the best time for pruning and preparing trees and shrubs?
A: Early spring is ideal for pruning deciduous trees and shrubs while they are dormant. This reduces the risk of stimulating new growth and is also a great time for planting or transplanting trees. Just remember to avoid pruning spring-flowering shrubs until after they bloom.
How should I go about cleaning my backyard for spring?
A: Begin by clearing garden beds of plant debris when temperatures rise. This includes raking leaves, removing dead plants, and tidying up the area to encourage new growth. Work in sections to avoid feeling overwhelmed, and save some leaves for composting or mulching.
What is on a spring gardening checklist?
A: Essential tasks include cleaning garden beds, preparing soil, pruning plants, and setting up outdoor spaces. Each task contributes to a thriving garden as the season progresses. Don’t forget to check irrigation systems, clean gutters, and inspect outdoor structures for winter damage.
What vegetables are best for spring gardening?
A: Early spring is perfect for planting cool-season vegetables like peas, lettuce, spinach, kale, carrots, and radishes. Plan a garden layout and consider crop rotation. Pay attention to plant hardiness zones for optimal growth and timing.
How can I prepare a garden bed for planting vegetables?
A: To prepare a garden bed, remove weeds and debris, work in compost or manure, and ensure the soil is well-aerated. These steps lay the foundation for a fruitful harvest. Consider adding a slow-release organic fertilizer specific to vegetables, and create clear pathways for access without compacting the soil.
How do I prepare outdoor areas for spring decor and furniture?
A: Start by thoroughly cleaning existing furniture, repairing any damage from winter, and assessing what needs replacement. Select seasonal furniture pieces that suit your space and lifestyle, then enhance areas with color combinations and decor themes that highlight spring’s vibrancy.
What are effective pest control methods for spring?
A: Natural methods like using pest-repellent plants, maintaining garden cleanliness, and regular monitoring for pests can minimize infestations and maintain garden health. Focus on prevention first, using barriers like row covers and encouraging beneficial insects, before resorting to sprays or other interventions.
How can I create a more sustainable backyard this spring?
A: Focus on water conservation through efficient irrigation, plant native species that support local wildlife, reduce chemical use by embracing organic practices, and start composting if you haven’t already. Small changes like collecting rainwater or creating wildlife habitats can make a significant difference in your garden’s environmental impact.
