The Beginner’s Guide to Garden Maintenance: Making Your Garden Thrive
Hey there, fellow garden enthusiast! So you’re looking at your backyard and dreaming of turning it into a gorgeous garden, but feeling a bit overwhelmed? Don’t worry – I’ve been exactly where you are, and I’m here to tell you that creating and maintaining a beautiful garden is totally doable, even for complete beginners. Let’s break it down into simple, manageable steps that will have you gardening like a pro in no time!
Getting Started: The Foundation of a Great Garden
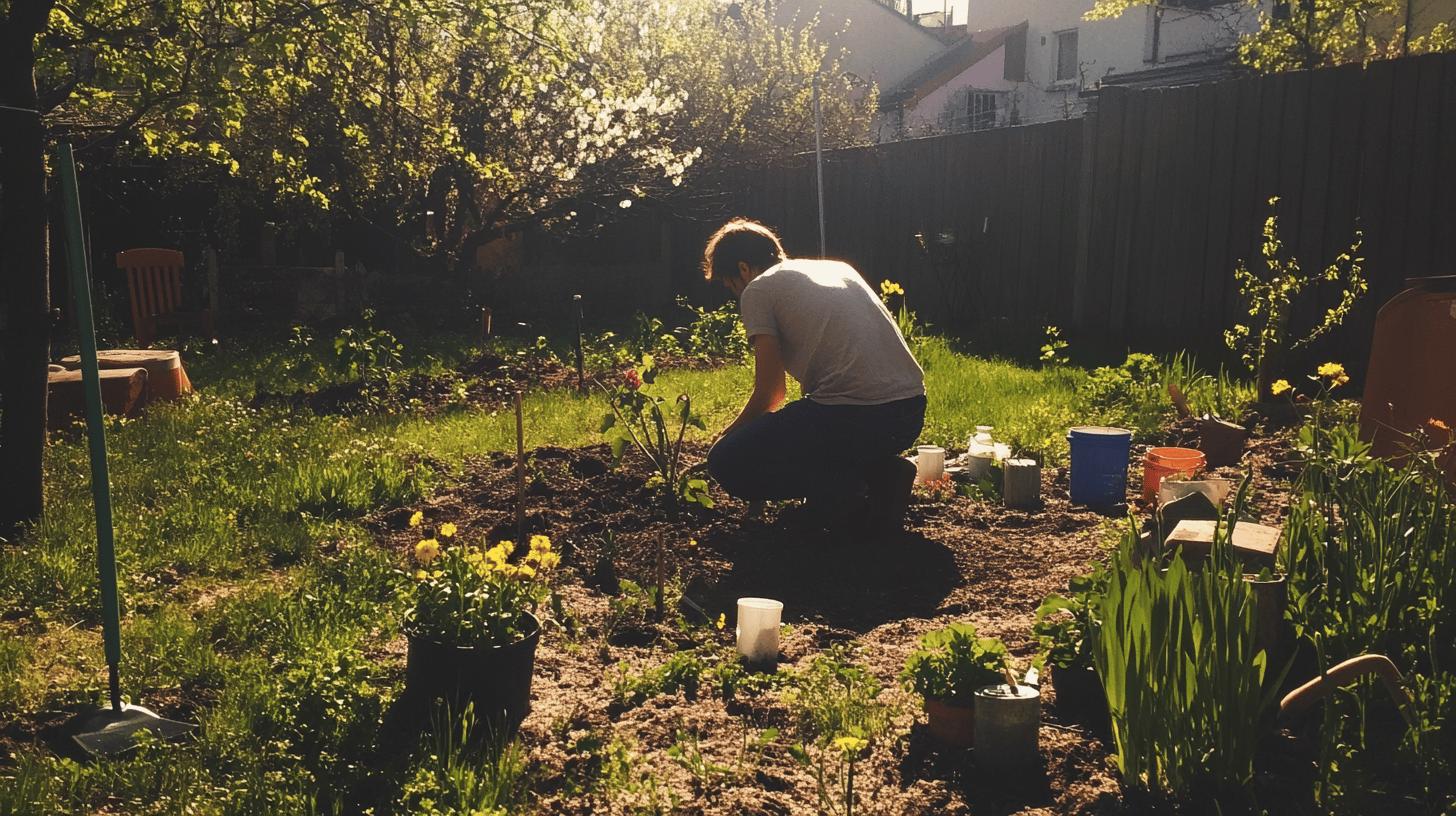
Most people want to jump straight into planting pretty flowers, but the real secret to a fantastic garden starts with something less glamorous but absolutely crucial: your soil. Think of soil as your garden’s foundation – just like you wouldn’t build a house on shaky ground, you don’t want to plant a garden in poor soil.
Understanding Your Soil (It’s Easier Than You Think!)
Let me share something that transformed my gardening journey: getting to know your soil doesn’t require a Ph.D. in horticulture! Here’s what you need to know:
Testing Your Soil (No Lab Coat Required!)
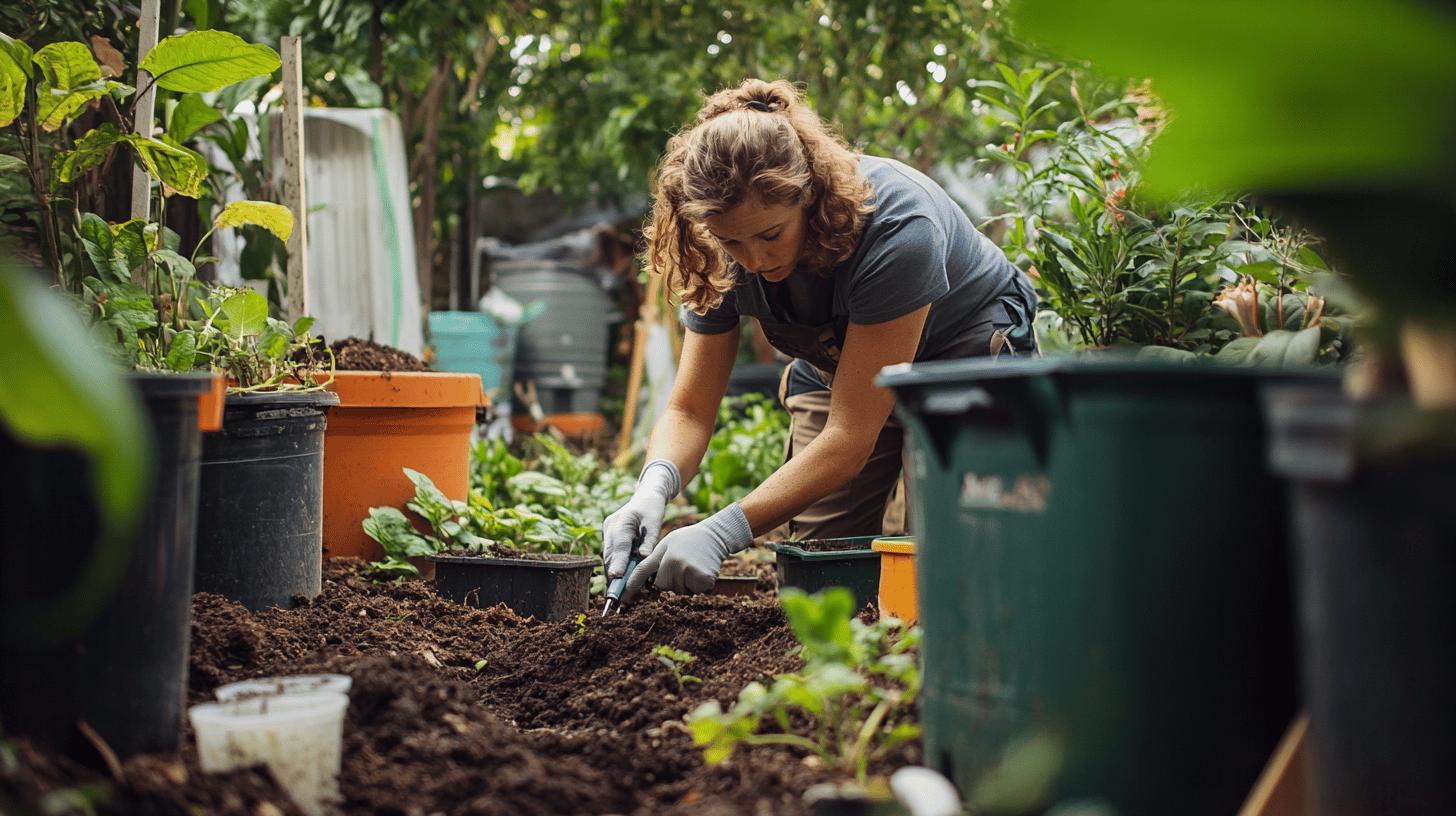
One of the first things I learned about gardening is that soil testing doesn’t have to be complicated or expensive. Start by picking up a simple soil testing kit from your local garden center – they typically cost less than $20, and they’re incredibly user-friendly. When I first tested my soil, I made the mistake of only testing one spot, but I quickly learned that soil can vary dramatically across your garden. Now I always recommend taking samples from several different areas – you might be surprised to find that your vegetable patch has completely different needs than your flower bed!
When you’re testing your soil, you’ll want to focus on four key factors that make a huge difference in your plants’ health. First, there’s pH level – think of this as your soil’s personality. Most plants thrive in soil with a pH between 6.0 and 7.0, though some, like blueberries, prefer more acidic conditions. Then there’s nitrogen, which is like breakfast for your plants’ leaves – it’s what helps them grow lush and green. Phosphorus is your plants’ foundation builder, supporting strong root systems and beautiful blooms. Finally, potassium acts like a multivitamin, contributing to overall plant health and disease resistance.
Pro Tip: Your local extension service might offer free or low-cost soil testing. They’ll give you a detailed report that’s like a roadmap for your garden’s success!
The Magic of Composting (Your Plants’ Favorite Food)
Can I let you in on a gardener’s secret? The best plant food isn’t something you buy – it’s something you make! Composting might sound complicated, but it’s really just mixing your kitchen scraps with yard waste. Here’s my simple recipe for “black gold”:
The Perfect Compost Mix: Creating Garden Gold
Creating the perfect compost is like cooking a gourmet meal for your garden – it’s all about finding the right balance of ingredients. In my years of composting, I’ve found that the magic happens when you combine equal parts of what we call “green” and “brown” materials. The green materials are your nitrogen-rich ingredients, and they’re usually the wet, fresh stuff from your kitchen and yard. Think of your fresh grass clippings after mowing the lawn, those vegetable scraps from dinner prep, your morning coffee grounds (yes, plants are coffee lovers too!), and crushed eggshells that add a calcium boost.
On the brown side, you’re looking for carbon-rich materials that give your compost its structure and help regulate moisture. I love using fallen autumn leaves – they’re free and abundant! Add in some straw if you can get it, and don’t forget about those cardboard boxes and paper (just avoid the glossy stuff). These materials might seem boring, but they’re absolutely crucial for creating that perfect compost texture.
The real secret to successful composting lies in how you put it all together. I like to think of it as building a lasagna – you layer your materials, alternating between green and brown. Keep the mixture about as moist as a wrung-out sponge; too wet and it gets slimy, too dry and decomposition slows to a crawl. Every few weeks, grab a pitchfork and give everything a good turn – this adds air and speeds up the decomposition process. With this method, you’ll have beautiful, rich compost in about 3-6 months, depending on your climate and how diligent you are with turning the pile.
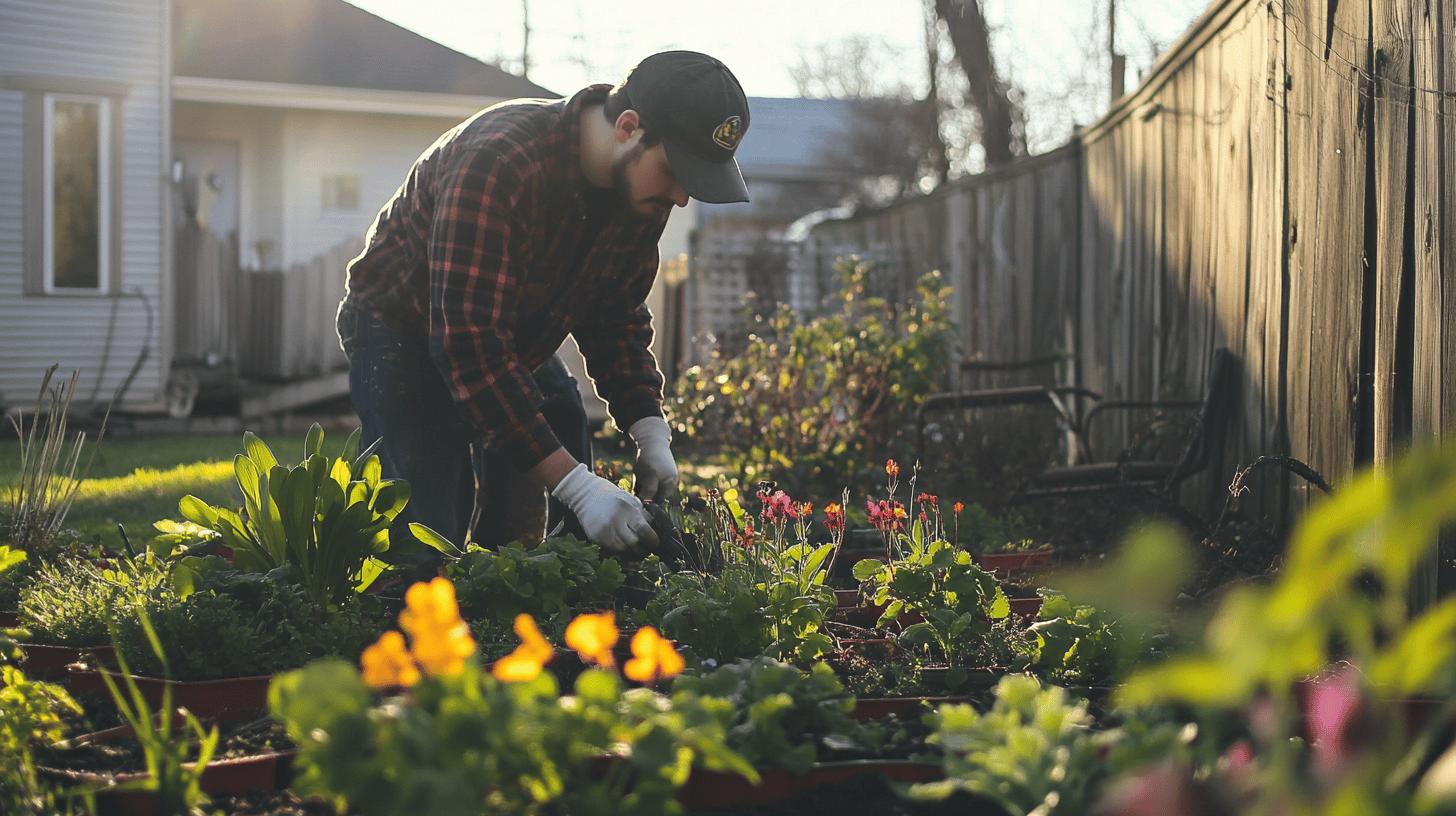
Pruning: Your Plants’ Best Friend

Let’s talk about pruning – and no, it’s not just randomly chopping at your plants! Think of pruning like giving your plants a haircut – it helps them look better and grow stronger. Here’s what I’ve learned through years of trial and error:
Pruning 101: The Basics Everyone Should Know
Essential Pruning Tools and Techniques: Your Garden’s Toolkit
Before we dive into the art of pruning, let’s talk about tools. Think of your pruning tools as a surgeon’s instruments – each one has its specific purpose and needs to be kept clean and sharp. The workhorse of your pruning toolkit will be your hand pruners, perfect for those everyday cuts on stems up to about half an inch thick. I keep mine in my back pocket whenever I’m in the garden, ready for quick snips on roses, perennials, and small shrubs.
For thicker branches up to about two inches, you’ll want a good pair of loppers. These are like hand pruners with extended handles that give you extra leverage. I remember struggling with hand pruners on a thick lilac branch before discovering the game-changing power of loppers! For anything larger than two inches, invest in a quality pruning saw. Trust me, trying to force loppers through a thick branch usually ends in frustration and potential damage to both the tool and the plant.
Now, let’s talk about the golden rules of pruning that I’ve learned (sometimes the hard way) over years of gardening. First, always make your cuts at a 45-degree angle – this isn’t just gardening folklore. When you cut at an angle, water rolls off instead of sitting on the cut surface, which helps prevent rot and disease. It’s like giving your plants a tiny umbrella!
Before making any aesthetic pruning decisions, I always start with what I call the “Three D’s” – dead, diseased, and damaged growth. These need to go first, no questions asked. It’s like cleaning house before decorating – get rid of the problems before making things pretty.
One of the most important lessons I’ve learned is to resist the urge to over-prune. Never remove more than 25% of a plant at once, even if it looks unruly. Plants need their leaves for food production, and taking too much at once can send them into shock. Instead, spread major pruning over several sessions if needed.
Finally, keep those tools clean! I keep a solution of one part bleach to nine parts water handy and wipe down my tools between plants. It takes just a few seconds but can prevent the spread of diseases throughout your garden. Think of it like washing your hands between patients – it’s just good hygiene!
Seasonal Pruning Considerations
Pruning needs vary with the seasons, adapting to plant growth cycles. In late winter or early spring, focus on pruning deciduous trees and shrubs before new growth emerges. This timing allows for better air circulation and sunlight penetration. Summer pruning is ideal for controlling excessive growth and shaping plants. It helps maintain size and encourages fruit production in certain species. Fall is not typically recommended for pruning due to potential frost damage, but light trimming of perennials can be beneficial. Understanding these seasonal nuances ensures that pruning strengthens, rather than stresses, your plants.
In addition to pruning, several plant care tasks are essential for maintaining a healthy garden:
- Fertilizing regularly to provide necessary nutrients
- Deadheading flowers to encourage more blooms
- Monitoring for pests and diseases
- Ensuring adequate sunlight exposure
- Watering consistently based on plant needs
Incorporating these tasks alongside proper pruning practices creates a nurturing environment where your garden can thrive year-round.
Your Season-by-Season Garden Guide
Let me walk you through what your garden needs throughout the year. I’ve kept a detailed garden journal for over a decade, and I’m excited to share what I’ve learned about timing your garden tasks just right. Think of this as your gardening calendar – a roadmap to help you know exactly what to do and when to do it.
Spring: Waking Up Your Garden
March: The Planning Month March is like Monday morning for your garden – time to wake up and get moving! Start by checking your soil temperature; I use a simple soil thermometer pushed about 2 inches deep. Once you’re consistently seeing readings above 50°F, you know spring is truly on its way. This is the perfect time to start your seeds indoors – I learned the hard way that waiting too long means playing catch-up all season.
While you’re waiting for warmer weather, take inventory of your tools. I dedicate one weekend in March to tool maintenance – cleaning, sharpening, and oiling everything from pruners to shovels. There’s nothing worse than discovering a rusty trowel right when you need it! This is also prime time for garden planning. I love spreading out graph paper on my kitchen table and sketching out where everything will go, keeping in mind companion planting and succession planning.
April: The Action Month April is when the real fun begins! Start the month by working that winter compost into your beds. I like to do this on a sunny morning when the soil isn’t too wet – if soil sticks to your shoes like chocolate cake, it’s too wet to work. This is also the time to direct sow your cold-hardy vegetables like peas, spinach, and radishes. I plant these in stages about two weeks apart to ensure a continuous harvest.
Once your spring-flowering shrubs finish their show, it’s pruning time. I always take before and after photos of my pruning work – it helps me remember what worked and what didn’t. April is also ideal for setting up irrigation systems before plants get too big. I’ve found that soaker hoses covered with mulch are incredibly effective and water-efficient.
May: The Growth Month May is when your garden really starts to come alive! This is the time to transplant those seedlings you started in March. I always harden them off first by putting them outside for increasingly longer periods over a week. Watch out for late frosts – I keep old bed sheets handy for emergency plant protection.
This is also prime time for mulching. I aim for a 2-3 inch layer around plants, keeping it away from stems to prevent rot. May is when pest problems can start, so I do daily “garden walks” to catch any issues early. Installing supports for climbing plants now saves headaches later – I learned this after watching my pea plants sprawl helplessly one year!
Summer: Your Garden in Full Swing
June: The Establishment Month June is all about maintaining the momentum. Regular weeding is crucial now – I spend about 15 minutes each morning pulling weeds while enjoying my coffee. It’s also time to start harvesting early crops like lettuce and peas. A tip I wish I’d known earlier: harvest in the morning when plants are full of moisture and will stay crisp longer.
Begin your fertilizing routine now. I use a diluted fish emulsion every two weeks for heavy feeders like tomatoes and squash. Keep an eye out for tomato hornworms – they can strip a plant overnight! I’ve found that hand-picking pests early in the morning when they’re sluggish is surprisingly effective.
July: The Abundance Month July is often the busiest month in the garden. Watering becomes critical – I water deeply but less frequently to encourage deep root growth. Early morning watering (around 6 AM) has worked best for me, reducing evaporation and fungal problems.
This is peak harvest time for many vegetables. I keep a small notebook in my harvest basket to track yields – it helps with planning for next year. Start succession planting for fall crops now. I plant new lettuce seeds every two weeks for a continuous supply.
August: The Maintenance Month August can be challenging with the heat. Mulch becomes your best friend – I often add an extra layer to help retain moisture. Keep harvesting regularly; even a few days’ delay can mean tough beans or oversized zucchini.
Start collecting seeds from your best-performing plants. I use paper envelopes labeled with the plant name and date. This is also a good time to start planning your fall garden – I usually sketch out what will replace summer crops as they finish.
Fall: Preparing for Winter
September: The Transition Month September is about balancing maintenance of summer crops while preparing for fall. I start cleaning up spent plants and adding them to the compost pile. Plant fall crops like garlic and spinach – these will give you an early spring harvest.
This is also the perfect time for dividing perennials. I’ve found that plants divided in fall establish better than those divided in spring. Start bringing in tender herbs to overwinter indoors – basil and rosemary do well on sunny windowsills.
October: The Cleanup Month October is when I focus on garden cleanup, but don’t be too tidy! I leave some seed heads for birds and hollow stems for beneficial insects to overwinter in. Start collecting fallen leaves – they’re garden gold! I shred them with my lawn mower and store them for next year’s mulch and compost.
November: The Protection Month November is about protecting your garden for winter. Add a thick layer of mulch around perennials after the ground freezes. I use wire cages filled with leaves to protect tender shrubs from winter damage.
Winter: Planning and Dreaming
December-February: The Research Months Winter is for garden planning and learning. I spend these months:
- Reading garden books and seed catalogs
- Attending gardening workshops
- Maintaining tools
- Ordering seeds for spring
- Starting a gardening journal
Frequently Asked Questions About Seasonal Gardening
Q: When is the best time to start seeds indoors? A: Generally, start seeds 6-8 weeks before your last frost date. I keep a calendar specifically for seed starting, working backward from my area’s average last frost date (April 15th for me). Different plants have different timing needs – tomatoes need 6-8 weeks, while cucumbers only need 3-4 weeks.
Q: How do I know when it’s safe to plant outside? A: Beyond watching soil temperature, I look for natural indicators. When my lilacs bloom and oak leaves are the size of squirrel ears, it’s usually safe to plant tender vegetables. I also keep row covers handy for unexpected cold snaps.
Q: What’s the best way to extend the growing season? A: I use a combination of methods:
- Cold frames for early spring and late fall greens
- Row covers for frost protection
- Mulch to regulate soil temperature
- Succession planting for continuous harvests I’ve found that even simple protection like an old window frame over seedlings can give you several extra weeks of growing time.
Q: How do I prevent my garden from becoming overwhelming? A: Start small and expand gradually. I began with just tomatoes and basil, adding a new crop each season as I gained confidence. Break maintenance into small daily tasks rather than marathon weekend sessions. I spend 15-30 minutes each morning in the garden, which prevents things from getting out of hand.
Q: What should I do if I miss a month of maintenance? A: Don’t panic! Gardens are forgiving. Focus on the most crucial tasks first:
- Water deeply if needed
- Remove any diseased plants
- Pull the largest weeds
- Harvest what’s ready Then gradually catch up with other tasks as time allows.
Final Thoughts: Your Garden Journey Begins
Remember, every experienced gardener started exactly where you are now. The key is to start small, learn from your experiences (yes, even the mistakes!), and most importantly, enjoy the process. Your garden will become your happy place, where you can watch your efforts literally bloom before your eyes.
I’d love to hear about your gardening adventures! Drop a comment below with your questions or share your own gardening tips. Let’s grow together!
Happy gardening! 🌱


2 Comments